
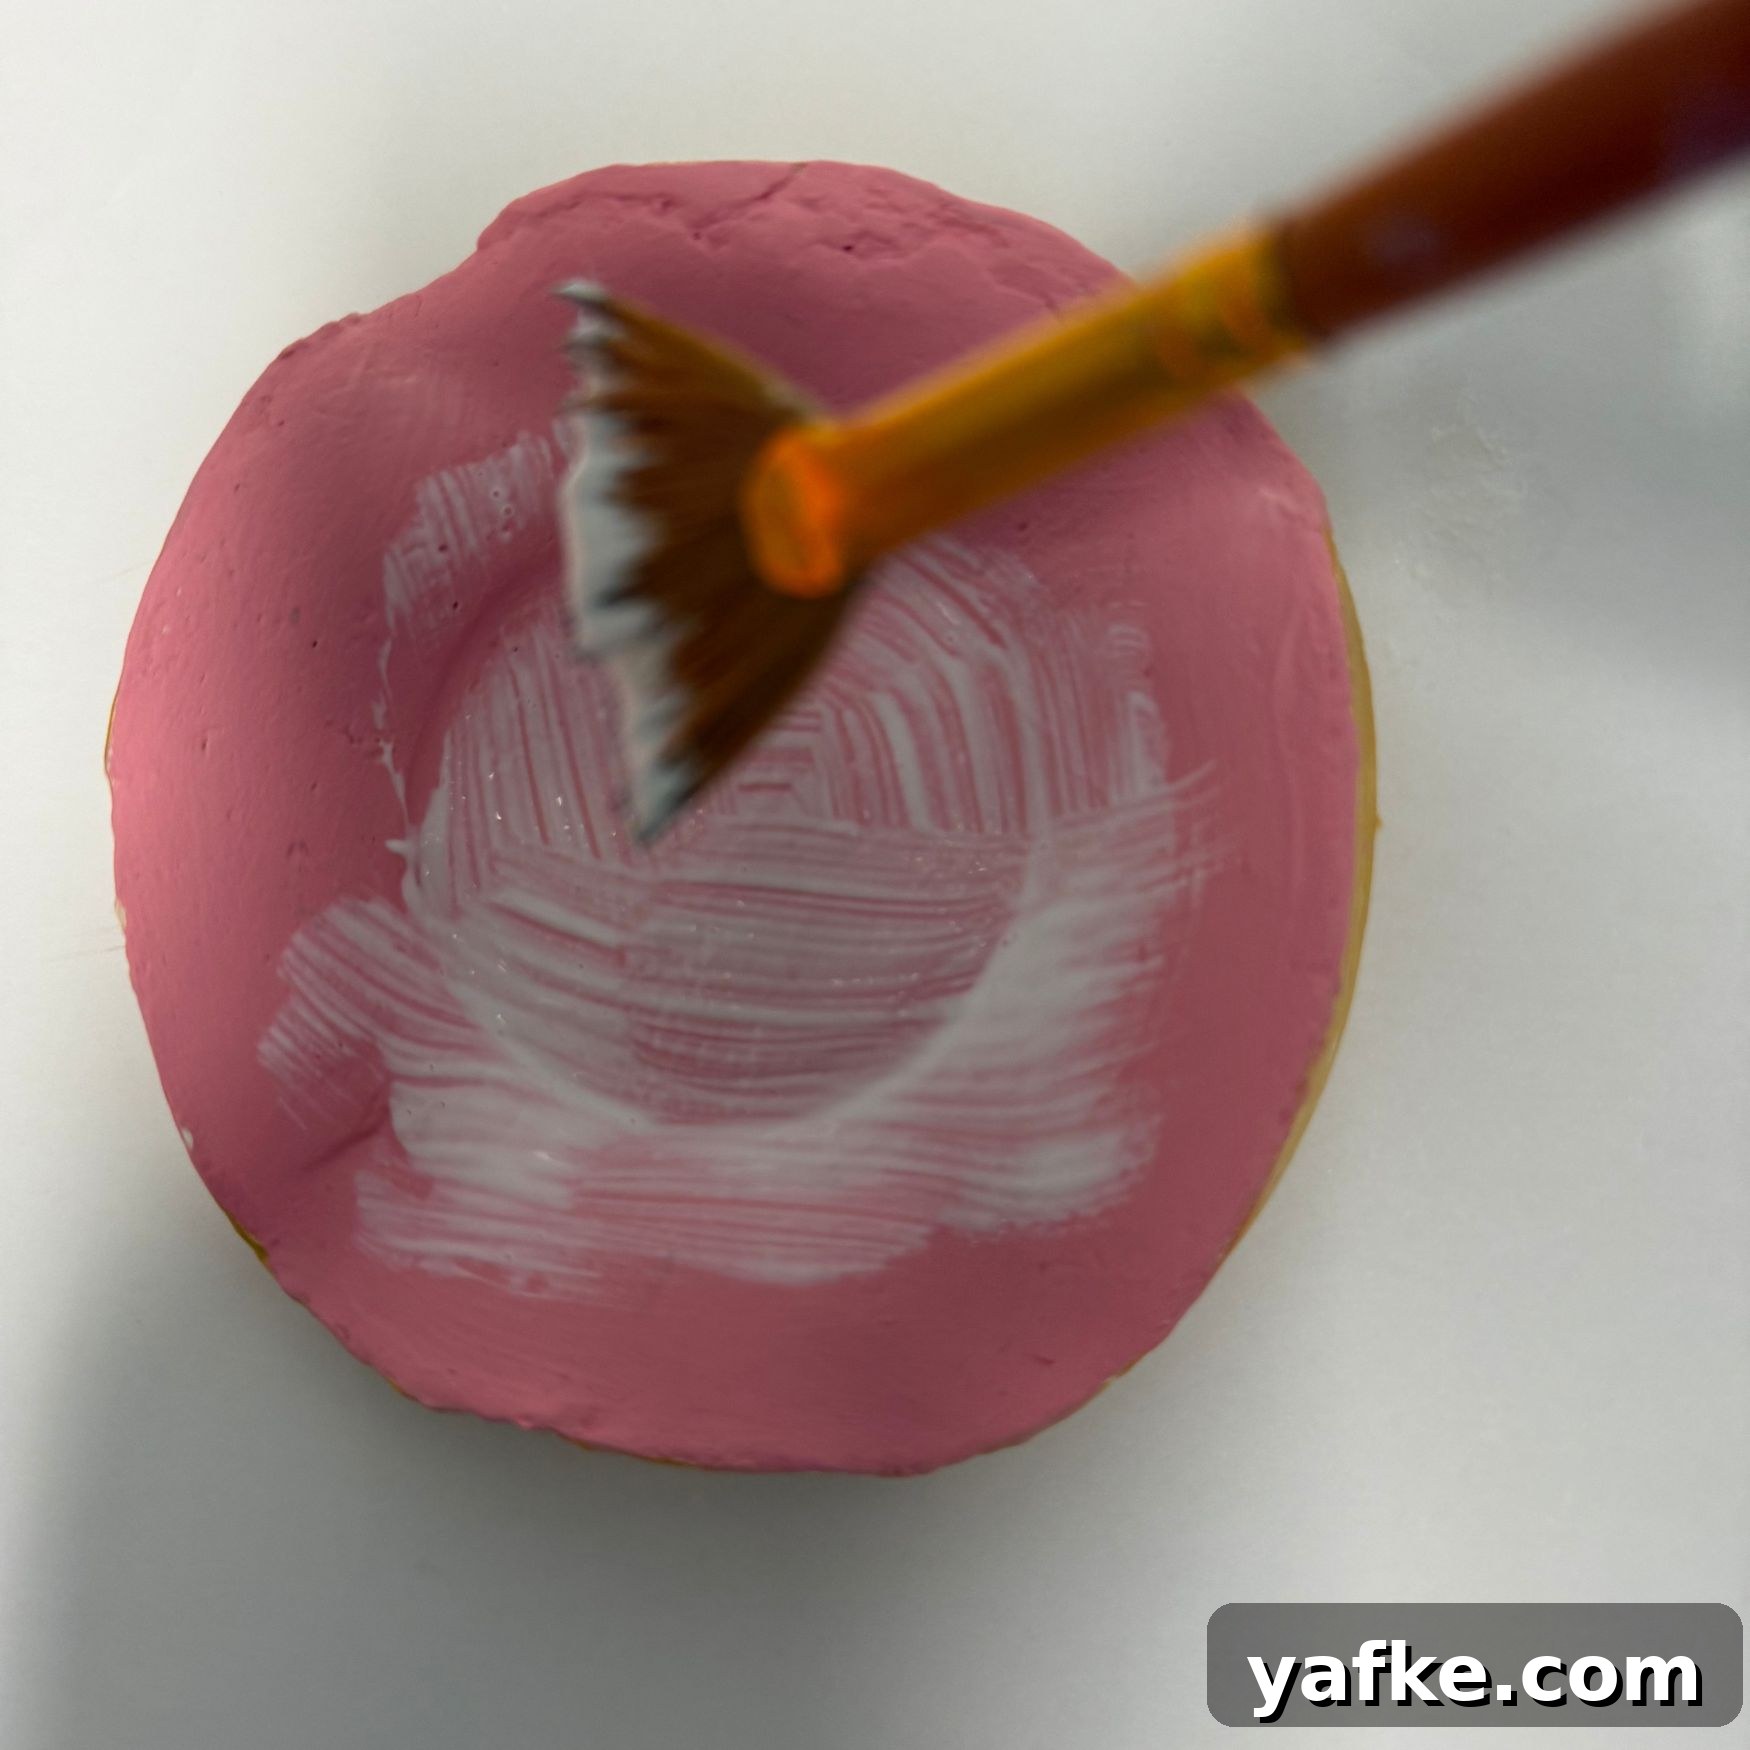
I am a big fan of working with air dry clay. I love that air dry clay gives you the freedom to sculpt, shape and create without needing a kiln. Its biggest advantage is simple: it air dries. That openness makes it perfect for home projects, quick prototypes, classroom crafts and small decorative pieces.
When fully dry, air dry clay often has a matte, slightly porous surface that can look unfinished. Some people like that natural texture; others prefer a smoother, shinier finish. If you want a more polished, professional-looking result, applying a glaze or sealer is the easiest way to achieve it. Glazing for air dry clay doesn’t mean firing a true ceramic glaze — instead it means applying a coating that creates shine, seals pores and protects the piece from moisture and wear.
Below I’ll cover what glazing means for air dry clay, how to prepare and apply different types of sealers, and tips for getting a durable, attractive finish without a kiln.
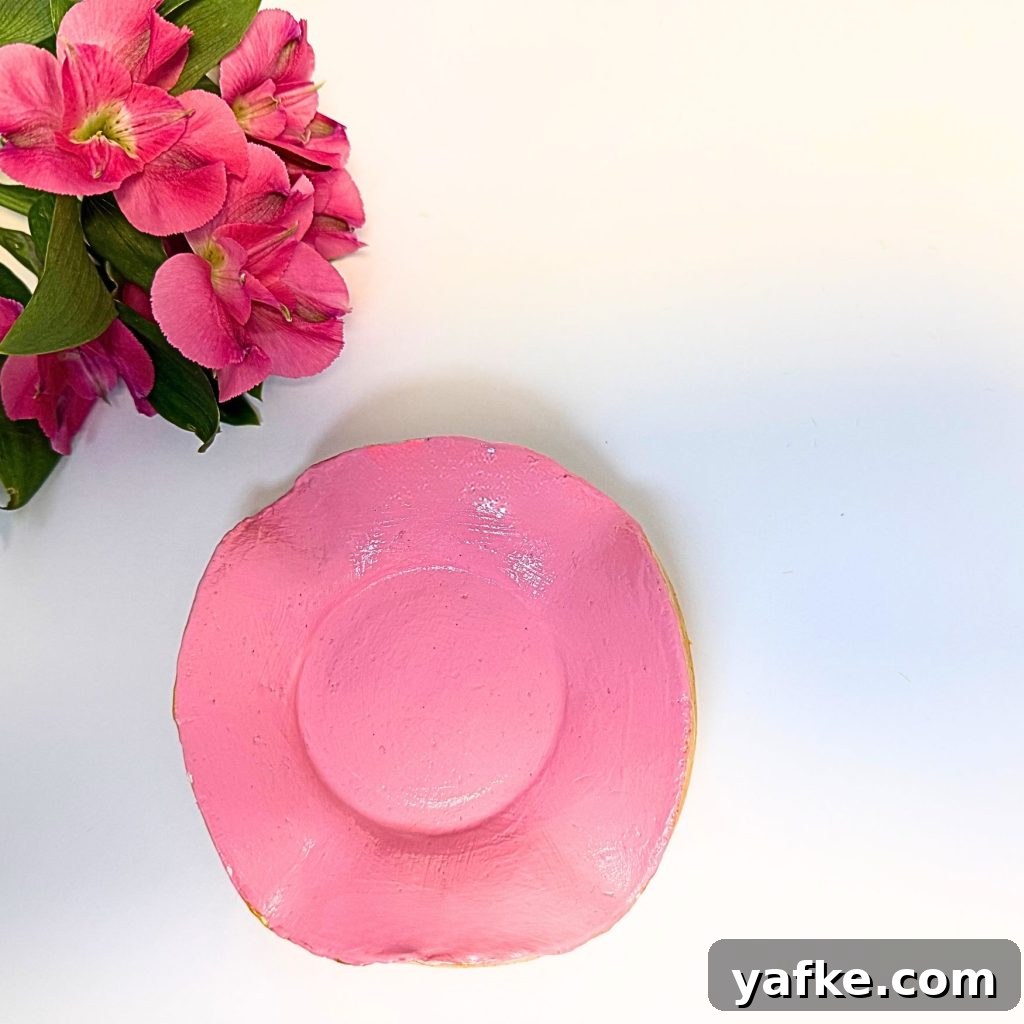
What Does “Glazing” Mean for Air Dry Clay
True ceramic glaze melts and bonds to clay in a kiln to form a glass-like surface. Air dry clay cannot be fired, so glazing it means applying a sealant or finish that creates a glossy or satin surface. The primary goals are to make your piece look finished, reduce surface porosity, protect paint or pigments and improve water resistance. Depending on the product you choose, glazing can also add scratch resistance and make cleaning easier.
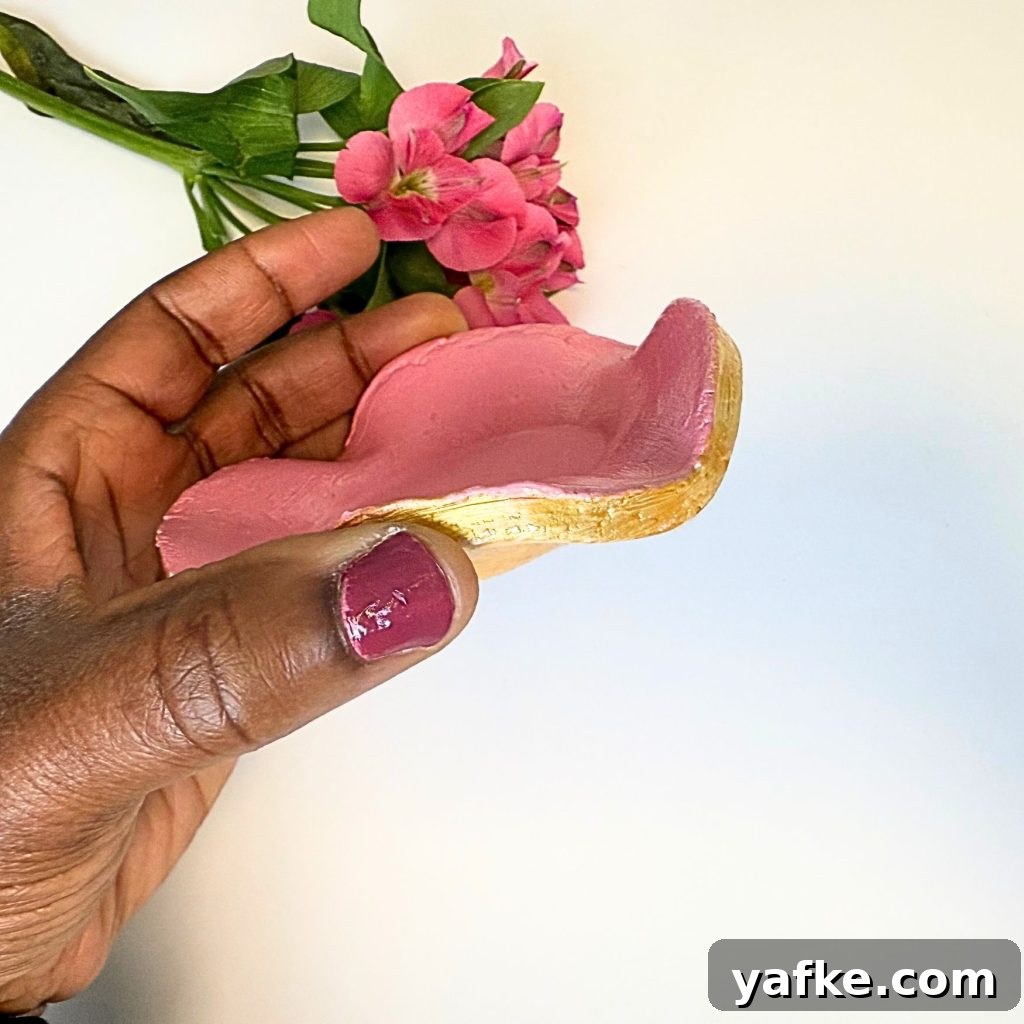
Guide to Glazing Air Dry Clay
Start with a fully dry piece. Drying time varies by thickness and humidity; thin pieces often dry within 24 hours, while thicker items can take several days. Before sealing, inspect and sand gently where needed: fine-grit sandpaper or a sanding sponge will smooth rough spots or seams. Wipe away dust with a soft brush or a slightly damp cloth and let it dry completely before applying any finish.
If you want color, paint before sealing. Acrylic paint is the most common choice because it adheres well to air dry clay and dries quickly. Allow the paint to cure fully before applying sealer — typically a few hours to overnight, depending on the paint and conditions. Painting first ensures the color is locked in under the glaze for a professional result.
Apply finishes in thin, even layers. Thinner coats avoid drips, pooling and long dry times. Lightly sand between coats if you need an ultra-smooth surface, and wipe off dust before the next coat. Always follow the manufacturer’s instructions for drying and curing times, and test the sealer on a scrap piece if you’re unsure how it will look.
Popular Choices for Glazing Clay
Mod Podge (Gloss)
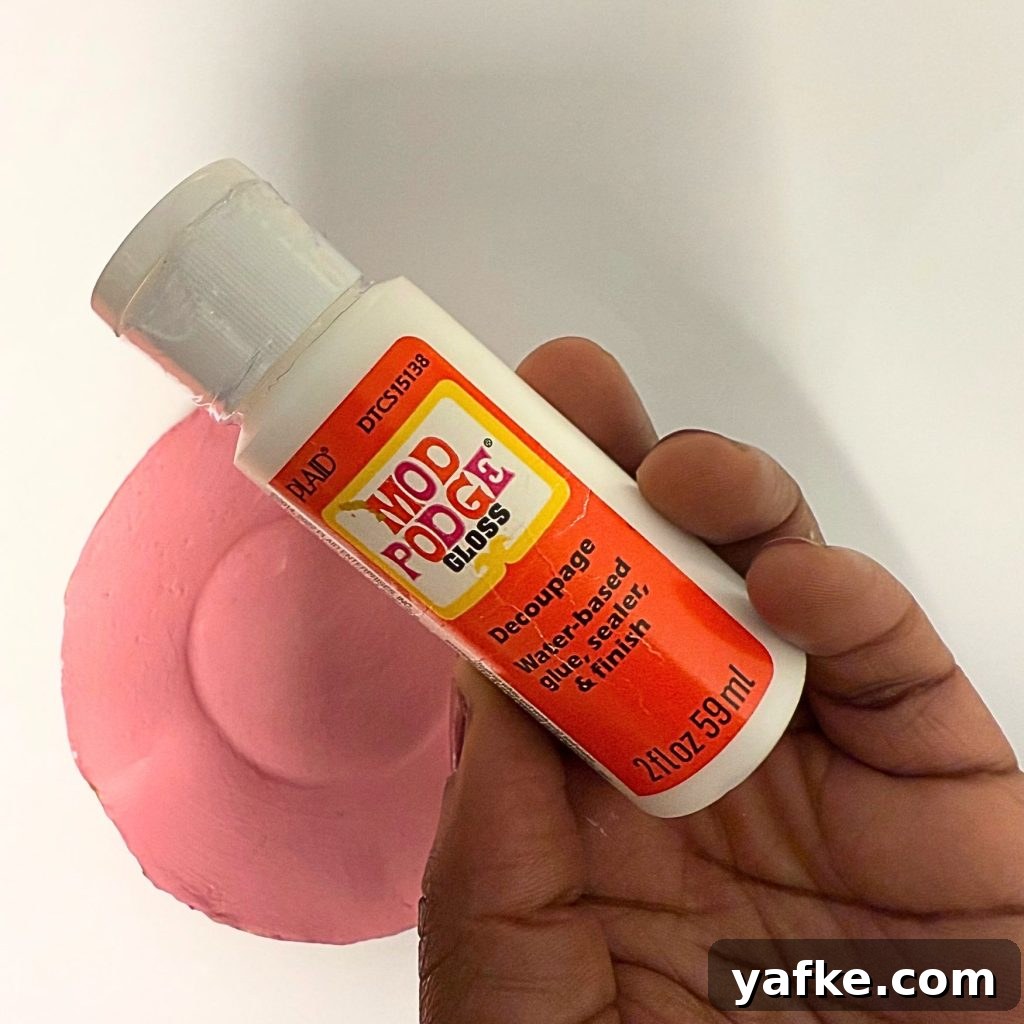
Mod Podge is a versatile water-based sealer that works well as a glossy topcoat for air dry clay. It’s easy to brush on in thin layers and dries clear to a polished finish. It’s a good all-purpose option for decorative items that won’t be submerged or exposed to heavy wear. Apply with a soft brush and allow sufficient drying time between coats for the best clarity and durability.
Clear Acrylic Sealer (Spray or Brush-On)
A clear acrylic sealer adds a protective, shiny or satin layer and is widely available in spray or brush-on formats. Spray sealers are convenient for even coverage on detailed shapes, while brush-on sealers give more control for edges or small sections. Apply light coats, keep the spray can at the recommended distance, and work in a well-ventilated area. Acrylic sealers are durable for display pieces and provide good water resistance for everyday use.
Resin Coating
For a deep, glass-like shine and strong surface protection, epoxy or UV resin can be used as a high-gloss coating. Resin provides superior waterproofing and impact resistance and is a popular choice for functional items like coasters and jewelry, or for pieces that will be handled frequently. Resin requires careful mixing, application on a level surface, and adequate ventilation and safety precautions — follow product safety guidelines closely. Note that resin creates a very glossy, thick layer that can enhance colors and details dramatically.
After applying your chosen glaze or sealer, allow the piece to cure undisturbed. Most water-based sealers need at least 24 hours to dry, while resin and some specialty coatings require longer cure times. Once cured, treat the finished object gently at first and avoid prolonged water exposure unless the product specifies it is fully waterproof.
Final tips: always test finishes on a scrap piece, work in thin coats, sand lightly between layers if needed, and store finished items away from direct sunlight to prevent fading. With the right preparation and sealer, air dry clay pieces can look polished, last longer, and hold up better in daily use.