
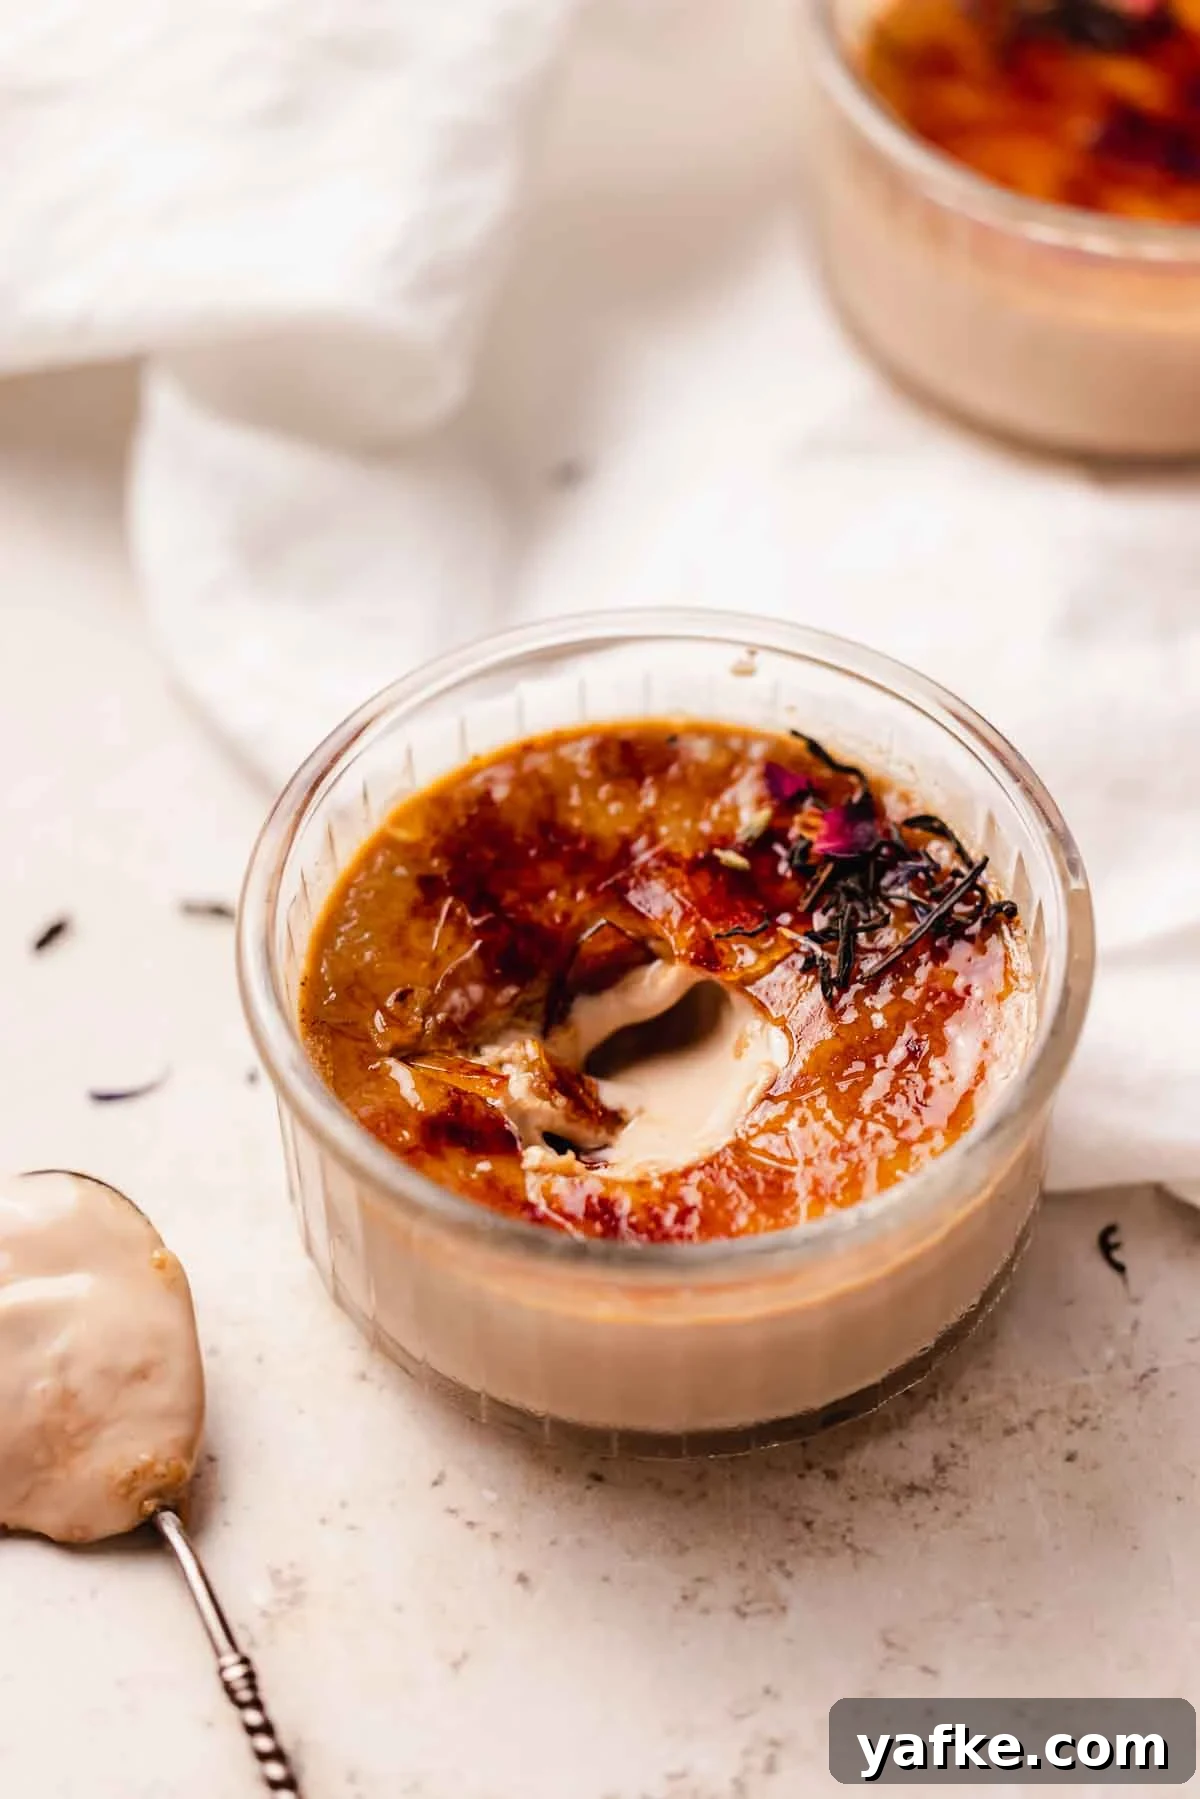
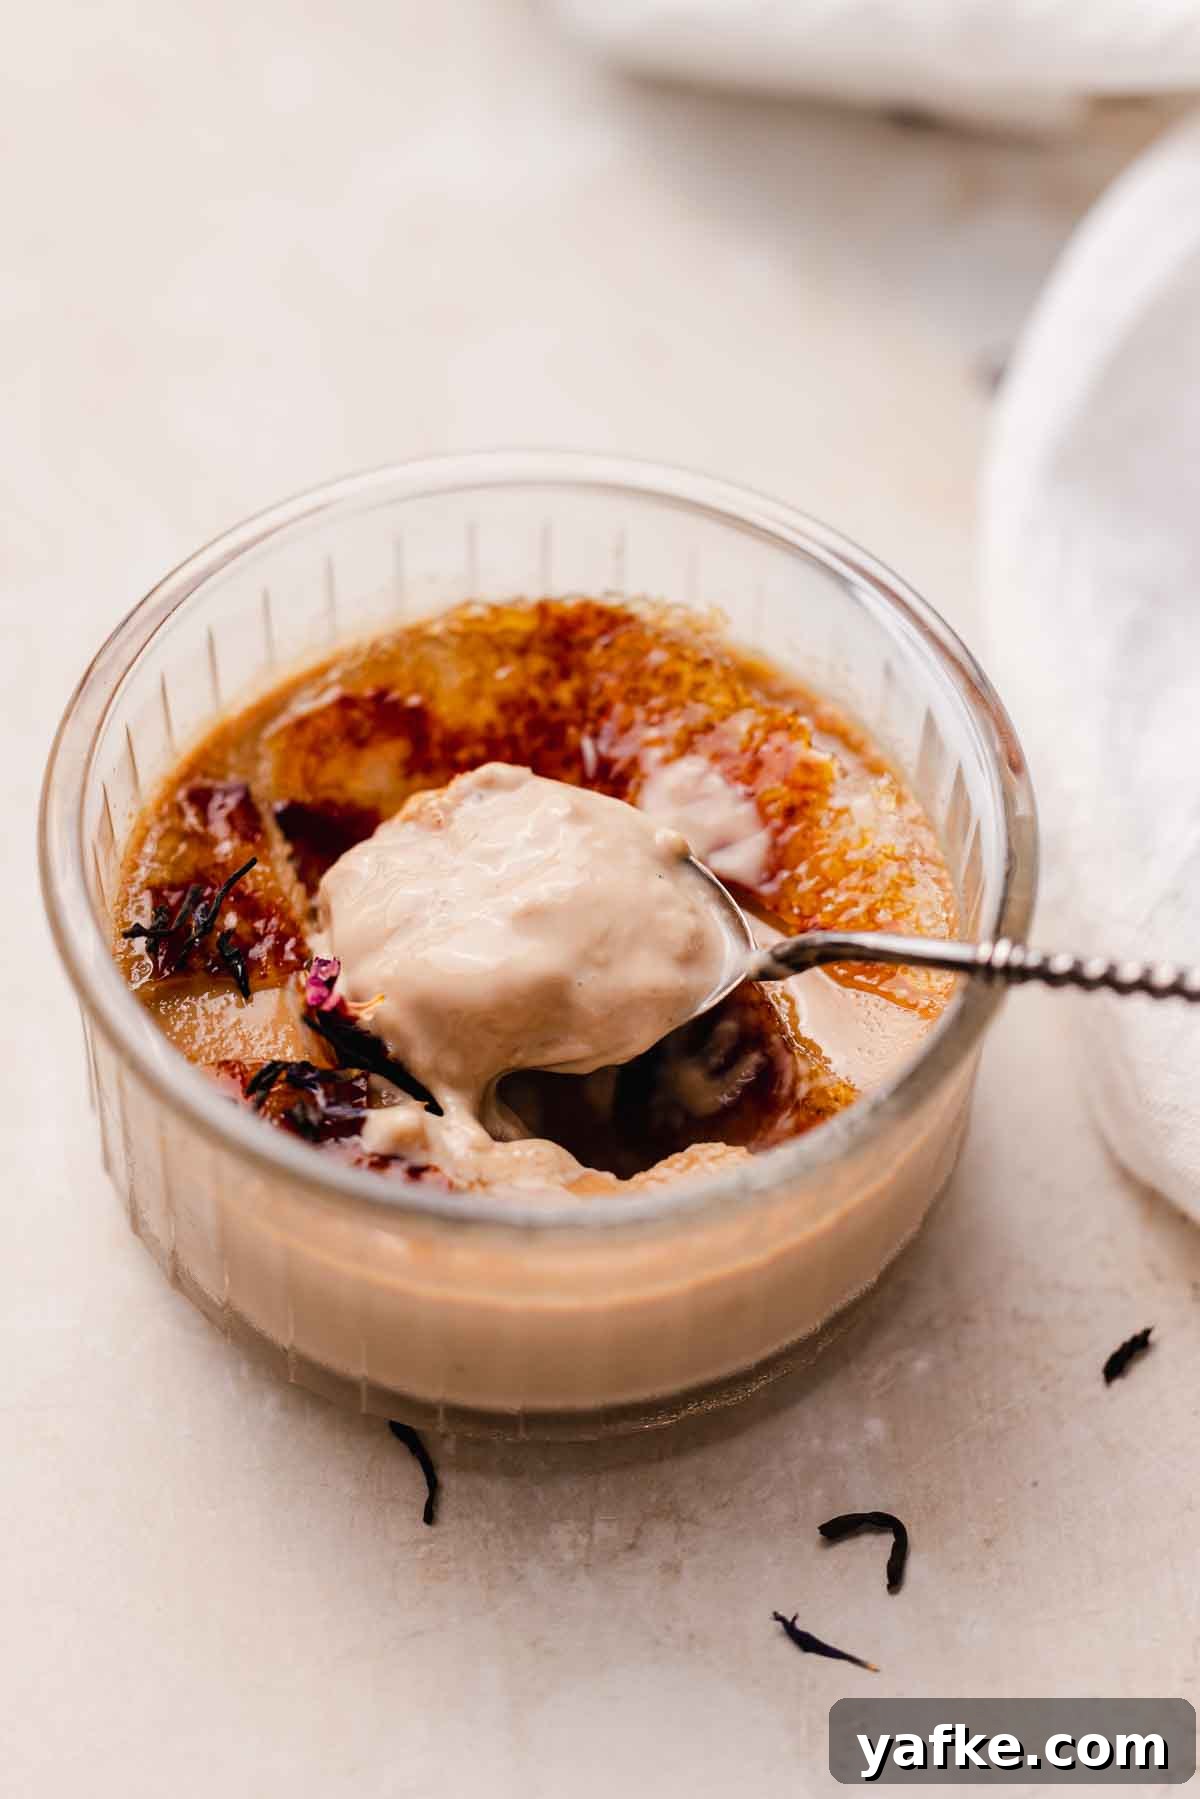
This Earl Grey crème brûlée is silky, rich, and infused with the floral-citrus notes of bergamot and the warmth of real vanilla. Loose-leaf Earl Grey and a split vanilla bean steep in milk and cream, creating a custard that tastes like a classic London fog in dessert form. The caramelized sugar crust on top adds a satisfying snap that contrasts the smooth custard beneath. It’s an elegant yet approachable dessert for dinner parties or a special weeknight treat.
☕ Why you’ll LOVE this recipe
- Simple and impressive: Crème brûlée looks and tastes fancy but requires just a few reliable steps.
- Earl Grey flavor: The milk is infused with Earl Grey tea and a vanilla bean, giving the custard a delicate bergamot aroma.
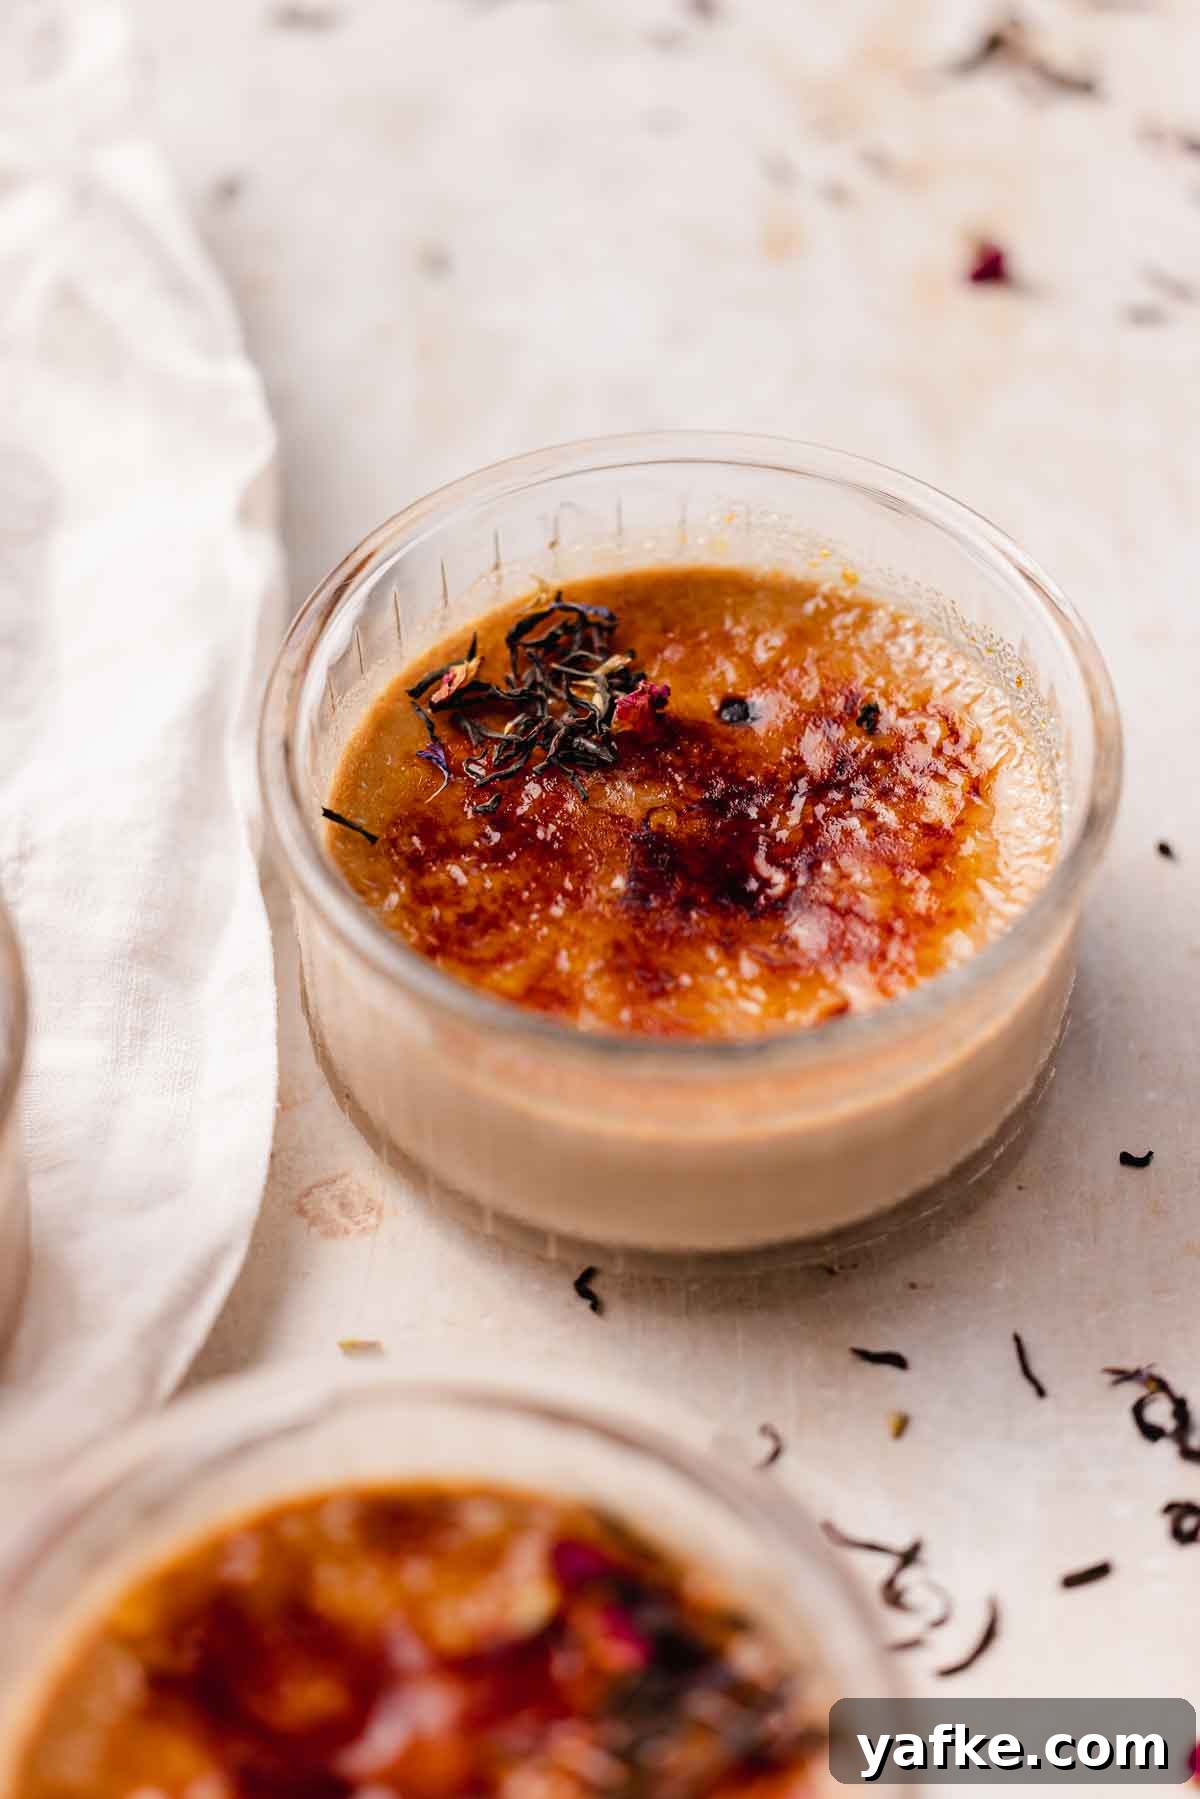
- Perfect texture: The custard sets creamy and smooth, finished with the classic crisp, caramelized sugar top.
If you enjoy tea-infused desserts, try other recipes like matcha tiramisu or a lemon posset for similar silky textures with different flavors.
📝 Key ingredients
Read through the tips below to ensure a silky custard and a crisp top. Full ingredient amounts and steps are in the recipe card at the end.
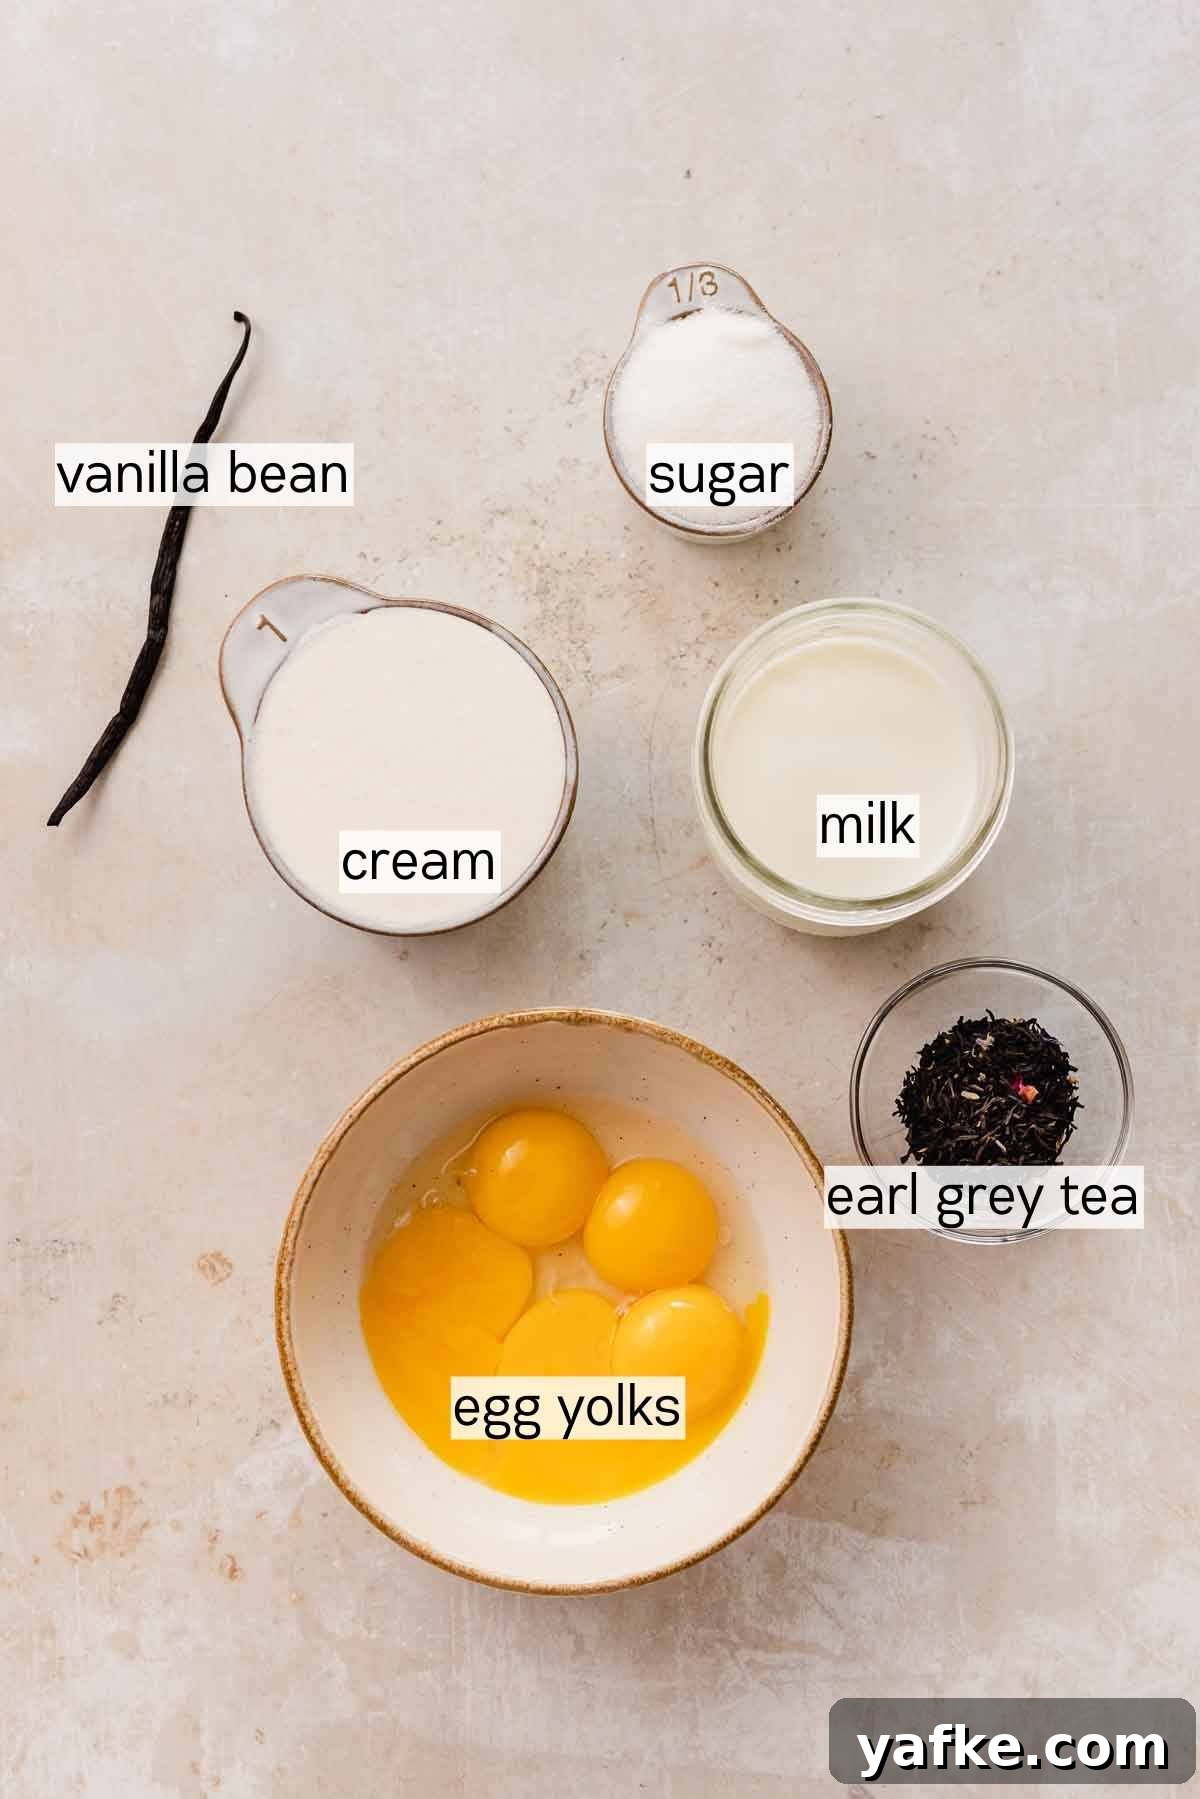
- Milk: Whole milk gives the best mouthfeel, but 2% will work if needed.
- Earl Grey tea: Use high-quality loose-leaf tea or teabags. Fresher tea yields brighter bergamot flavor in the custard.
- Vanilla bean: Scrape the seeds for the purest vanilla flavor. Vanilla extract or paste can substitute in a pinch.
- Egg yolks: They thicken and set the custard; save whites for another recipe.
- Heavy cream: Use around 35% fat for a luxuriously creamy texture.
- Sugar: Granulated (white) sugar is best for the brûlée topping—brown sugars tend to burn before forming a crisp shell.
👩🍳 How to make crème brûlée
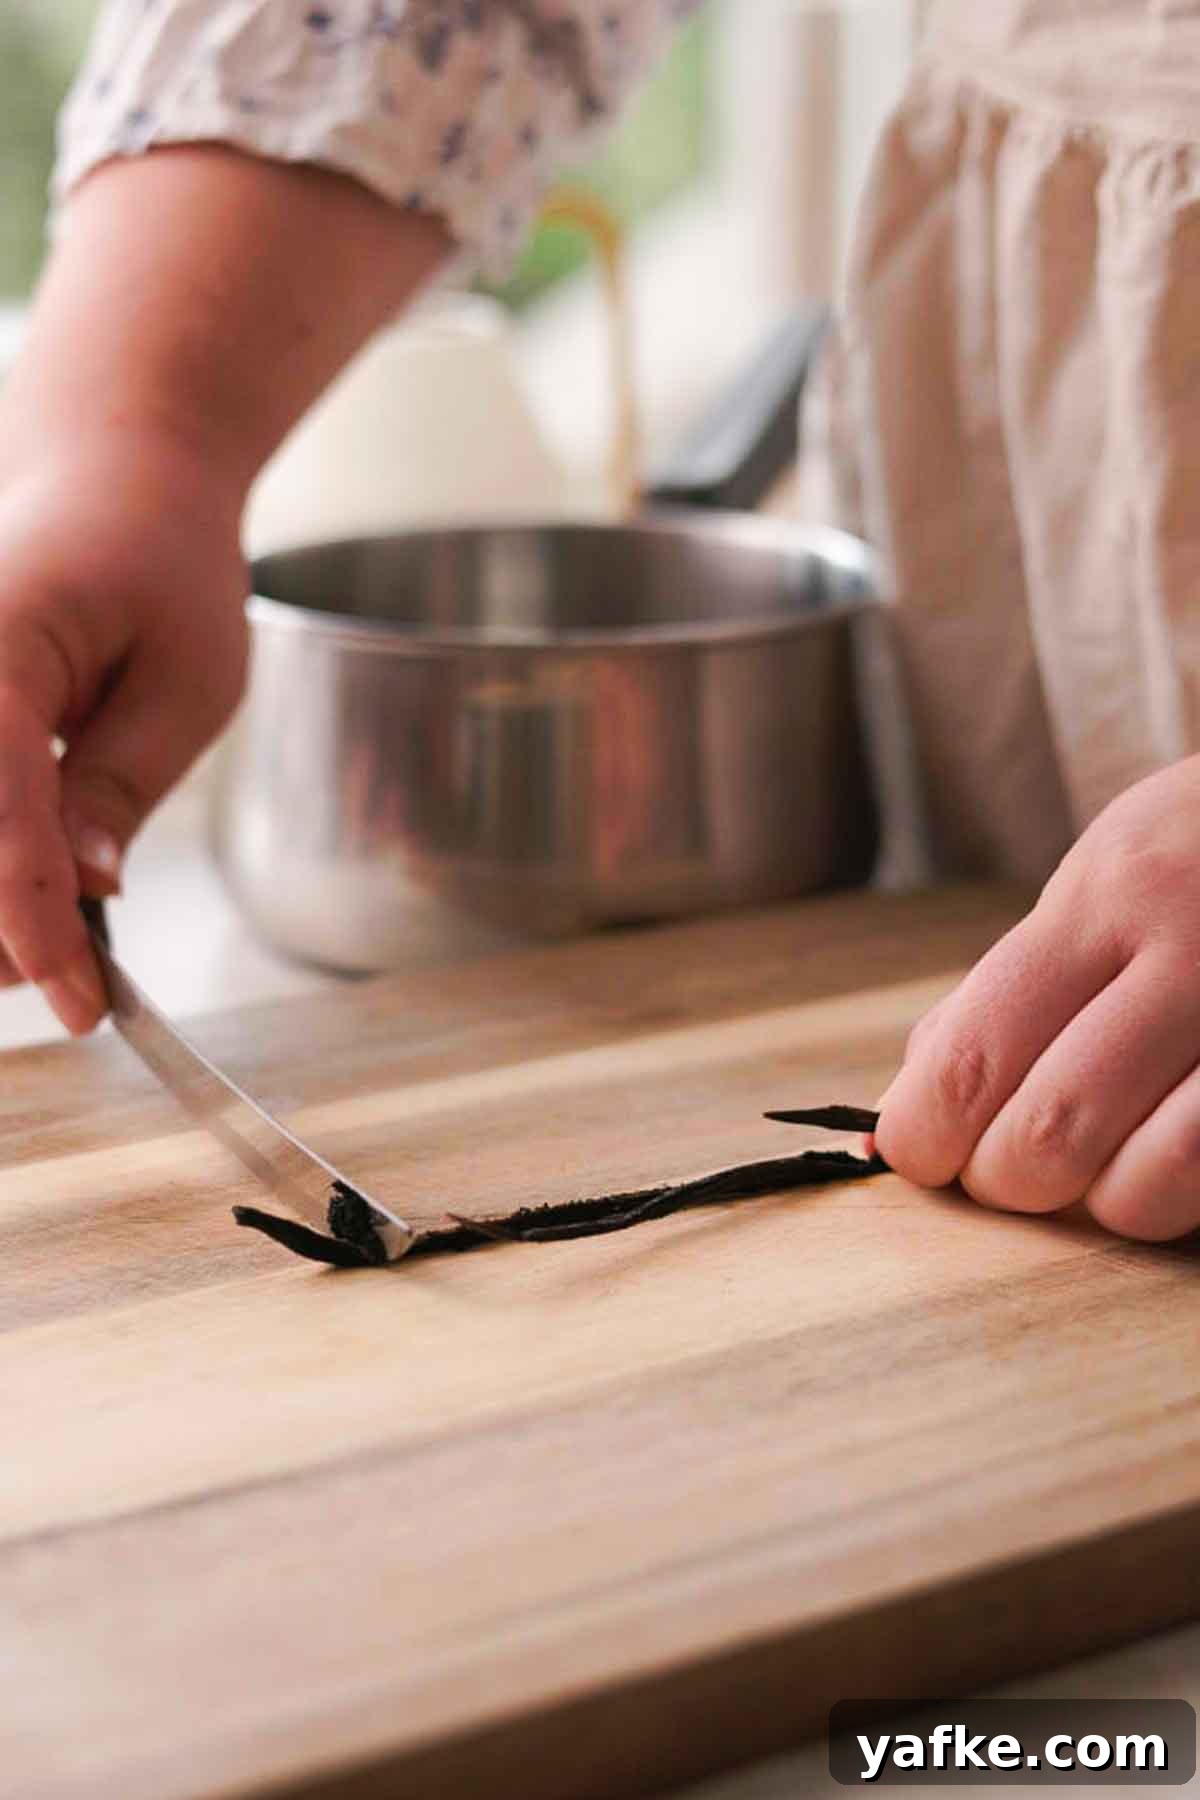
Step 1: Split the vanilla bean lengthwise and scrape out the seeds. In a saucepan combine the milk, loose Earl Grey (or teabags), the vanilla seeds and pod. Warm until it just reaches a simmer.
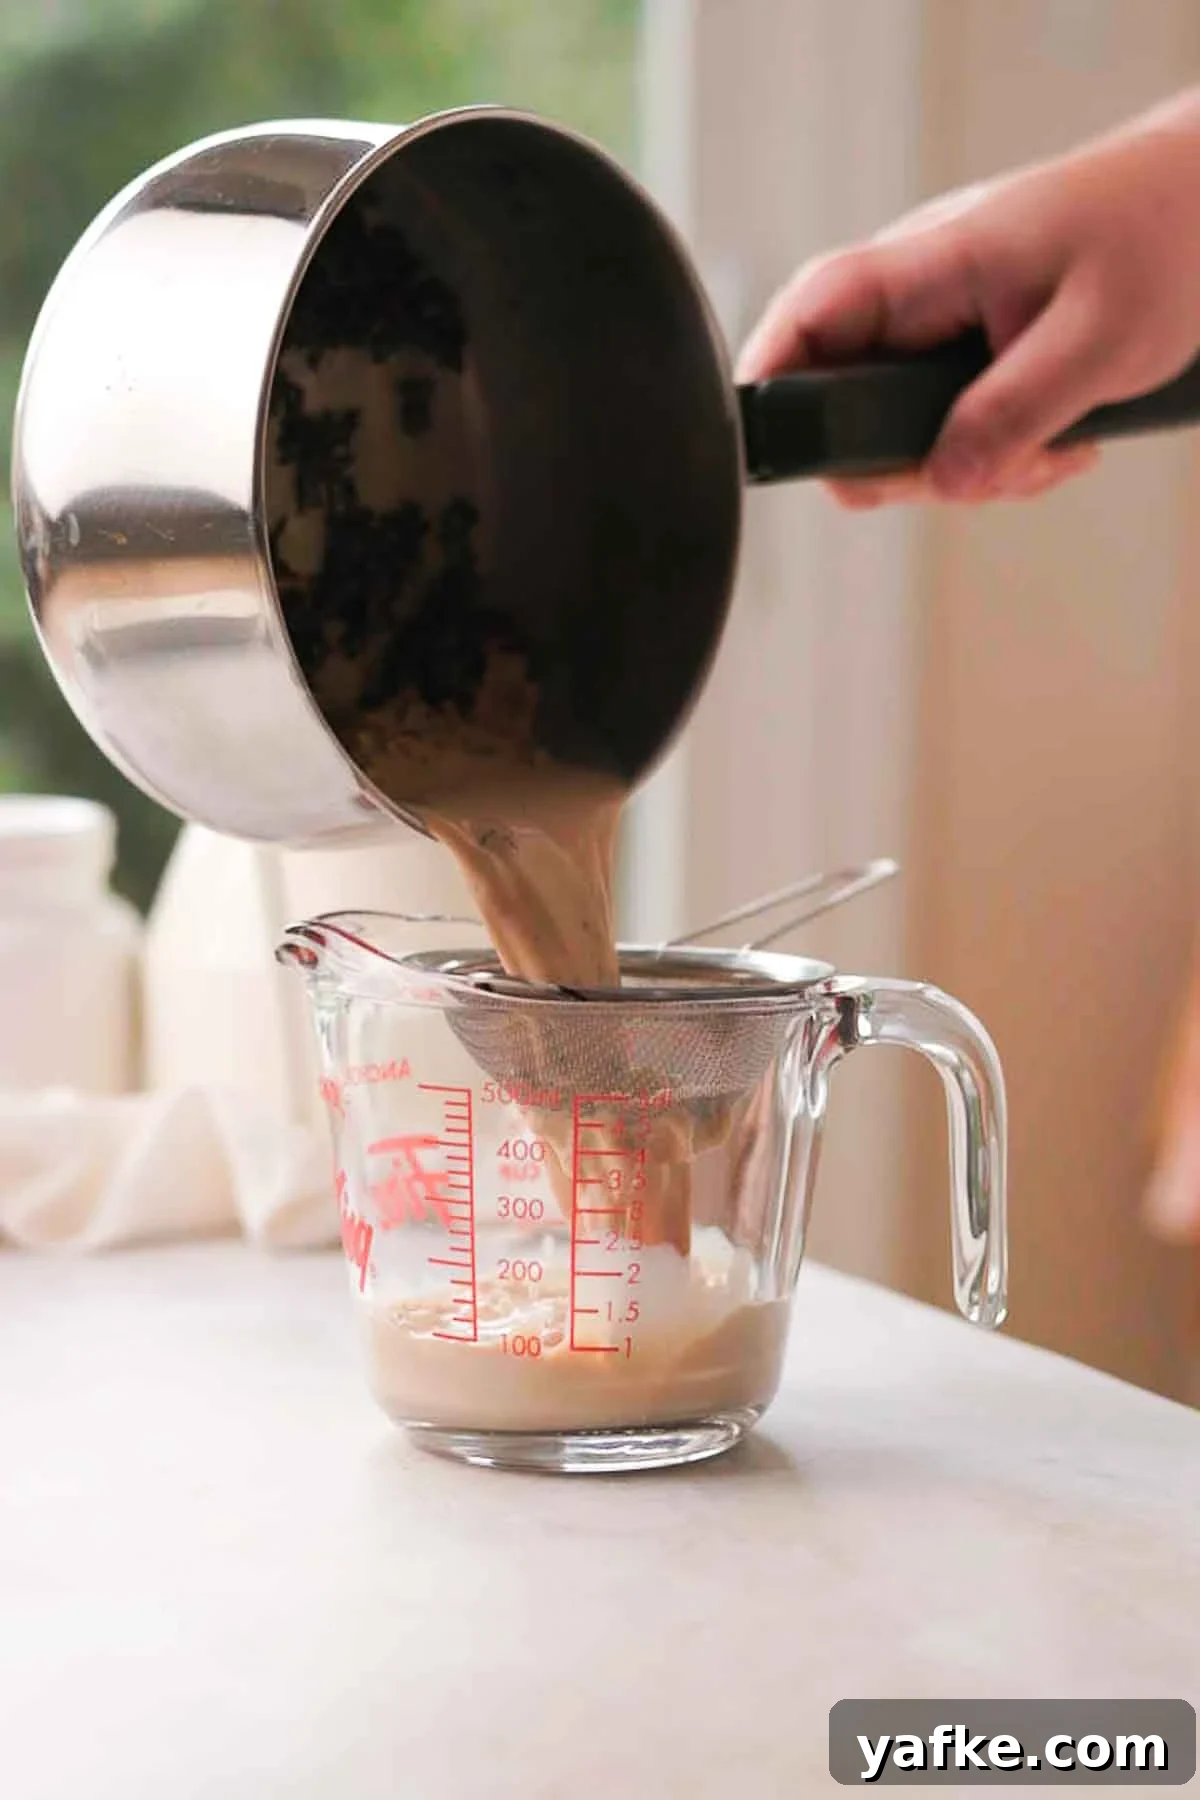
Step 2: Remove from heat and let the mixture steep for about 10 minutes. Strain into a clean container, discarding the tea leaves and vanilla pod.
Step 3: In a large bowl, gently stir the sugar and egg yolks until the mixture is smooth—do not incorporate lots of air or over-whisk.
Step 4: Add the heavy cream, the strained milk infusion, and a pinch of salt, stirring until combined and smooth.
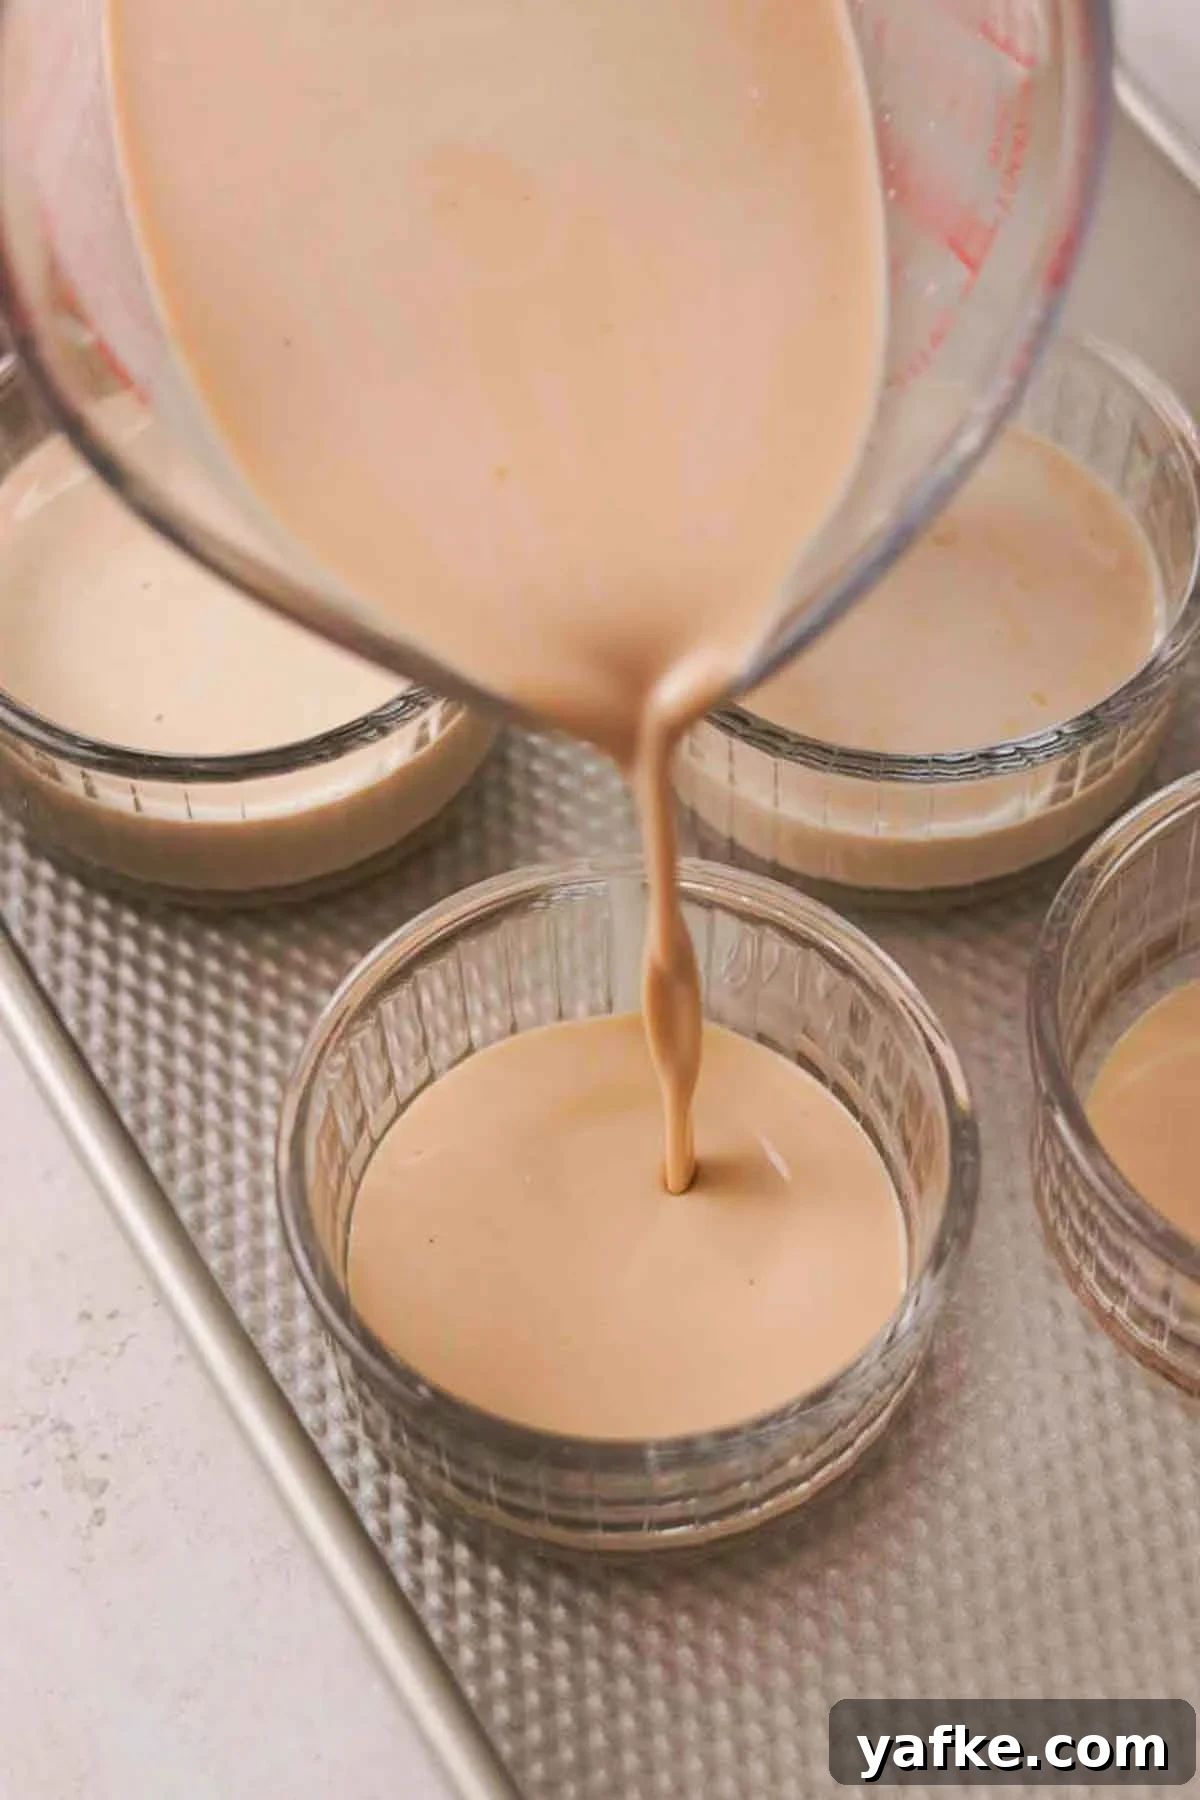
Step 5: Divide the custard evenly among four ramekins. Place the ramekins in a deep baking tray.
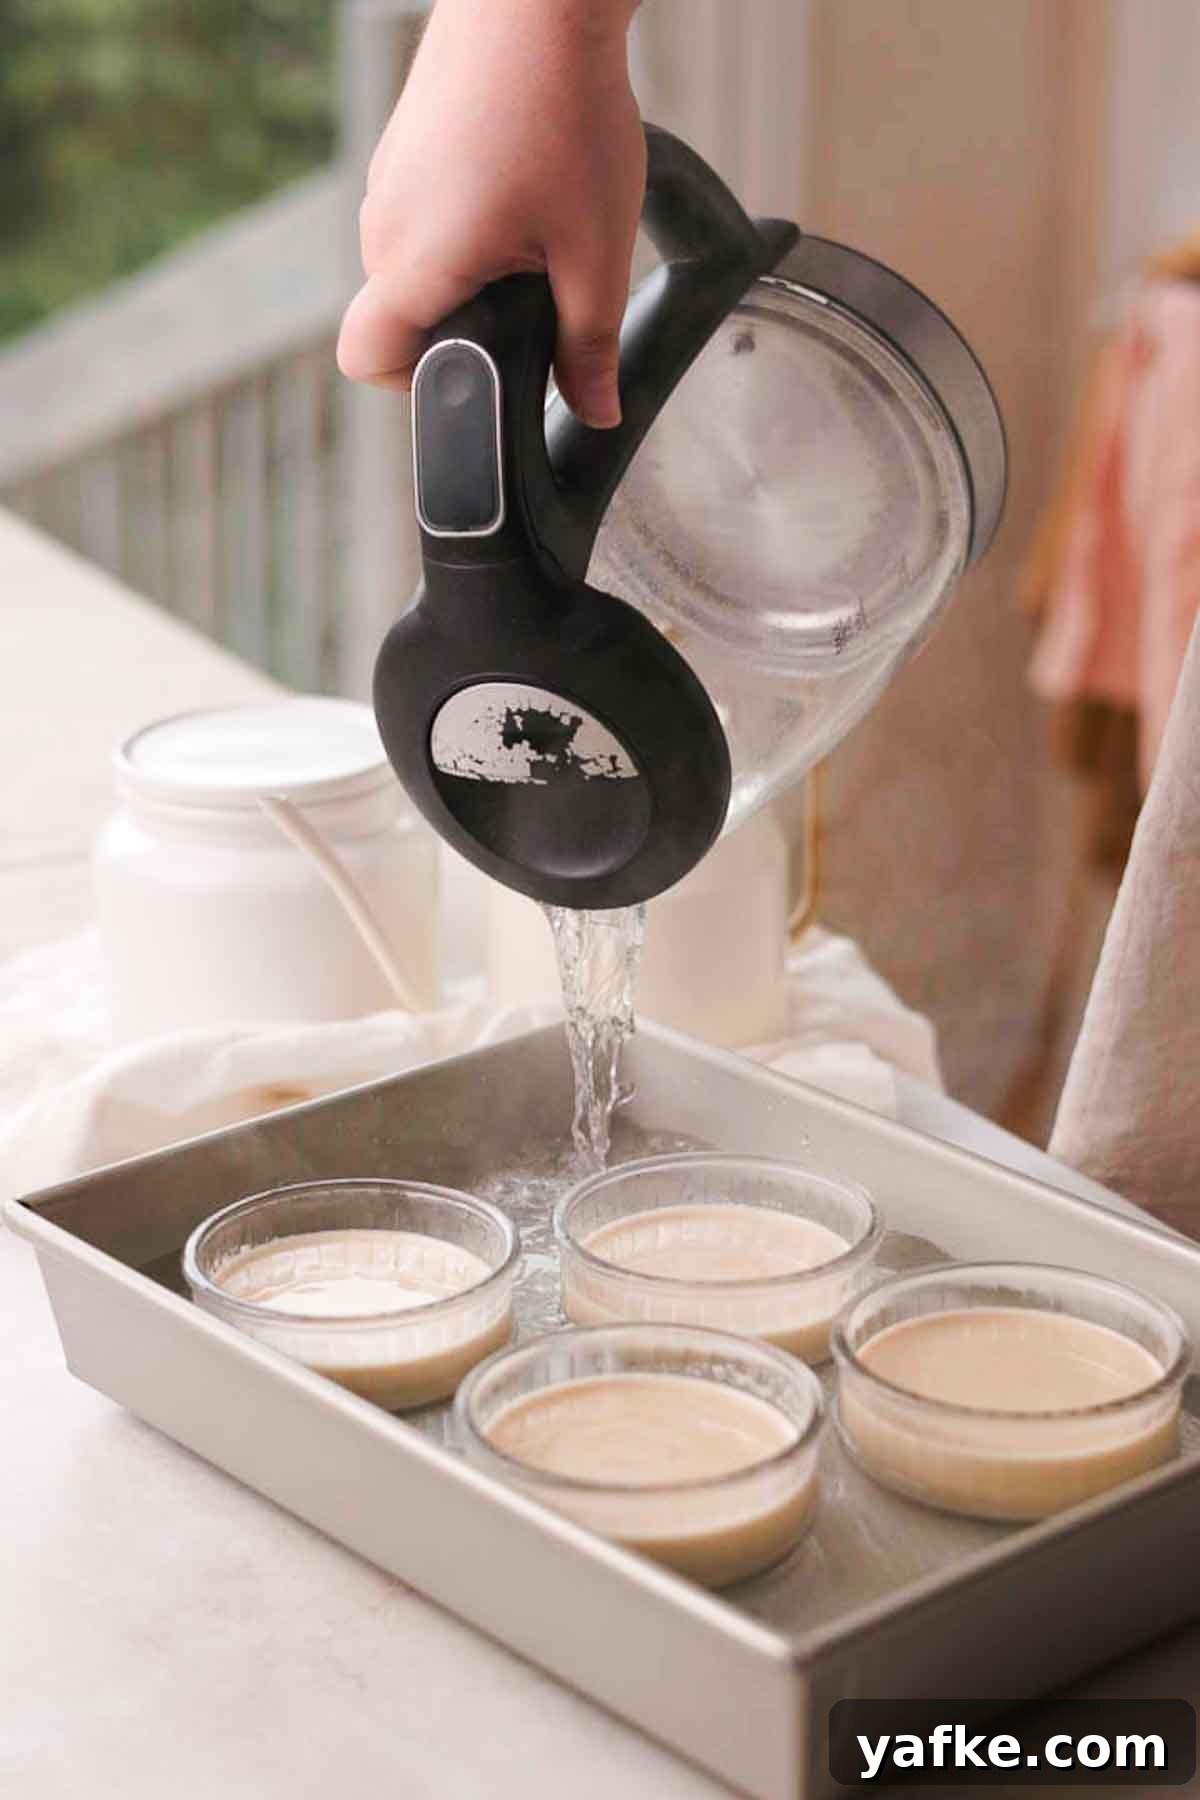
Step 6: Carefully pour boiling water into the tray until it reaches about halfway up the sides of the ramekins, creating a gentle water bath.
Step 7: Bake in an oven preheated to 320°F (160°C) for 25–30 minutes, until the custards are mostly set but still have a slight jiggle in the center. Remove ramekins from the water bath and cool to room temperature, then refrigerate at least 2–3 hours or overnight.
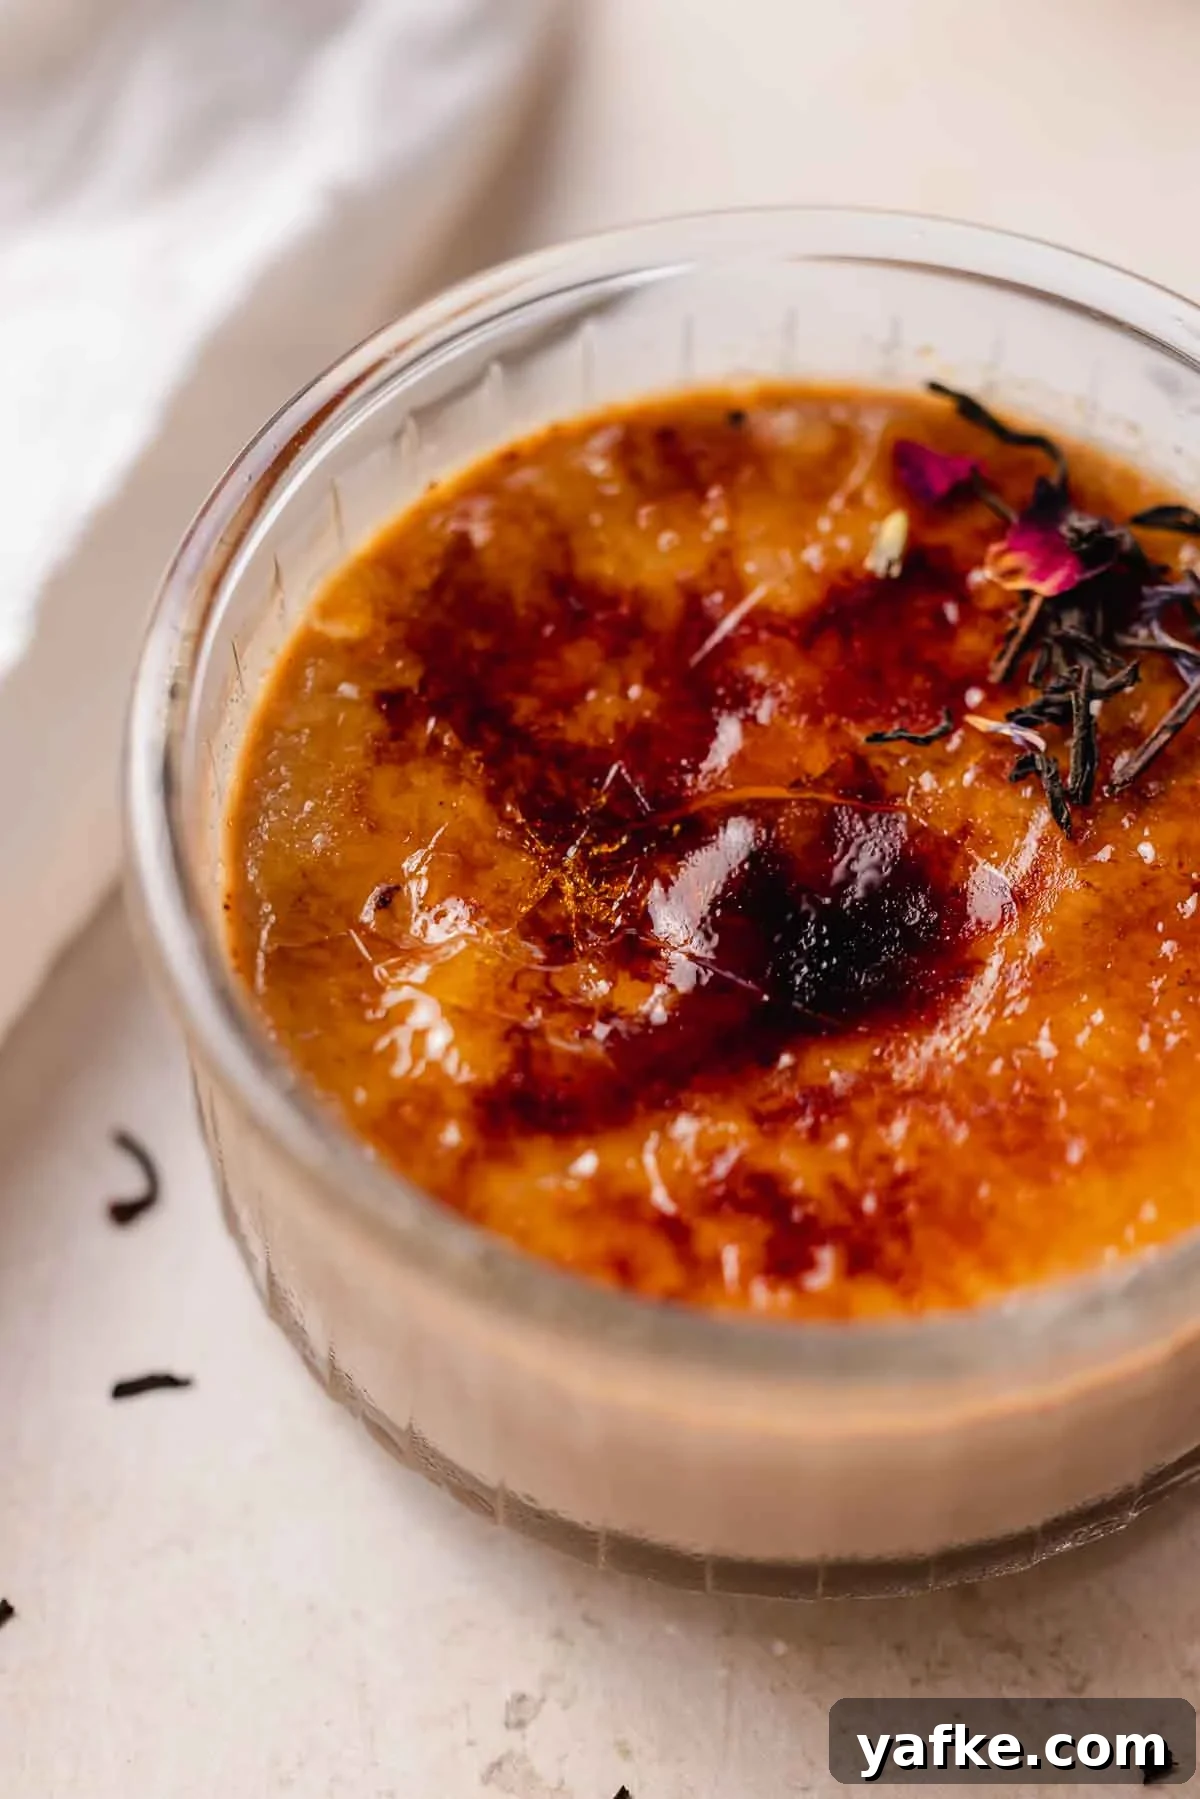
Step 8: Just before serving, sprinkle about 1 tablespoon of granulated sugar evenly over each custard. Caramelize the sugar with a kitchen torch or under a hot broiler until it forms a golden-brown, crisp shell. Allow the caramel to cool and harden, then serve immediately.
✔️ Expert crème brûlée tips
- Avoid over-mixing yolks and sugar: Too much whisking adds air and yields a frothy, less creamy custard.
- Use a water bath: The bath promotes even, gentle cooking so the custard sets uniformly without curdling.
- Fully chill before torching: Chilling firms the custard and improves flavor development—torch only when ready to serve.
- Choose granulated sugar for the topping: It melts and caramelizes reliably to form a smooth, crackable surface.
🥄 Make ahead and storage
You can prepare the custards up to three days ahead and keep them covered in the refrigerator. Do not caramelize the sugar until just before serving—once torched, the caramel will soften if refrigerated and will lose its crisp texture.
❔ Can you use other tea flavors?
Yes — experiment with teas such as English breakfast, chai, or chamomile for different notes. Keep in mind stronger blends (like chai) will bring bolder, spicier flavors; delicate herbal teas yield subtler results.
🍯 What is the best sugar for crème brûlée topping?
Granulated white sugar is the best choice for a smooth, evenly caramelized crust. Coarser or darker sugars take longer to melt and may burn before forming a crisp shell. Brown sugar can become lumpy and tends to produce a bitter, burnt taste when torched.
📖 Recipe FAQs
Aim for a golden-brown surface with a few slightly darker spots. Those small charred bits add a pleasant smoky note while keeping the overall caramel thin and crisp.
Use your oven broiler on high and place the ramekins near the top rack for a few seconds to a minute. Watch them carefully so the sugar browns evenly without burning. A torch gives the most control, but a broiler works in a pinch.
Brown sugar is not recommended. It contains molasses and can char before forming a glassy, crackable surface. Stick with granulated white sugar for the classic result.
Earl Grey’s signature taste comes from bergamot oil, a citrus note traditionally blended with black tea. That bergamot character is what gives Earl Grey its floral-citrus profile.
🍮 More related recipes
-
Pumpkin Creme Brulee
-
Matcha Tiramisu
-
Matcha White Chocolate Truffles
-
Lemon Posset
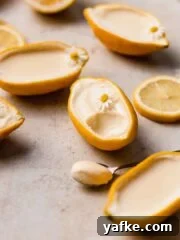
Did you make this? Please leave a rating or comment to share your results. Tag your photos on social if you like to show how your brûlée turned out.
📖 Recipe
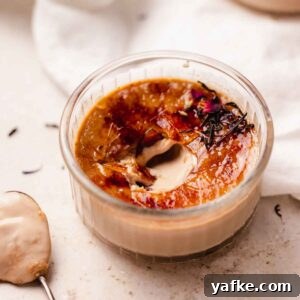
Earl Grey Crème Brûlée
Equipment
- 4 oven-safe ramekins
- Deep baking tray for water bath
Ingredients
- 1 1/3 cups milk (whole preferred)
- 2 tablespoons loose-leaf Earl Grey tea (or 2 teabags)
- 1 whole vanilla bean
- 5 large egg yolks
- 1/3 cup granulated sugar (for custard)
- 1/8 teaspoon sea salt
- 1 cup heavy cream (around 35% fat)
Before serving
- 4 tablespoons granulated sugar (about 1 tbsp per ramekin) for caramelizing
Instructions
- Split the vanilla bean and scrape out the seeds. In a saucepan, combine the milk, vanilla seeds and pod, and the Earl Grey tea. Heat to a simmer, remove from heat, and steep 10 minutes. Strain and discard solids.
- Bring a kettle to a boil and preheat the oven to 320°F (160°C).
- In a bowl, stir the sugar and egg yolks just until smooth—do not whisk until pale. Stir in the heavy cream, strained milk infusion, and salt until fully combined.
- Divide the mixture among four ramekins. Place ramekins in a deep baking tray and carefully pour boiling water into the tray until it reaches halfway up the ramekins.
- Bake for 25–30 minutes, until custards are mostly set with a slight jiggle in the center. Remove from the water bath and cool to room temperature, then chill at least 2–3 hours or overnight.
- When ready to serve, sprinkle 1 tablespoon granulated sugar evenly over each custard. Caramelize with a torch or under a hot broiler until the sugar melts and forms a crisp, golden shell. Let the caramel cool briefly before serving.
Notes
Storage: Custards can be made and chilled up to three days ahead. Do not caramelize the tops until just before serving to preserve the crunch.
Tips for success:
- Do not over-whisk the yolks and sugar.
- Bake in a water bath for gentle, even cooking.
- Chill thoroughly before torching.
- Use granulated sugar for a reliably crisp top.
Nutrition (approx.)
Calories: 437 kcal | Carbohydrates: 35 g | Protein: 8 g | Fat: 30 g