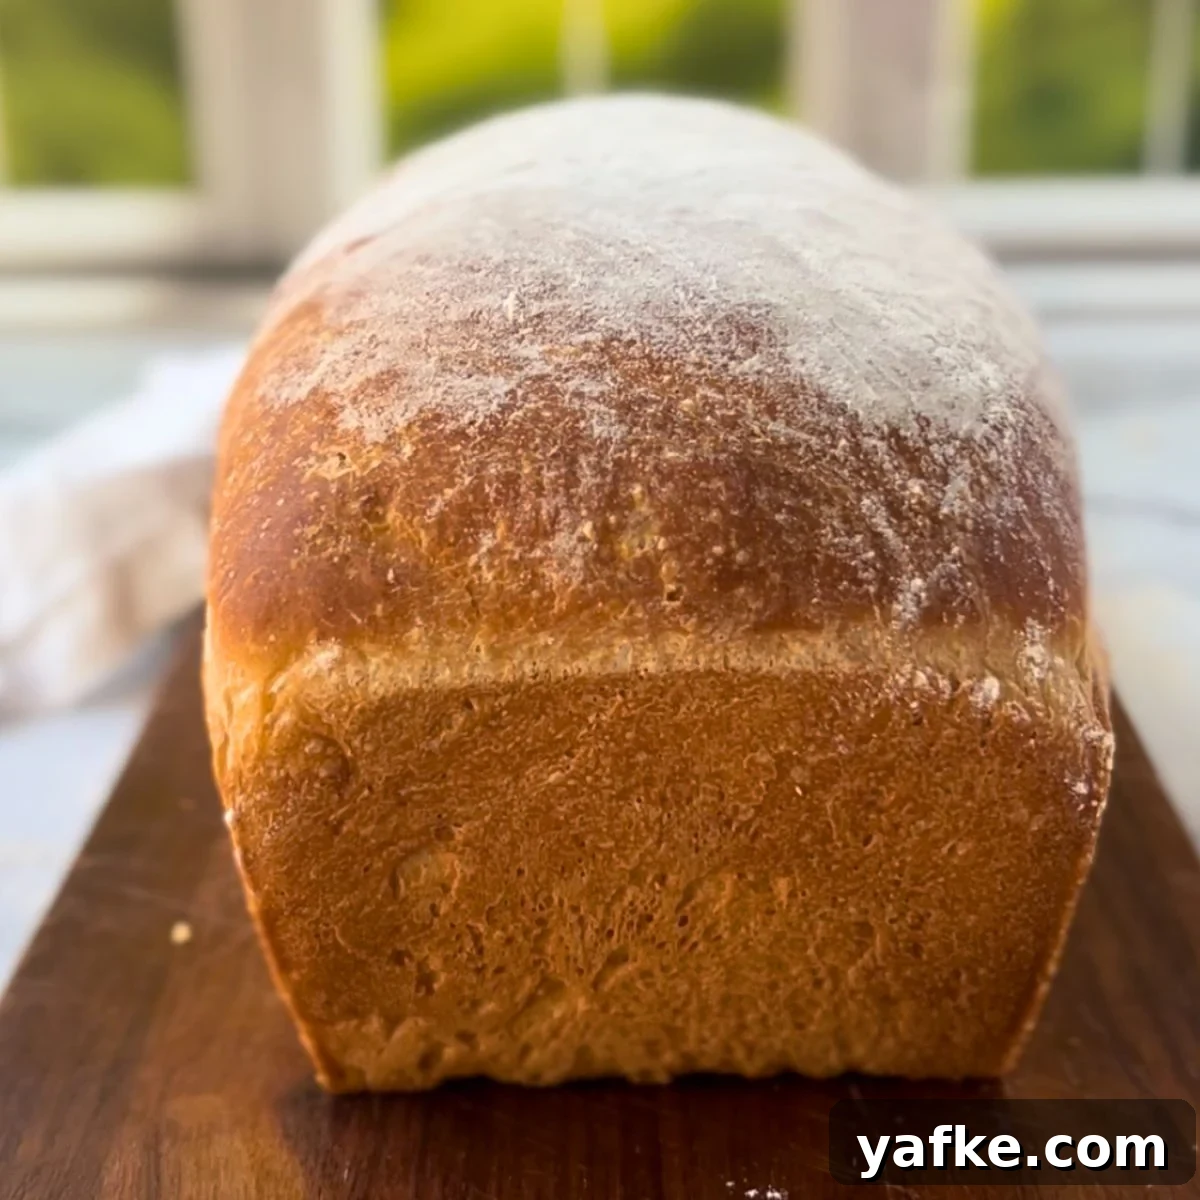
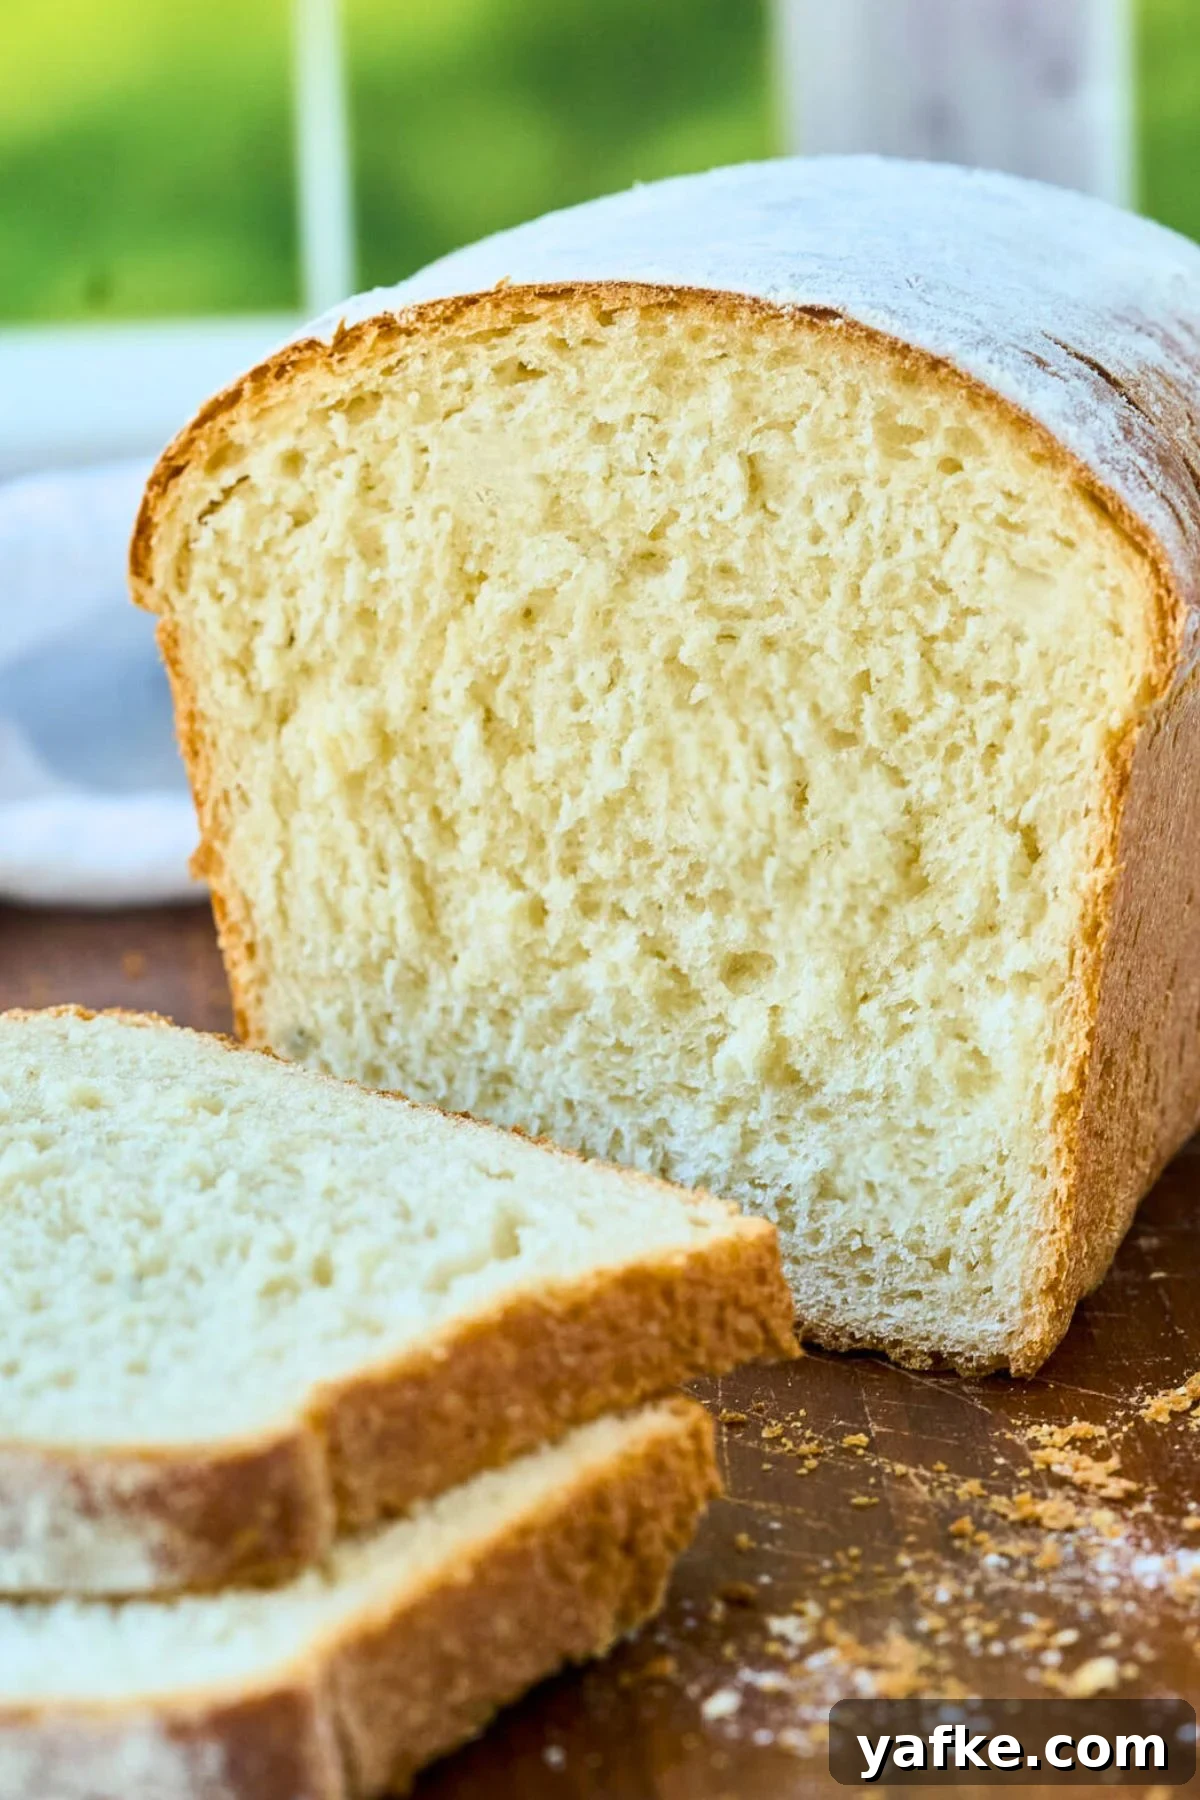
I know homemade bread can feel like a lot of work when store loaves are so cheap, but this easy homemade bread recipe is a game changer. It uses simple pantry ingredients, is forgiving for beginners, and produces a soft, tender loaf that beats most store-bought options. If you’ve been nervous about working with yeast, this is the perfect recipe to start with — I’ll walk you through every step so you can bake with confidence.
If you bake two loaves a week instead of buying store-brand bread at $1.99, you’ll save over $150 a year — and enjoy much better bread.
| Ingredient | Amount | Cost |
|---|---|---|
| All-purpose flour | 2¾ cups | $0.23 |
| Instant yeast | 2¼ tsp | $0.16 |
| Vegetable oil | 2 tbsp | $0.07 |
| Sugar | 3 tbsp | $0.06 |
| Salt | 1¼ tsp | $0.01 |
| Water | 1 cup | free |
| Total | ~$0.53 |
Prices based on a major store-brand estimate. Local prices may vary, but you should still be well under a dollar per loaf.
What You’ll Need
A stand mixer or bread machine makes kneading easier, but neither is required. You can knead this dough by hand on a clean surface. If you have an old bread machine at a thrift store, the dough cycle is a great time-saver.
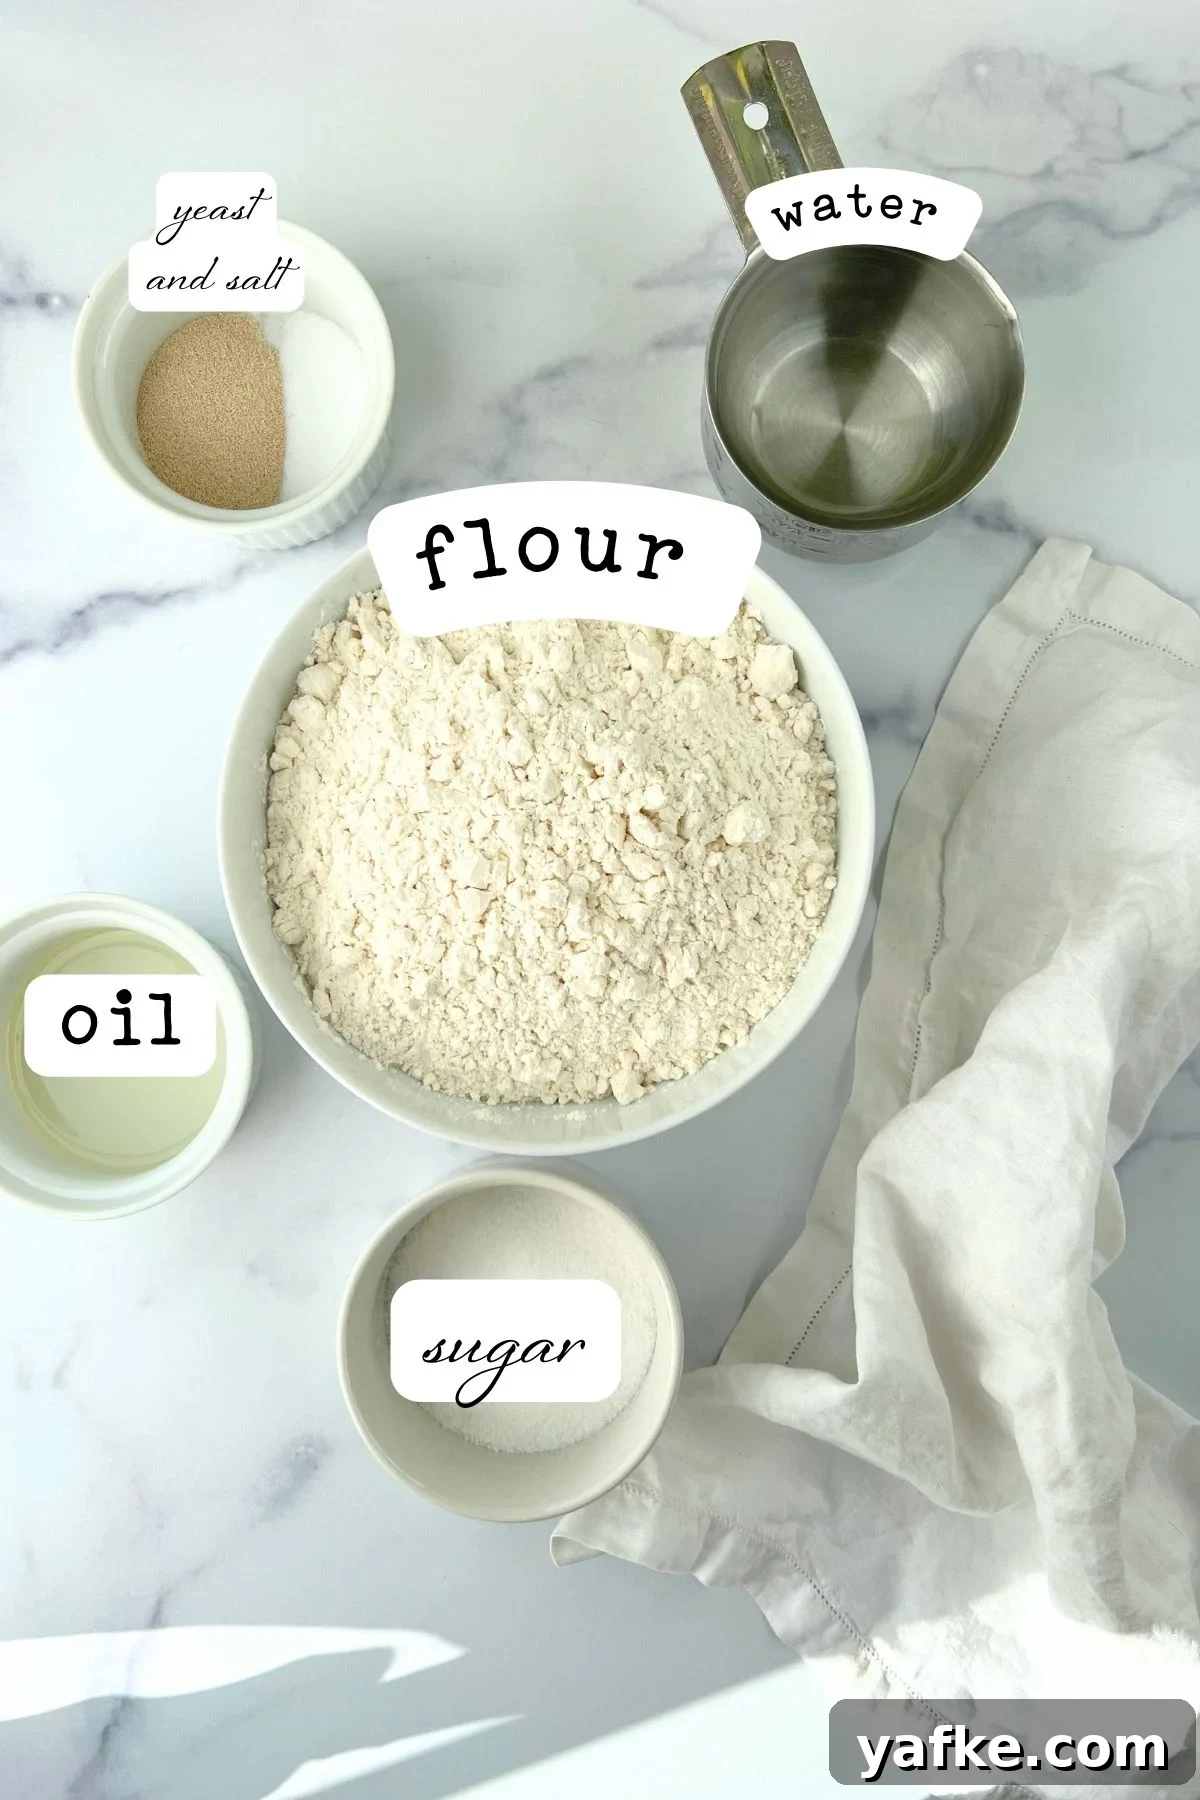
Scaling tip: You can double or triple this recipe and freeze extra loaves. Baking multiples maximizes your oven time and energy use.
- 2¾ cups all-purpose flour (bread flour works if you prefer a chewier loaf)
- 1 cup lukewarm water
- 2 tablespoons vegetable oil (melted butter or olive oil also work)
- 3 tablespoons sugar
- 1¼ teaspoons salt
- 2¼ teaspoons instant or active dry yeast
Instructions
Remember: Always judge dough by how it feels and looks rather than the clock. If the dough looks dry, add a teaspoon or two of water as you knead; if it hasn’t risen enough, give it more time in a warm spot.
Mix the dough
Combine all ingredients in a stand mixer fitted with a dough hook or in a large bowl if you’re mixing by hand. Mix until a shaggy dough forms and it pulls away from the bowl sides. If it sticks to the bottom, add flour a tablespoon at a time. If it seems dry and won’t come together, add water a teaspoon at a time.
Keep this step simple — you only need everything combined into a cohesive dough.
Knead until smooth
Knead on low in the mixer for about 10 minutes, or knead by hand for 10–15 minutes. The dough should be smooth, slightly tacky, and spring back when you poke it.
Use the windowpane test: tear off a small piece and stretch it gently. If it stretches thin enough to let light through without tearing, it’s ready. If it tears immediately, keep kneading a bit longer.
First rise
Shape the dough into a ball and place it in a clean bowl lightly coated with oil. Cover with a damp towel or plastic wrap and set in a warm place for about an hour, until puffy and roughly doubled.
If your kitchen is cool, turn the oven to its lowest setting for a minute or two, then turn it off and let the dough rise inside with the door closed — the residual warmth is ideal.
Shape the loaf
Lightly grease an 8½ x 4½ inch loaf pan. Turn the dough onto a clean surface (no additional flour needed), gently stretch it into a rectangle about 9 x 18 inches, and roll it tightly from the short side so the short edge matches the length of the pan. Pinch the seam closed and place the loaf seam-side down in the pan.
Second rise
Cover the pan loosely with greased plastic wrap and let the dough rise until it crests about an inch above the rim of the pan — usually about an hour. About 15 minutes before baking, preheat your oven to 350°F (175°C).
Bake
Bake for 35–40 minutes, until the crust is golden and the loaf sounds hollow when tapped on the bottom. For precision, a thermometer should read 195–200°F in the center. Remove from the pan immediately and cool completely on a wire rack before slicing; cooling at least 30 minutes prevents a gummy crumb.
Storage Instructions
Allow the bread to cool completely. Store in an airtight container or wrapped tightly in plastic at room temperature for up to three days. For longer storage, slice and freeze in a freezer-safe bag or container; frozen slices keep up to three months and make it easy to thaw only what you need.
The Homemade Bread Lifestyle
Having a reliably inexpensive loaf on hand opens up many simple meals and reduces food waste. This loaf holds up well to spreads and fillings, and a single batch can become many meals.
- Sandwiches — the crumb holds up to condiments without getting soggy
- Grilled cheese — perfect melty sandwiches
- French toast — thick slices make excellent French toast
- Toast with butter and jam — a classic
- Garlic bread — slice thick, butter, sprinkle garlic salt, and broil until golden
- Breadcrumbs — pulse stale slices in the food processor for homemade crumbs
Simple Variations
- Cinnamon swirl: Spread softened butter and cinnamon sugar over the rectangle before rolling.
- Honey wheat: Replace half the flour with whole wheat and use 2 tablespoons honey instead of sugar for a heartier loaf.
- Herb bread: Add 1–2 teaspoons dried rosemary, thyme, or Italian seasoning to the dough.
- Garlic butter top: Brush with melted butter mixed with garlic powder as soon as it comes out of the oven.
Troubleshooting
Yes. After the first rise, punch the dough down, wrap it tightly, and refrigerate for up to 24 hours. Bring it to room temperature before shaping and proceeding with the second rise.
Possible causes include slightly too little liquid, insufficient kneading, cold environment, or older yeast. Give it more time in a warm spot and ensure your yeast is within its freshness window.
Dense loaves usually result from under-kneading or under-proofing. Make sure the dough passes the windowpane test and that it doubles during the first rise.
Shape the dough into a round boule and bake on a baking sheet for a rustic free-form loaf. Baking time may vary slightly.
Printable Recipe
Cheap Easy Homemade Bread
Servings: about 12 slices
Prep time: 45 minutes (plus rising) • Cook time: 35–40 minutes • Total time: ~3 hours including rising
Ingredients
- 2¾ cups all-purpose flour
- 1 cup lukewarm water
- 2 tablespoons vegetable oil
- 3 tablespoons sugar
- 1¼ teaspoons salt
- 2¼ teaspoons instant or active dry yeast
Equipment
- 8½ x 4½ inch loaf pan
- Large bowl
- Measuring cups and spoons
Directions
- Mix all ingredients in a stand mixer with the dough hook or in a large bowl. Combine until a cohesive dough forms that pulls away from the bowl sides.
- Knead for 10–15 minutes until smooth and elastic. Use the windowpane test to check readiness.
- Place dough in a lightly oiled bowl, cover, and let rise in a warm place until doubled, about 60 minutes.
- Turn dough out, stretch into a 9 x 18 inch rectangle, tuck corners, and roll into a log. Pinch seam and place seam-side down in a greased loaf pan.
- Cover loosely and let rise until about 1 inch above the pan rim. Preheat oven to 350°F (175°C) during the last 15 minutes.
- Bake 35–40 minutes until golden and hollow-sounding when tapped. Internal temperature should reach 195–200°F for best results. Cool completely on a wire rack before slicing.
Notes
Allow plenty of time for the dough to rise fully. Adjust water or flour by small amounts if the dough feels too stiff or too sticky while kneading.