
Here are essential baking rules everyone should follow, whether you’re a beginner or an experienced home baker. Some are intuitive, while others are key tips that will improve your baking results for life.
1. Read the Recipe Thoroughly (and Read Reviews)
Always read the entire recipe — ingredients, instructions, and any notes — before you begin. This helps you confirm you have everything you need, understand each step, and decide whether the recipe suits your time and equipment. Reviews often contain useful adjustments, pan-size notes, and substitution tips that can save you time and frustration.
2. Check That You Have All the Ingredients
Gather and check every ingredient before you start. Running out of an ingredient mid-recipe is one of the biggest annoyances in baking. Make sure quantities match what the recipe calls for and note any special ingredients or pan sizes required.
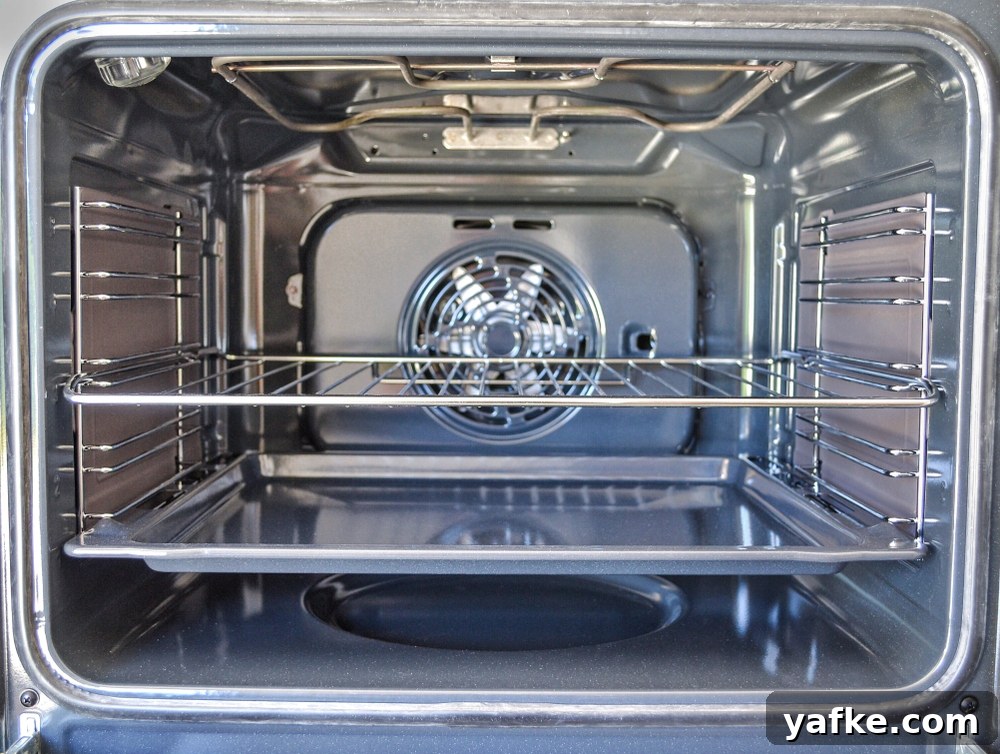
3. Preheat the Oven Before You Begin
Preheat your oven early so it reaches the correct temperature by the time the pan is ready. Many baked goods are sensitive to timing and temperature, and waiting to preheat can cause poor rise or uneven texture.
4. Use Ingredients at the Right Temperature
Ingredient temperature impacts texture and structure. Room-temperature butter creams better for cakes, cold butter is preferred for flaky pastries, and liquids for activating yeast should be warm (roughly 110–115°F / 43–46°C). Recipes that use melted coconut oil often require room-temperature eggs and other liquids to prevent the oil from resolidifying and causing a lumpy, dry batter.
5. Wash Your Hands After Handling Eggs
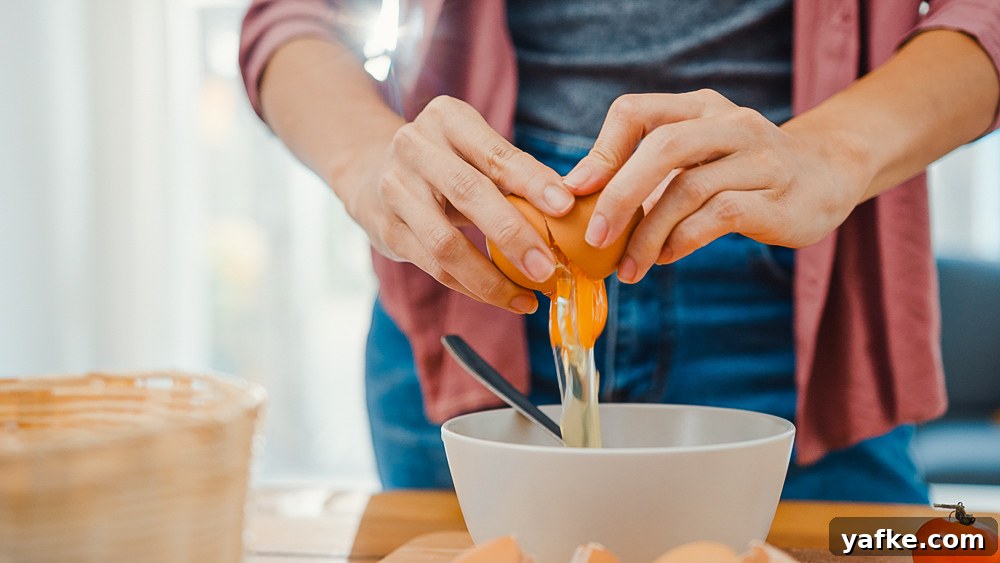
Always wash your hands after cracking eggs. Raw eggs can carry harmful bacteria like Salmonella, which can contaminate surfaces and other foods. A quick hand wash reduces risk and keeps your kitchen hygienic.
6. Don’t Skip the Salt
Salt isn’t just for seasoning savory dishes — in baking it enhances and balances flavors, prevents flat and overly sweet results, and brings out the full profile of other ingredients. Follow the recipe’s salt instructions for best results.
7. Use the Correct Mixing Technique
Follow the recipe’s instructions: mixing, beating, folding, stirring, kneading, cutting, and sifting are not interchangeable. Each technique affects gluten development, air incorporation, and texture. For example, beating incorporates air and emulsifies fats; folding preserves air in delicate mixtures like whipped egg whites; mixing combines ingredients and can develop gluten; cutting combines fat and flour for a flaky texture.
Other common techniques
- Stirring — gentle circular motion to combine ingredients evenly.
- Kneading — develops gluten for structured doughs like bread.
- Cutting — combines fat into flour to limit gluten and create flakiness.
- Sifting — removes lumps, adds air, and promotes even mixing of dry ingredients.
8. Avoid Overmixing
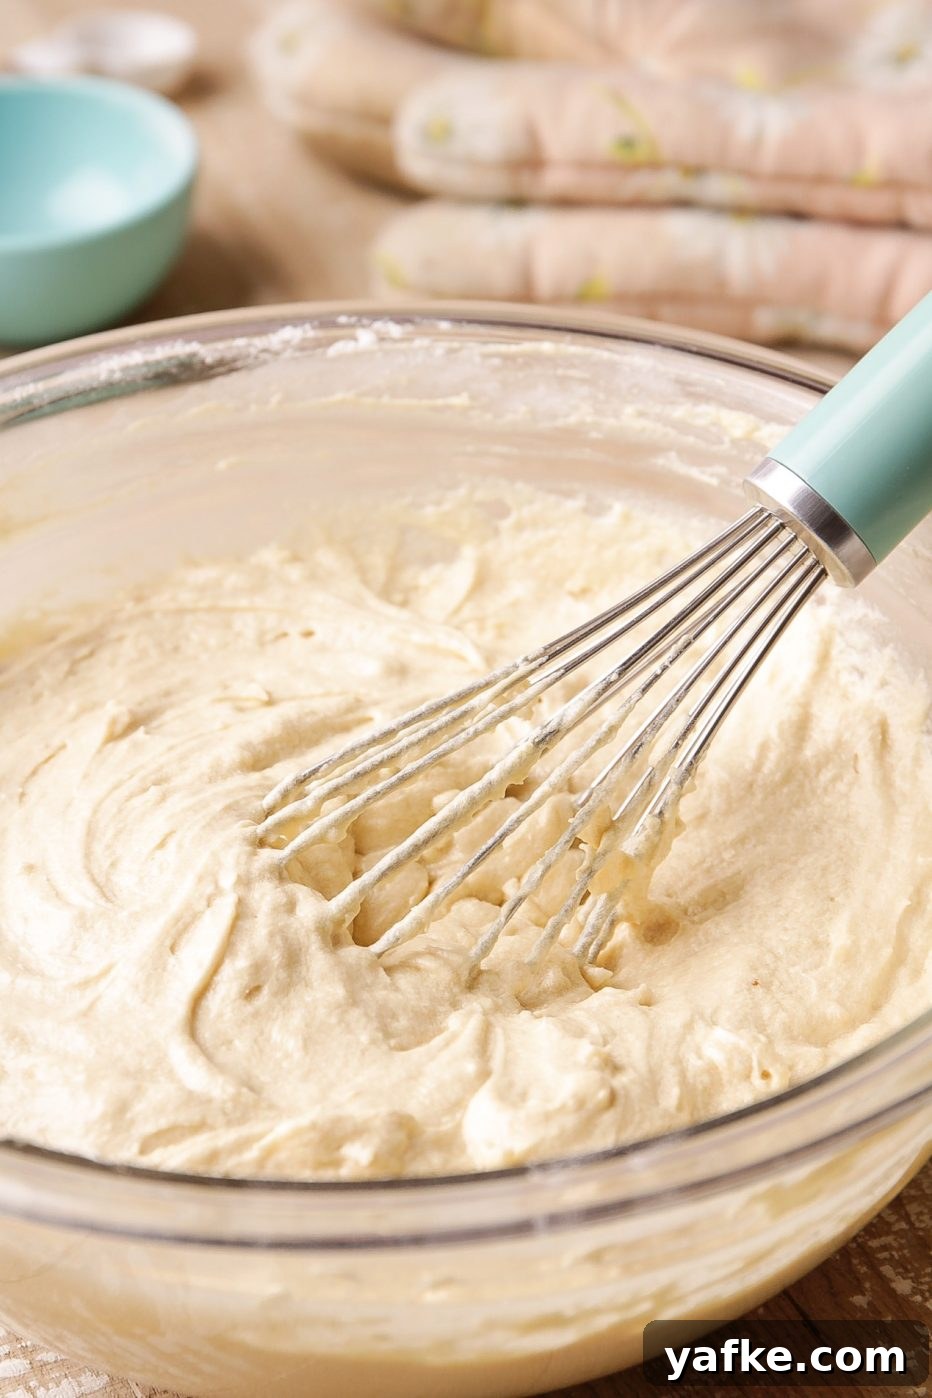
Overmixing develops too much gluten, which can make cakes, muffins, and pastries tough, dry, gummy, or full of tunnels. Mix only until ingredients are just combined; when flour is added last, stop when no dry streaks remain.
Signs of overmixed batter
- Tunnels or elongated holes
- Tough, rubbery texture
- Dry or gummy crumb
- Sunken tops
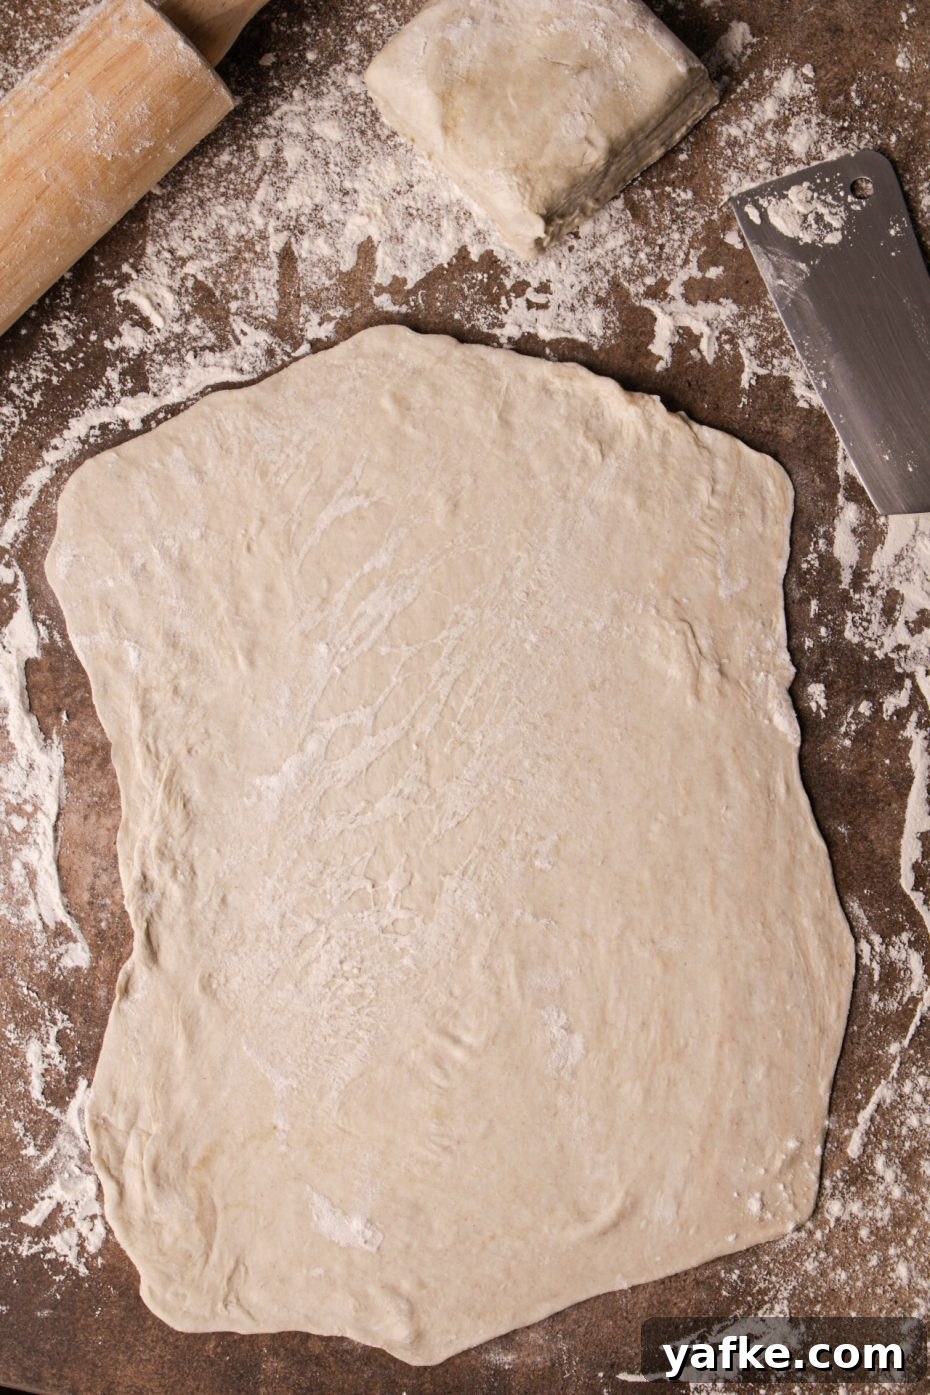
Signs of overworked dough
- Tight dough that tears instead of stretches
- Excessive chewiness or toughness
- Overly crisp or flat results
9. Measure Accurately
Accurate measurement is critical in baking. You can measure by weight or by volume — weight (using a digital kitchen scale) is far more precise and preferred by professionals. Measuring by volume requires proper dry and liquid measuring cups and measuring spoons. Choose one method and follow the recipe’s units carefully to achieve consistent results.
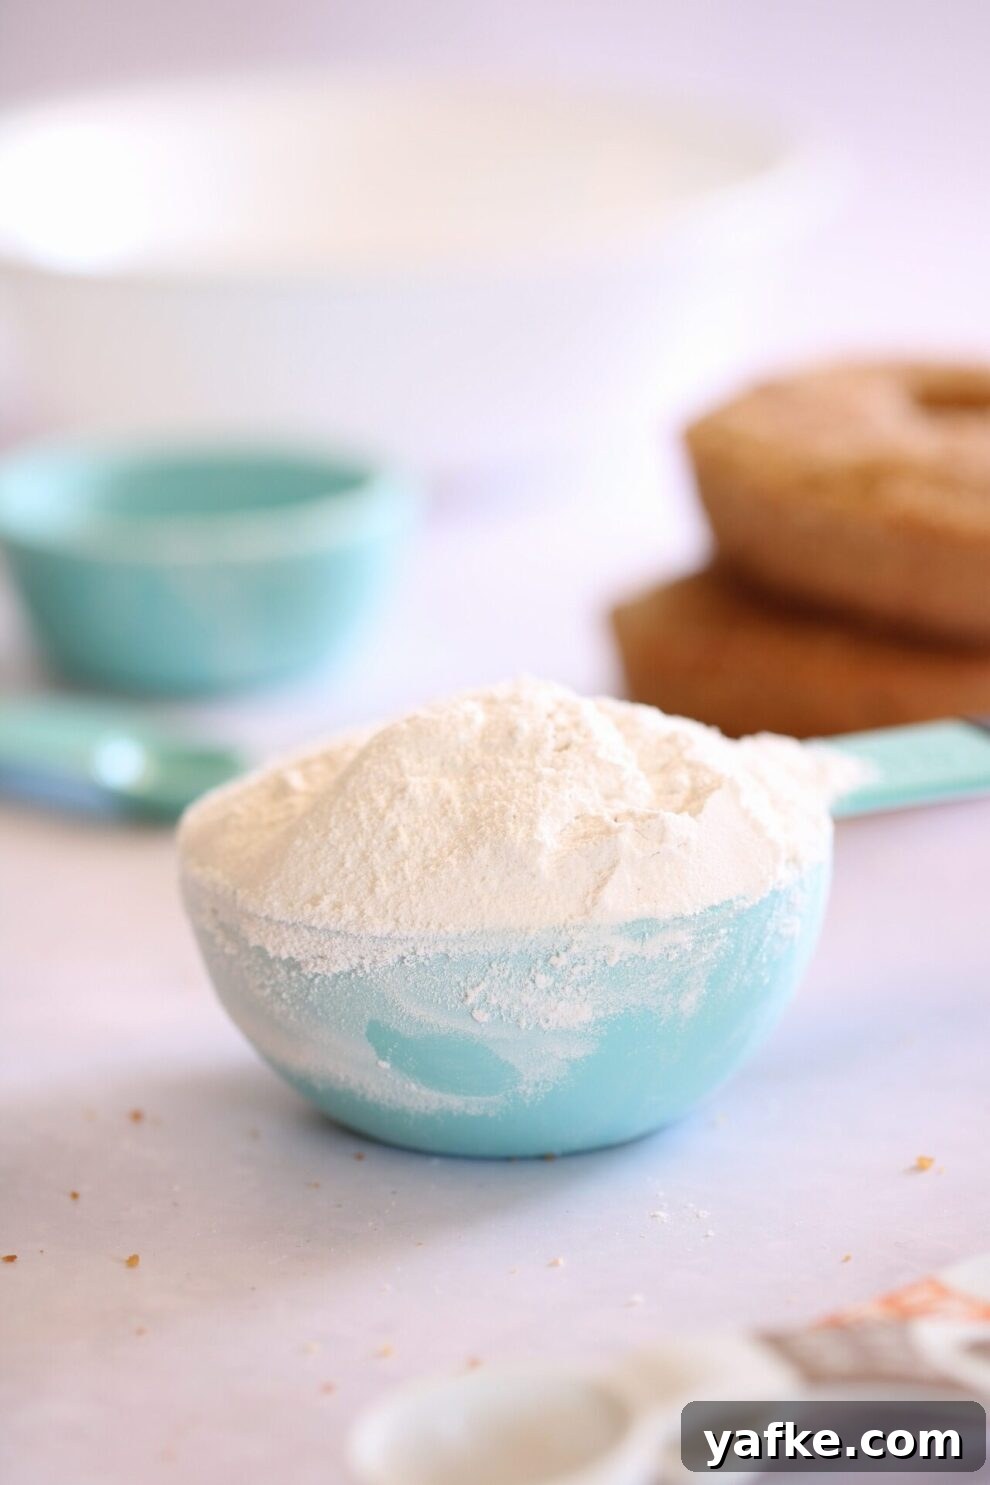
10. When Using Cups, Spoon and Level Flour
When measuring flour by cup, fluff the flour, spoon it into the cup, and level it with the back of a knife. Scooping directly from the container packs flour into the cup and adds excess, which can make baked goods dry and dense.
11. Use the Right Tools
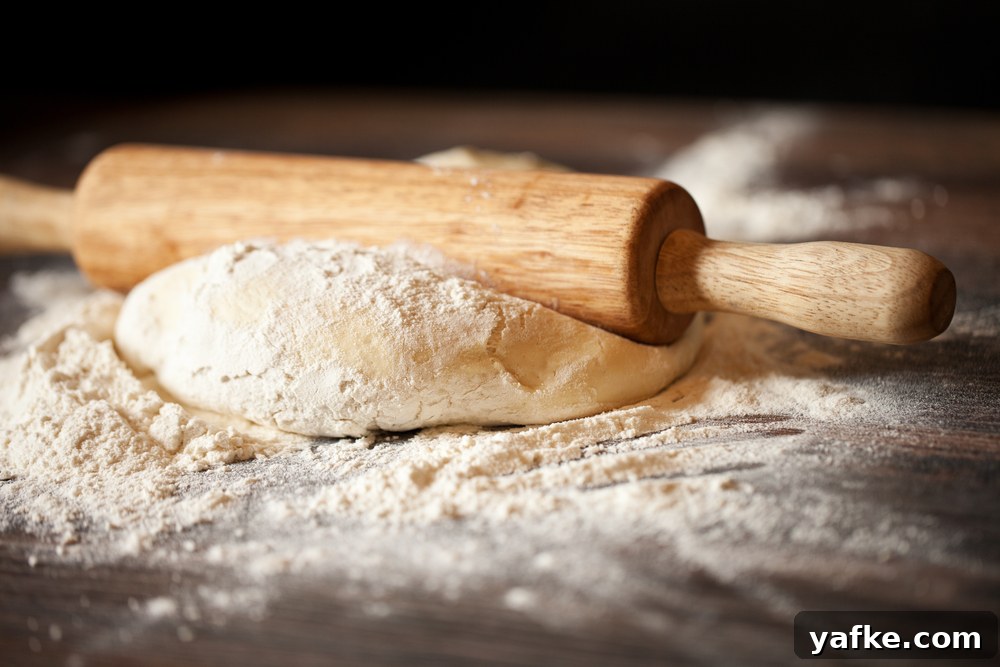
Using the correct utensils saves time and improves results. For example, an electric mixer or whisk is best for creaming butter and sugar, while a rolling pin is best for rolling dough. Using improper tools can lead to uneven texture and unnecessary effort.
12. Use the Right Size Pan
Recipes are formulated for specific pan sizes. Using a different pan can drastically change baking time and the final texture — too small a pan can cause overbaking; too large a pan can produce a thin or underbaked center. Stick to the recommended pan size or adjust bake time and watch closely.
13. Prep Your Pans
Always prepare pans to prevent sticking. Common options include greasing with butter or shortening (often with a light dusting of flour for cakes), nonstick cooking spray, parchment paper (not wax paper), or foil. For muffins and cupcakes, paper liners or foil-lined liners reduce sticking; lightly spraying liners also helps.
14. Follow Fill Instructions
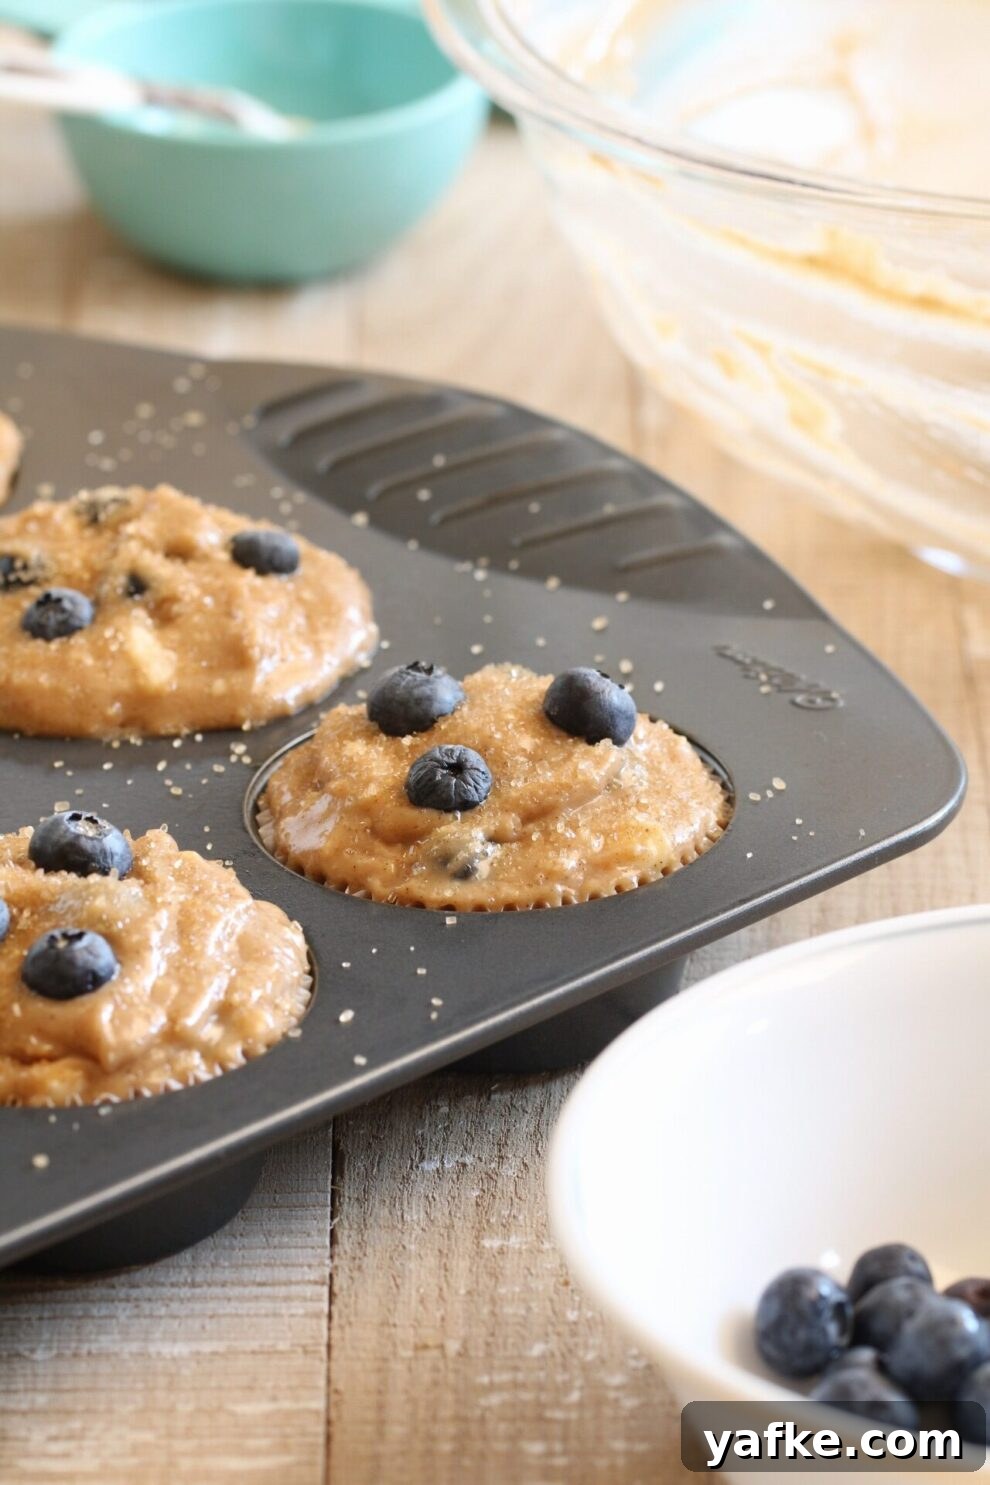
Fill muffin cups and pans to the level the recipe specifies — usually half, two-thirds, or full — to allow for proper rise and room for toppings. Overfilling or underfilling can change the shape and bake time of the finished product.
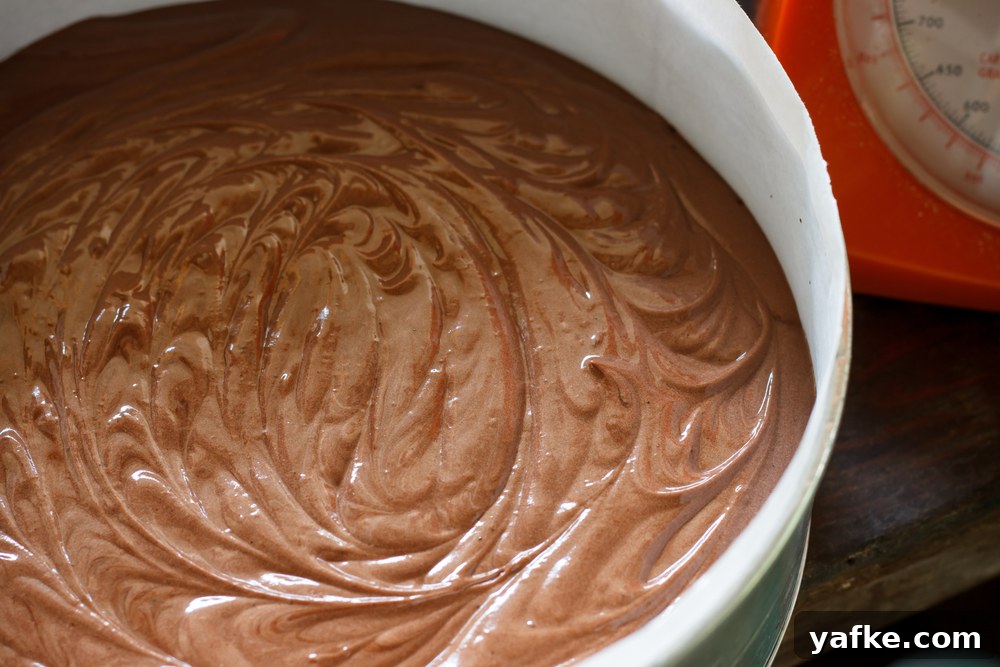
15. Smooth and Level the Batter
After pouring batter into the pan, smooth the surface so the item bakes evenly. Gently tapping the pan can release air bubbles that would otherwise create holes or uneven texture.
16. Bake on the Center Rack
The center rack provides the most even heat. The top rack is typically for broiling and the bottom rack for extra browning. Unless the recipe states otherwise, use the center position for balanced baking.
17. Set the Timer Immediately
Start the timer as soon as you place the item in the oven. Bake times begin the moment the batter goes in, and delaying the timer risks overbaking — especially with quick-baking items like cookies.
18. Avoid Opening the Oven Door
Opening the oven door frequently lets heat escape and can cause delicate items to collapse or fail to rise properly. If you must check, wait until the product is near the end of its baking time.
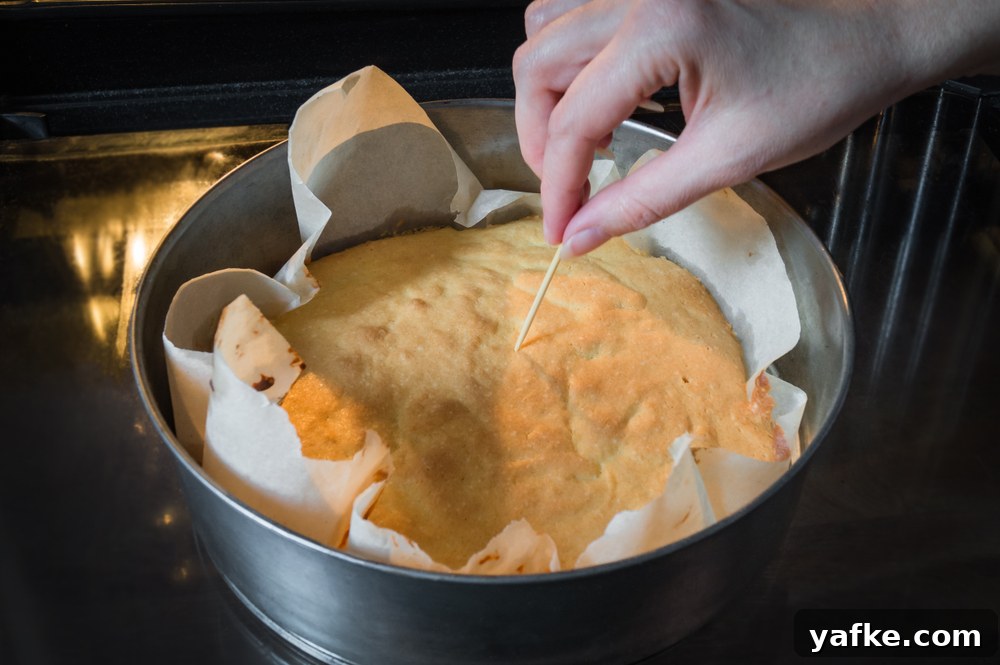
19. Test for Doneness with a Toothpick (When Appropriate)
For muffins, cakes, quick breads, and brownies, the toothpick test is a reliable check: insert a toothpick into the center and observe what comes out — wet batter, moist crumbs, or a mostly clean pick. The recipe should indicate the desired result. Other signs of doneness include a golden edge, a fragrant aroma, spring-back on the top when gently pressed, or crisp edges for cookies.
20. Follow Cooling Instructions
Cooling time affects texture and structure. Many recipes recommend a short rest in the pan followed by transfer to a wire rack to cool completely. Residual heat continues to set baked goods, so follow the suggested cooling times for muffins, cookies, cakes, quick breads, brownies, bundts, and cheesecakes.
21. If Something Goes Wrong, Troubleshoot
When a bake doesn’t turn out as expected, take a moment to identify why. Check ingredient quality and temperatures, measurements, mixing technique, oven temperature, and pan size. Learning from mistakes improves future results and reduces wasted time and ingredients.
Recipes featured in this post:
Cream Cheese Pound Cake — a rich, decadent loaf with tangy cream cheese flavor.
Loaf Pan Almond Cheesecake
Almond Poppy Seed Loaf