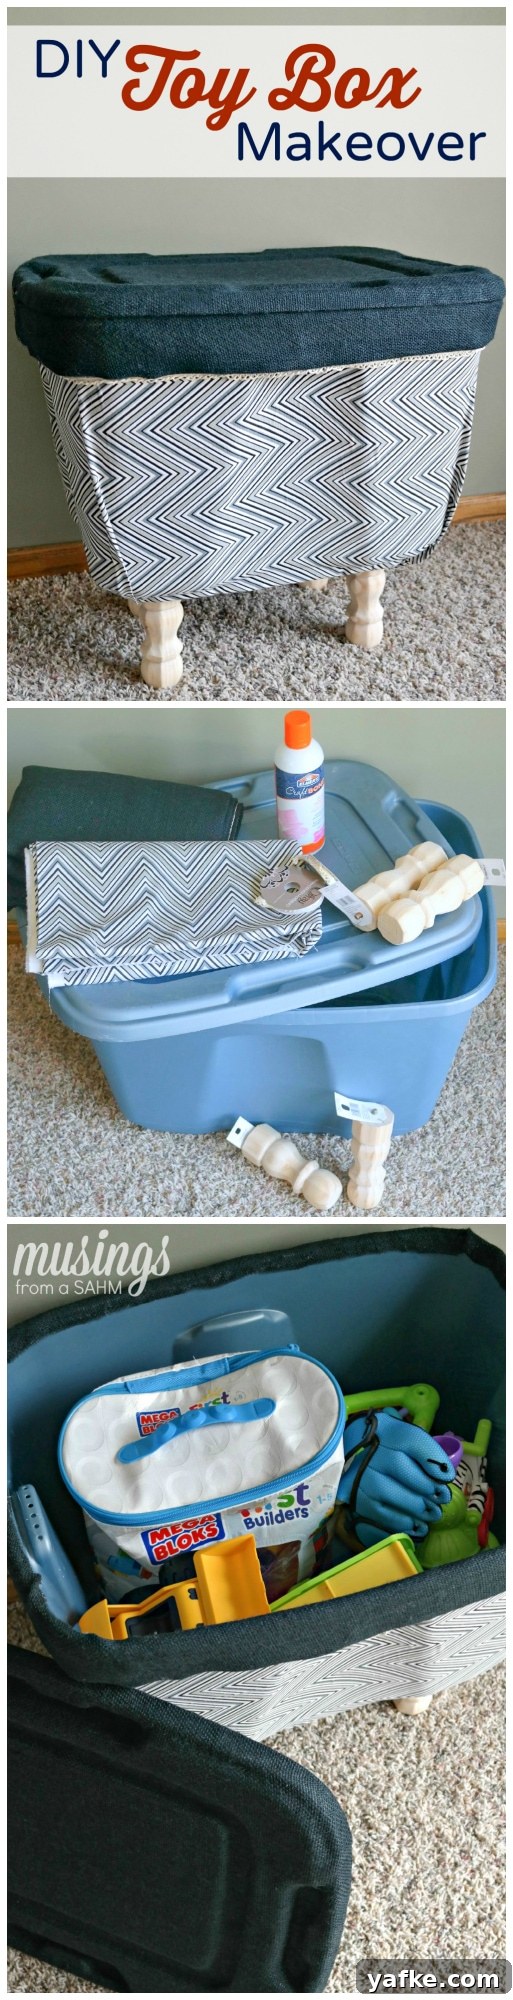
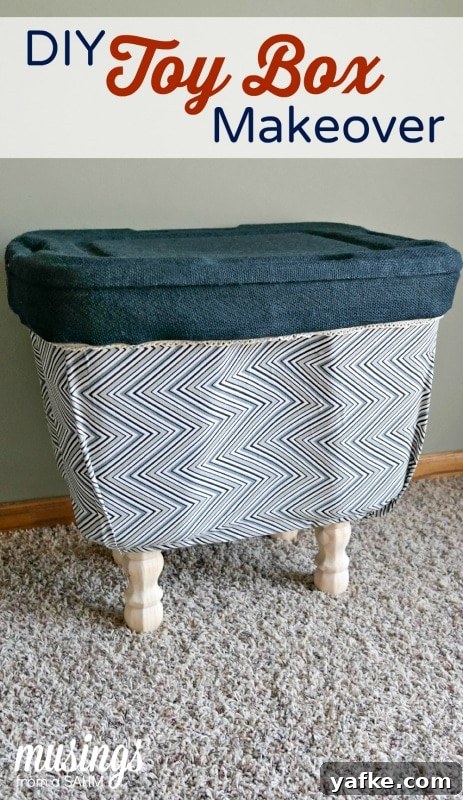
With more than 18 years in interior design, I’ve often struggled to find toy storage that complements a home’s decor. I want our house to feel welcoming and lived-in — and that includes being lived-in by little people. Because most of our toys live in the main living area rather than in bedrooms, it was important to me that a toy box look attractive and coordinate with the room.
After seeing many approaches, including simple plastic-tote makeovers, I decided to create my own version. The result is an inexpensive, stylish DIY toy box that blends with the room while hiding clutter. Below I’ll walk you through the process of transforming an ordinary plastic storage bin into a finished piece of functional decor you can customize to match your home.
DIY TOY BOX MAKEOVER:
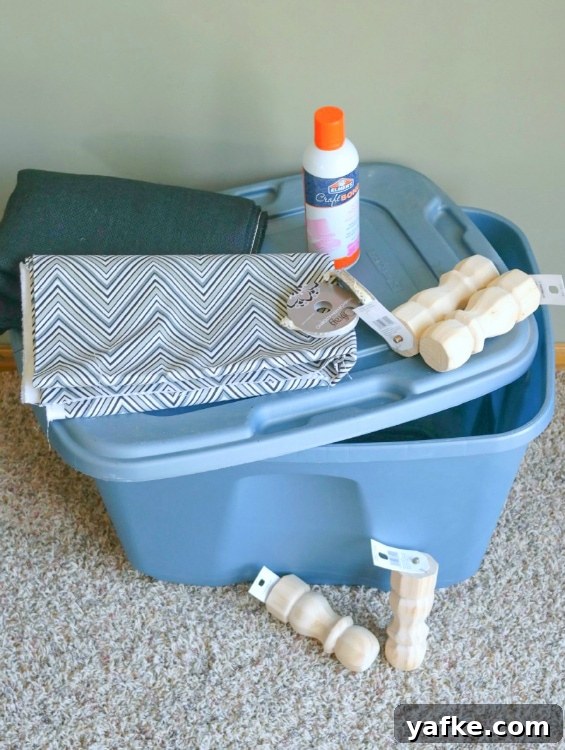
Supplies:
- 1 plastic storage tote with lid
- 1–2 yards of fabric (amount depends on tote size)
- 1 yard of burlap or other coordinating textured fabric
- 1–2 spools of cording or decorative trim
- Spray adhesive suitable for fabric and plastic
- Glue gun and glue sticks
- 4 furniture feet (wooden or decorative; you can also use deck post caps or other feet options)
- 4 nuts and washers to fit the screw on the chosen feet
- Drill and drill bit sized to the screws on the feet
- Scissors, measuring tape, and a pencil for marking
Instructions:
1. Prepare the tote: Empty and clean the plastic storage tote and lid. Measure the height and circumference of the tote so you can cut your fabric to the correct size. Leave a little extra at the edges for a neat fold under.
2. Drill holes for the feet: Turn the tote upside down and mark the four corners where you want the feet to attach. Drill holes in the bottom of the tote sized the same or slightly larger than the feet screws so the screws pass through easily. If you plan to stain or paint wooden feet, do that now and allow them to dry completely.
3. Cut the fabric: Cut your main fabric to the height of the tote and long enough to wrap around the entire circumference. If your fabric has a pattern or nap, double-check orientation before cutting. To conserve fabric you can cut two pieces and place a seam on one or both sides rather than a single continuous piece.
4. Attach the side fabric: Work in small sections to apply spray adhesive to the tote and press the fabric in place. Spraying and smoothing in sections prevents the adhesive from drying before the fabric is laid down and helps avoid wrinkles. Take care at the rounded corners: fold and tuck the fabric so it conforms to the contour of the tote for a clean look.
5. Secure the underside: Use spray adhesive to wrap the fabric slightly onto the underside of the tote so the edge is hidden. For added strength, you can use hot glue sparingly where the fabric meets the plastic rim on the inside.
6. Cover the lid: Cut a piece of burlap (or your chosen top fabric) large enough to cover the lid with extra to wrap around the edges. Apply spray adhesive to the lid in small sections, smoothing the burlap down as you go. Wrap the fabric around the sides of the lid and secure it underneath with adhesive or hot glue so the top looks finished from every angle.
7. Add a burlap border (optional): I added a 3–4″ burlap border around the top portion of the tote to conceal the rim and create visual interest. Attach this border with hot glue to the inside edge and where it meets the side fabric for a polished transition.
8. Apply trim: Use hot glue to attach decorative cording or trim where the burlap and side fabric meet. This detail hides seams and adds a professional, tailored appearance.
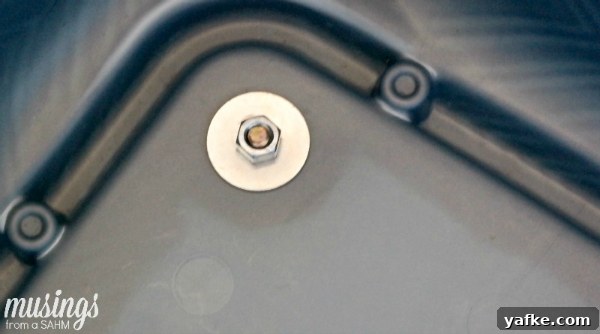
9. Attach the feet: Line up the feet with the drilled holes and secure each with a washer and nut to the inside of the tote. Tighten firmly so the feet are stable but avoid overtightening plastic and causing cracks.
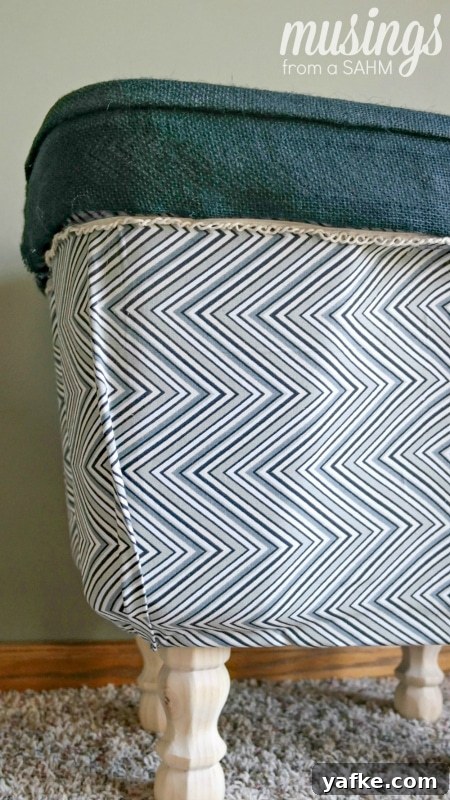
Once the feet are attached and all glue has set, your toy box is ready to use. Fill it with toys, blankets, or extra pillows. The finished piece looks like a coordinated piece of furniture instead of a plain plastic bin.
Variations and tips:
- Leave the feet off for a lower-profile storage tote, or use taller legs for a more furniture-like appearance.
- Swap burlap for leather-look fabric, canvas, or vinyl for different textures and durability.
- If you’re concerned about the adhesive affecting the plastic, test on a small area first or choose an adhesive formulated for both fabric and plastic.
- For heavy use, reinforce high-stress areas with extra hot glue or small brackets inside the tote where the feet attach.
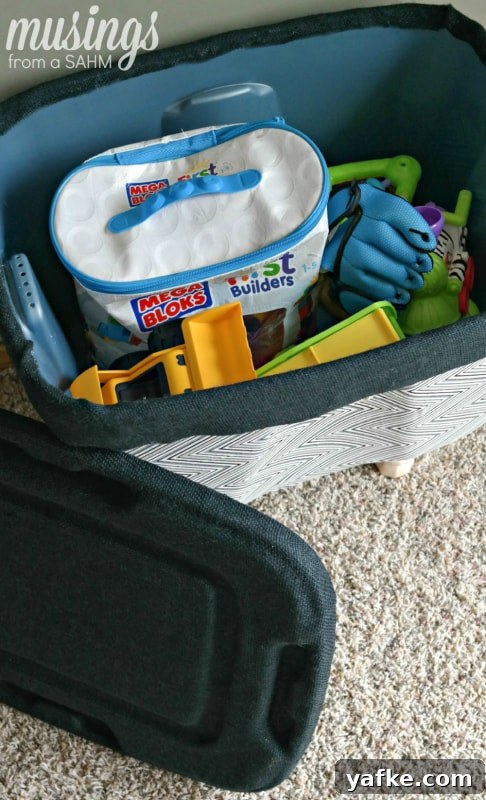
This project offers many possibilities: a blanket chest, extra storage for a bedroom or bathroom, or a custom coordinated box that blends seamlessly with your decor. By choosing fabrics and trim that match your space, you can turn an ordinary storage tote into a beautiful, functional piece that keeps toys out of sight while enhancing the room.