
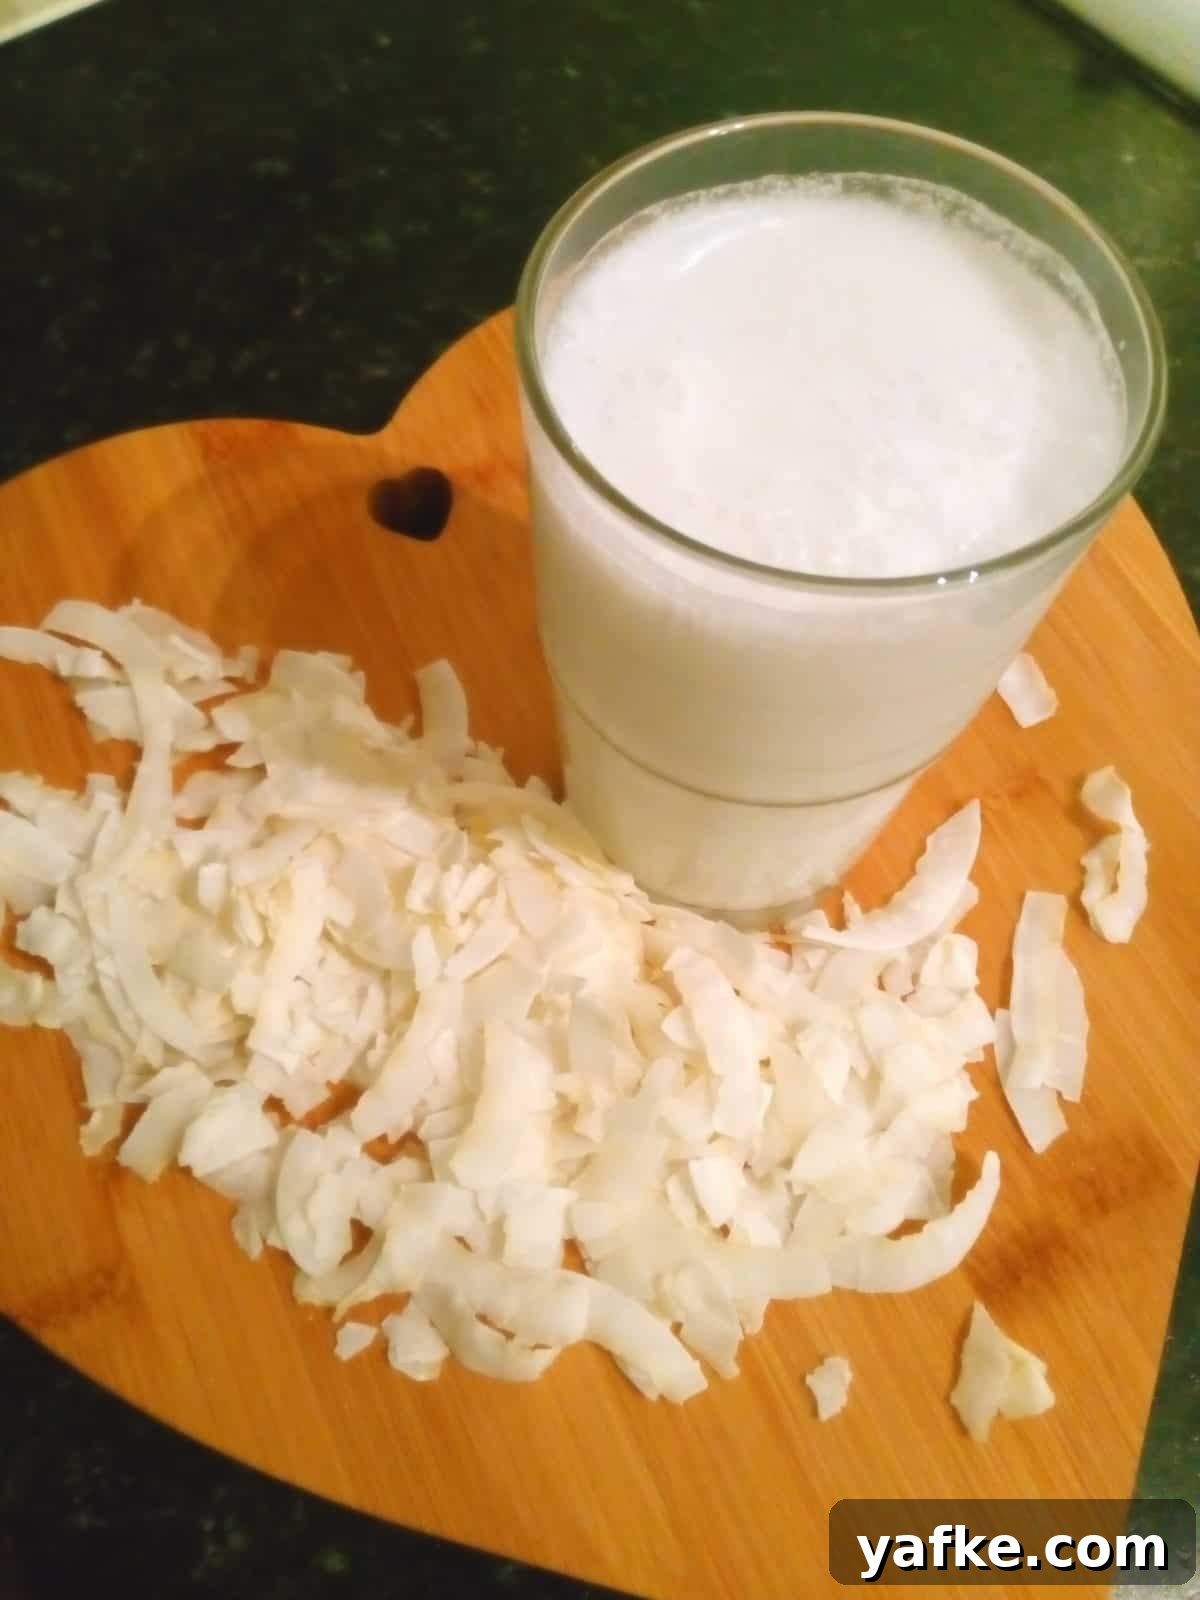
Make Your Own Sugar Free Coconut Milk in under 5 minutes with just one ingredient.
Coconut milk is a keto and low-carb pantry staple, but store-bought cans and cartons are often expensive and contain additives. Making your own fresh, sugar-free coconut milk at home is quicker than a shopping trip, far more economical, and tastes better — clean, creamy, and natural.
You only need one main ingredient plus water. Most people have water at home, so the only shopping item required is coconut. For best results use organic raw coconut chips or unsweetened coconut flakes. Desiccated ground coconut can also work, but chips tend to yield a creamier, more natural finish.
A good, powerful blender is helpful to reduce the coconut into a fine pulp for the creamiest milk. Less powerful machines will still work but may produce a thinner result. Any sturdy blender with a solid jug will give consistently good results.
How to Make Your Own Sugar Free Coconut Milk
There are many ratios and techniques out there. After testing several approaches, the method below gives quick, consistent, creamy coconut milk every time. It’s simple, requires minimal equipment, and takes about five minutes of active time.
Equipment
Apart from a powerful blender, you will need:
- plastic or glass container or jug
- fine mesh sieve
- muslin cloth (cheesecloth)
- funnel
- storage bottle with airtight lid
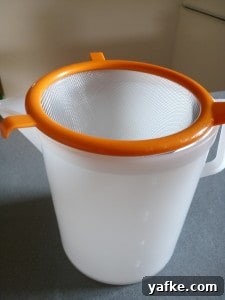
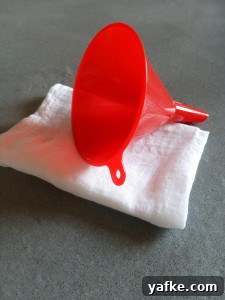
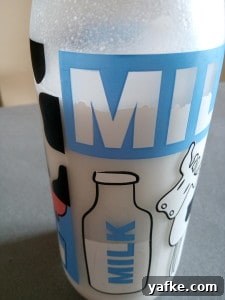
The steps are quick and easy. Read through once, then follow them in order for the best texture and flavor.
- Fill your blender jug with coconut chips up to the 400ml line (or 300ml if using desiccated ground coconut).
- Pour boiling water into the jug up to the 1200ml line (or 900ml with desiccated coconut).
- Let the coconut soften as the water cools to a safe blending temperature.
- Blend on high for 30 seconds, rest 30 seconds, and repeat a few times until the mixture is smooth and milky.
- Place a fine mesh sieve over your container and line it with muslin cloth.
- Pour about one third of the blended mixture into the cloth, let the liquid drain, then gather and squeeze the pulp firmly to extract all the milk.
- Repeat for the remaining pulp, then transfer the milk to a clean storage bottle using a funnel.
Store refrigerated. Fresh coconut milk will keep for 3–4 days in the fridge.
When chilled, the natural coconut fat will rise and often solidify on the surface. You can leave this layer for extra richness or remove it if you prefer a pourable, uniform liquid. To keep the fat dispersed, shake the bottle a few times while it cools in the fridge and shake again before each use. If the fat hardens, break it up with a utensil and shake vigorously to recombine.
Leftover coconut pulp can be saved and dried in a low oven to make a coarse coconut flour, which is useful for baking or as a fiber addition to recipes.
Adjust the water amount to control richness: use less water for a thicker, creamier milk or more water for a lighter milk. The homemade version is unsweetened and neutral in flavor; if you prefer a hint of sweetness, a small amount of a zero-calorie sweetener can be added, but many people enjoy it plain.
Enjoy!
- organic raw coconut chips or unsweetened coconut flakes
- filtered or bottled water
- Fill your blender to the 400ml line with coconut chips (300ml if using desiccated ground coconut).
- Add hot water to just below the 1200ml line (900ml with desiccated coconut). Allow the mixture to cool and the coconut to soften.
- Blend on high for 30 seconds, rest 30 seconds; repeat twice more.
- Pour one third of the blended mixture into a fine-mesh sieve lined with muslin cloth over a jug.
- Let the liquid drain, then wrap and squeeze the pulp until it is dry. Save the pulp for drying into coconut flour or compost it.
- Repeat for the remaining mixture.
- Transfer the strained milk to a storage bottle using a funnel and chill.
- To help prevent a thick fat layer forming, shake the bottle periodically as it cools and shake before each use.