
Homemade marshmallows without corn syrup — made with maple syrup.
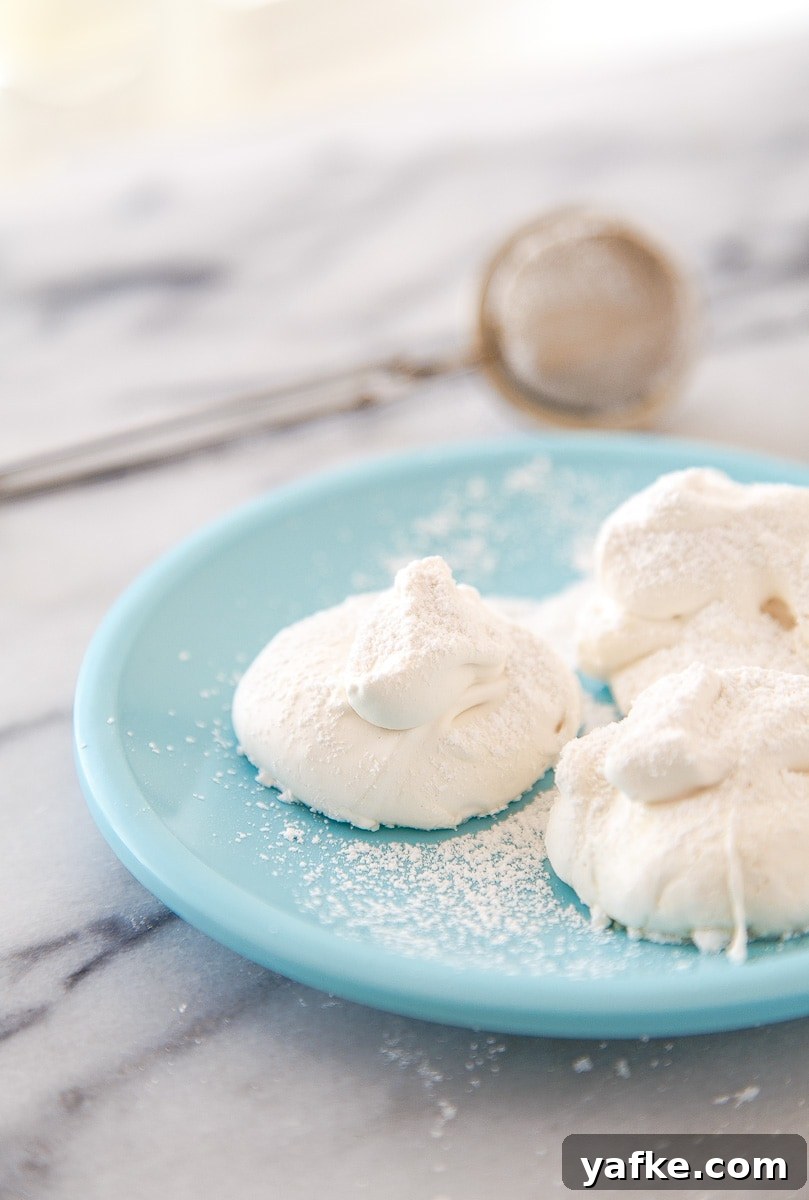
With cold weather here, hot cocoa has become a staple in my house, and homemade marshmallows make it even better. I grew up splitting time between Texas and California, so I’m not built for Midwest winters — a mug of warm cocoa with a fluffy marshmallow on top is pure comfort.
I make a kid-friendly hot cocoa for Camille (about 2 teaspoons unsweetened cocoa and 2 teaspoons coconut sugar mixed into roughly 2/3 cup warm almond milk). She loved it immediately, but everything changed when I added a few marshmallows on top. The way she lights up over a marshmallow is precisely why I started making them at home without corn syrup — swapping in maple syrup gives them a lovely flavor and the reassurance that I made them myself.
We don’t give Camille sugar every day, but she does enjoy treats occasionally. I once handed her a few mini marshmallows after errands and watched her go wild — real sugar has that effect. My mother flagged mini marshmallows as a choking risk, so I avoid them, but homemade marshmallows are softer and can be portioned appropriately for little hands.
I adapted my usual marshmallow method by substituting maple syrup for corn syrup. There is still some granulated sugar in this recipe, but in moderation it’s a special-occasion treat. These marshmallows are soft and airy with a delicate maple flavor. Note: marshmallows made with maple syrup can develop a slight graininess over time. If you make and enjoy them the same day, it’s hardly noticeable. If you store them for several days, the texture may become more pronounced, but they remain delicious and kid-approved for several days.
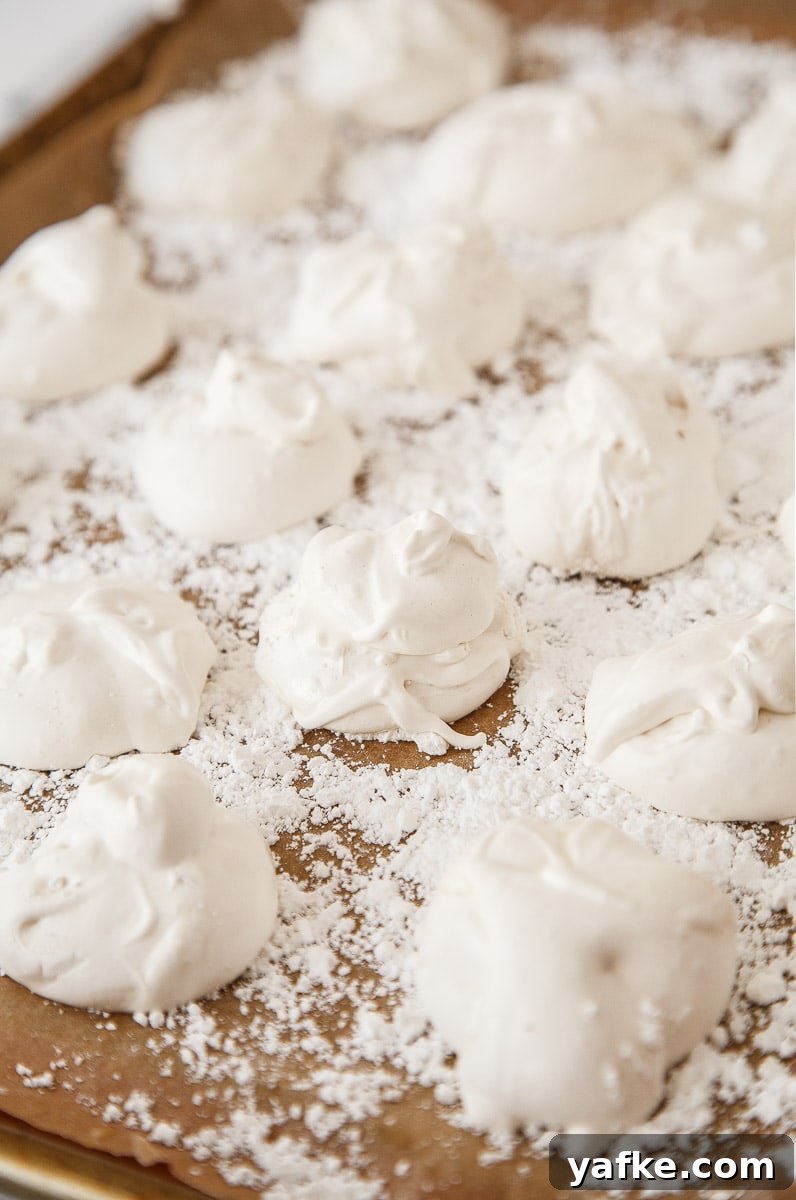
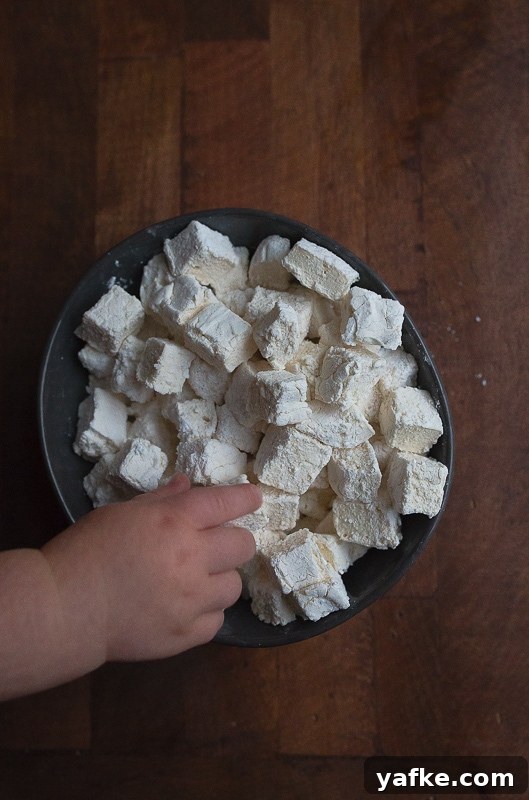
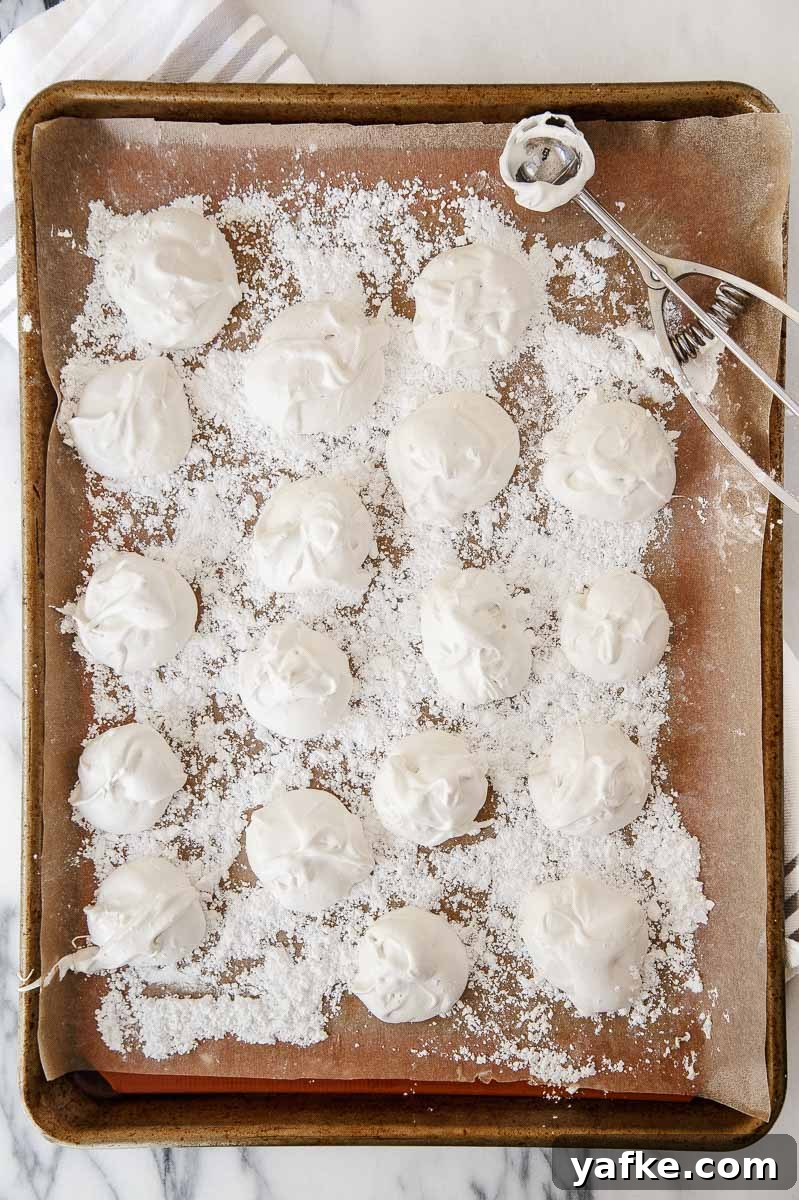
You can either scoop the marshmallow mixture with a mini cookie scoop to create individual mounds that set faster, or spread it into an 8×8″ pan and cut into cubes after it has set. Scooped marshmallows will firm up more quickly; the pan method yields classic cubes that look like store-bought marshmallows. Dust with powdered sugar to prevent sticking.
Maple Syrup Marshmallows
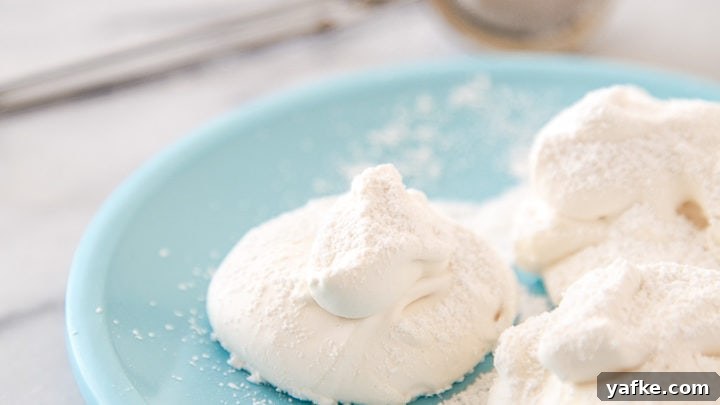
Delicious homemade marshmallows flavored with maple syrup.
20 minutes
20 minutes
40 minutes
Ingredients
- 3/4 cup granulated sugar
- 1/3 cup maple syrup
- Pinch of salt
- 6 tablespoons cool water
- 1 packet (2 1/2 teaspoons) unflavored gelatin powder
- 1/2 teaspoon maple extract (or vanilla extract)
- 1/2 cup powdered sugar (for dusting)
Instructions
- Line a baking sheet with parchment paper and dust it lightly with powdered sugar.
- In a medium saucepan, combine the granulated sugar, maple syrup, a pinch of salt, and 3 tablespoons of the water. Heat over high and bring to a boil without stirring. Use a candy thermometer and cook until the syrup reaches 238°F (soft-ball stage).
- While the syrup heats, put the remaining 3 tablespoons of cool water into a large bowl and sprinkle the gelatin over the top. Let it sit for a few minutes to bloom; do not stir.
- When the syrup reaches 238°F, slowly pour it into the gelatin while continuously beating with a hand mixer. Pour carefully to avoid splashing the hot syrup on the bowl edges where it can harden.
- Continue beating the mixture for a full 10 minutes on medium speed until it becomes thick and glossy.
- Spray a mini cookie scoop with cooking spray and make a test marshmallow on the prepared sheet. If it doesn’t hold its shape, return the mix to the bowl and beat on high for 2–3 minutes until stiffer.
- Stir in the maple (or vanilla) extract until combined.
- Scoop 18–20 marshmallows onto the prepared sheet, spraying the scoop between uses to prevent sticking. Alternatively, spread the mixture evenly into an 8×8″ pan lined with parchment for larger squares.
- Let the marshmallows set uncovered for at least 90 minutes. The longer they sit uncovered, the more they develop a slightly firmer crust, similar to store-bought marshmallows.
- Dust the finished marshmallows with additional powdered sugar and allow them to dry briefly. If you used a pan, use a powdered sugar-coated knife to cut them into cubes.
- Store marshmallows in an airtight container at room temperature for 2–3 days. They taste best the same day but will remain enjoyable for several days.
Nutrition Information:
Amount per serving:
Did you make this recipe?
Please leave a comment or share a photo on your preferred social channel and tag the recipe name.
This maple syrup marshmallow recipe was shared previously, but I updated the photos and wanted to re-share it. Thanks for reading again.