
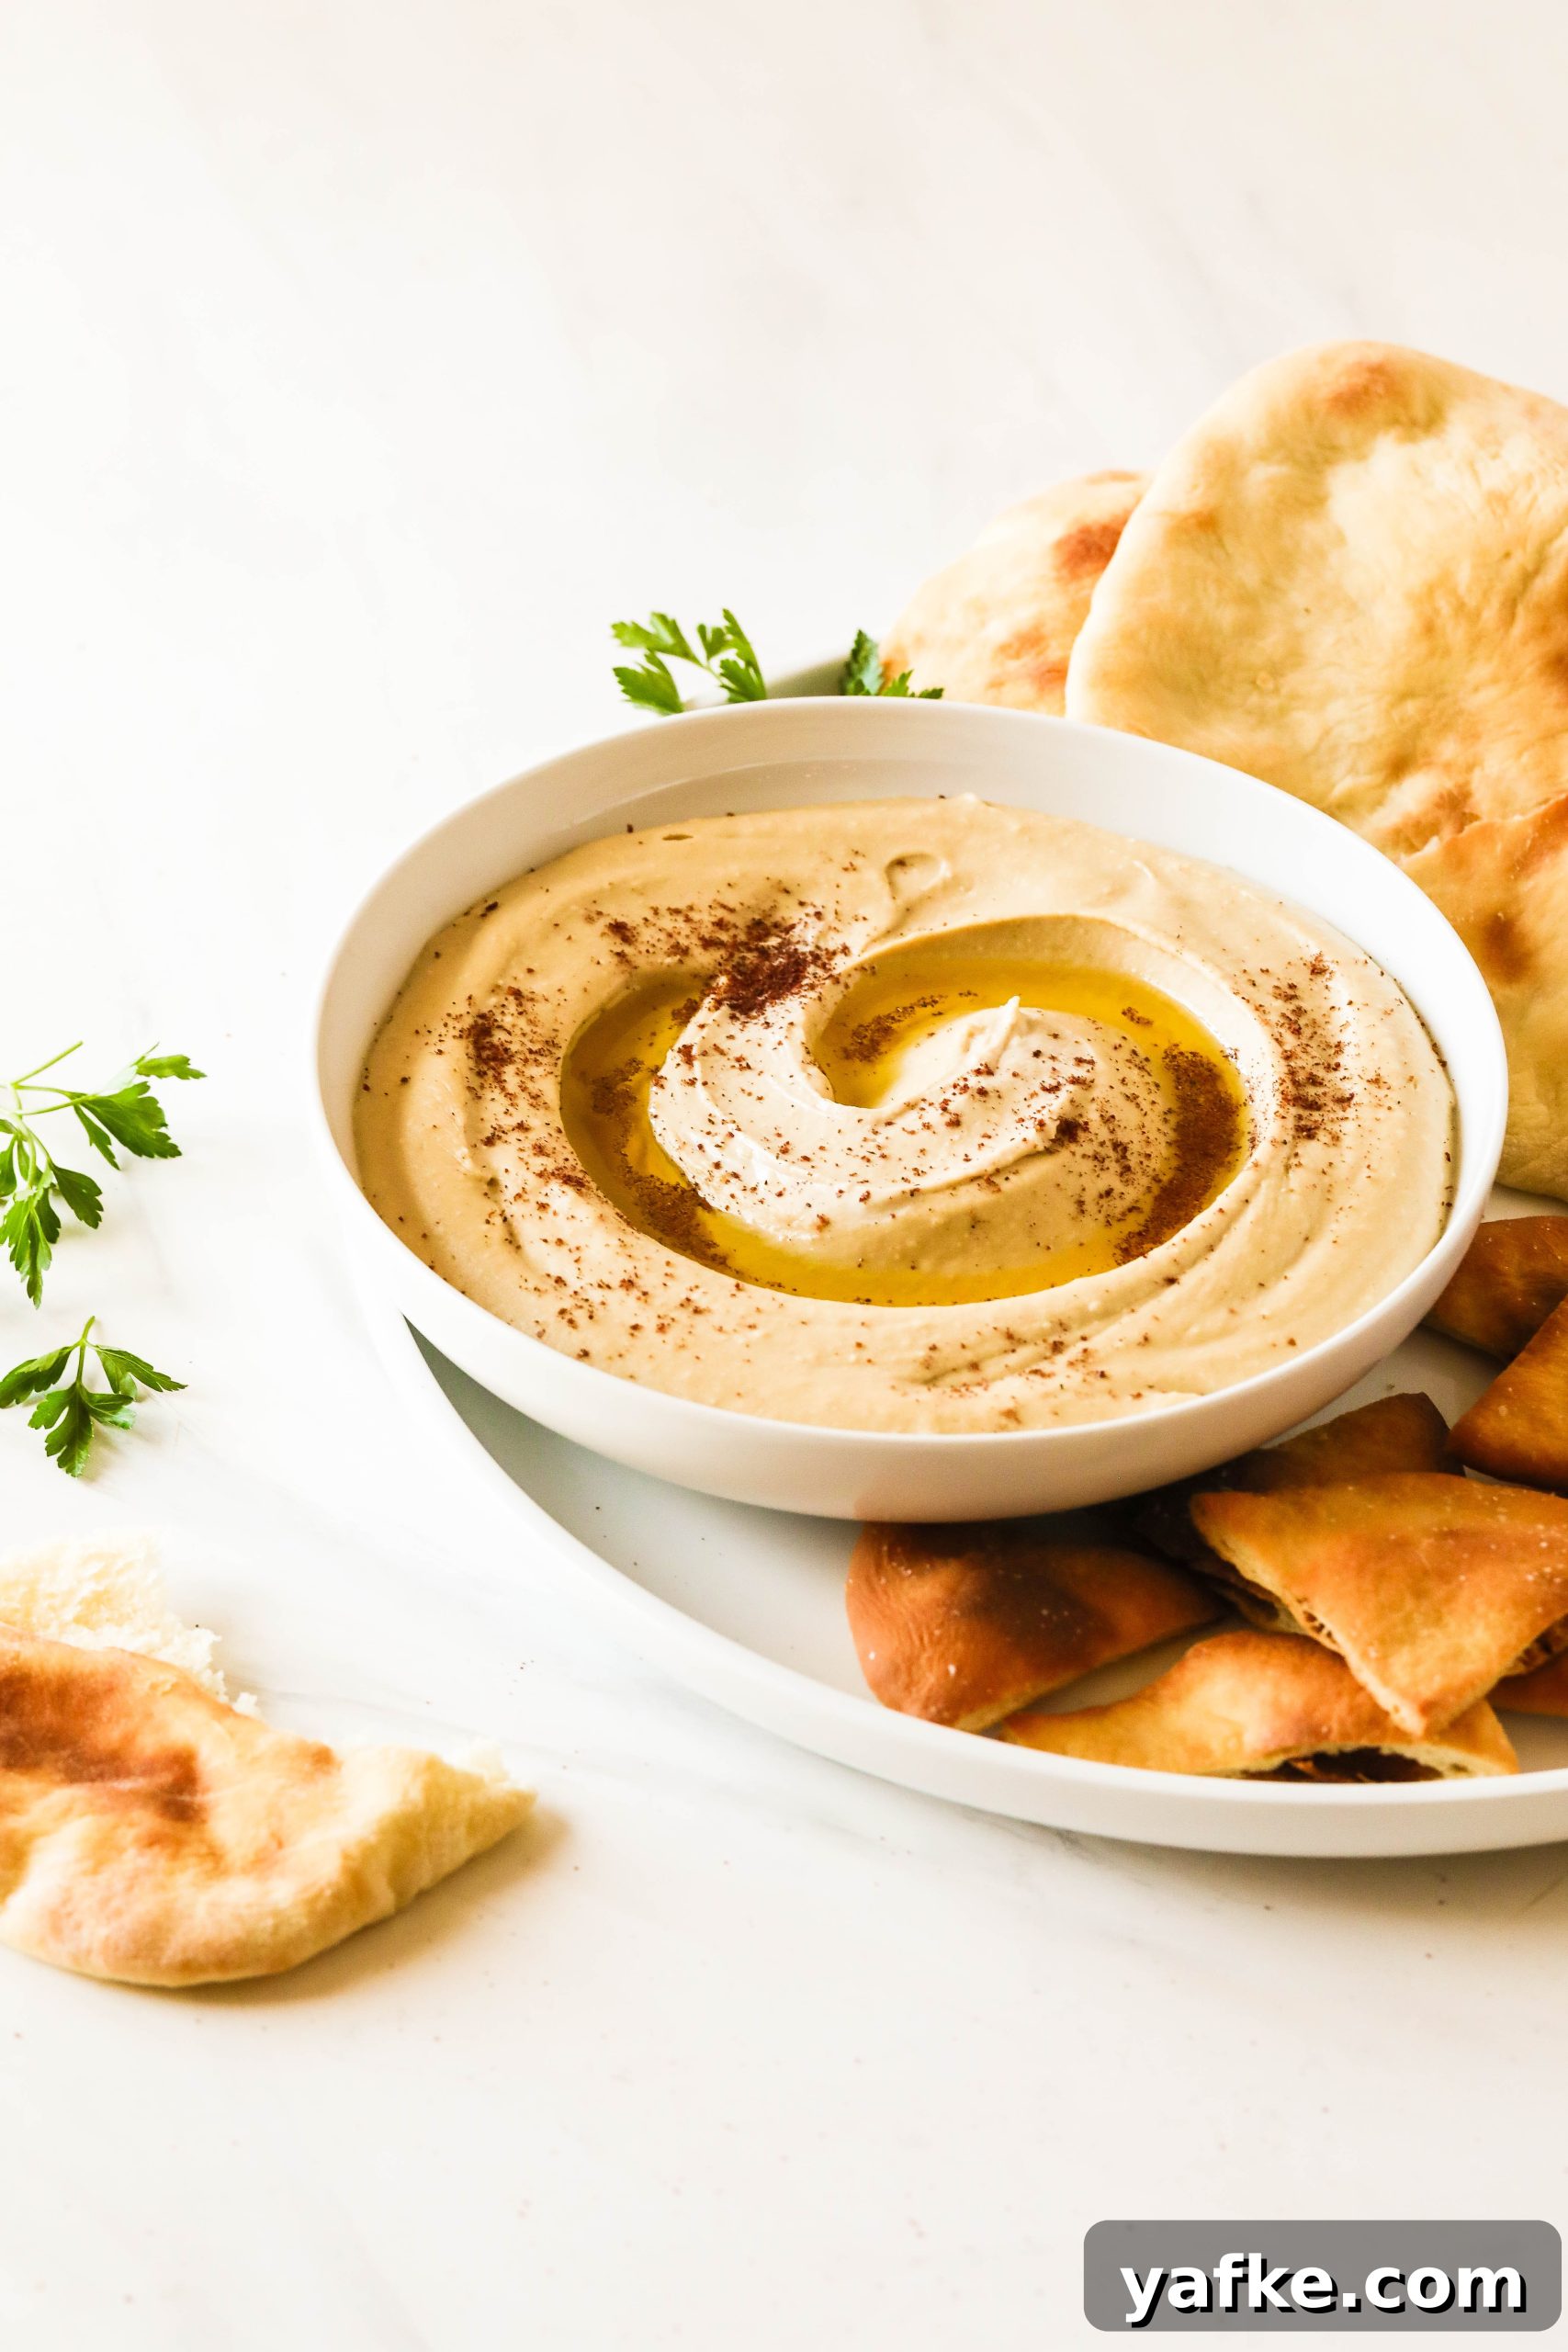
Super-Smooth Hummus: The Best Homemade Hummus Recipe
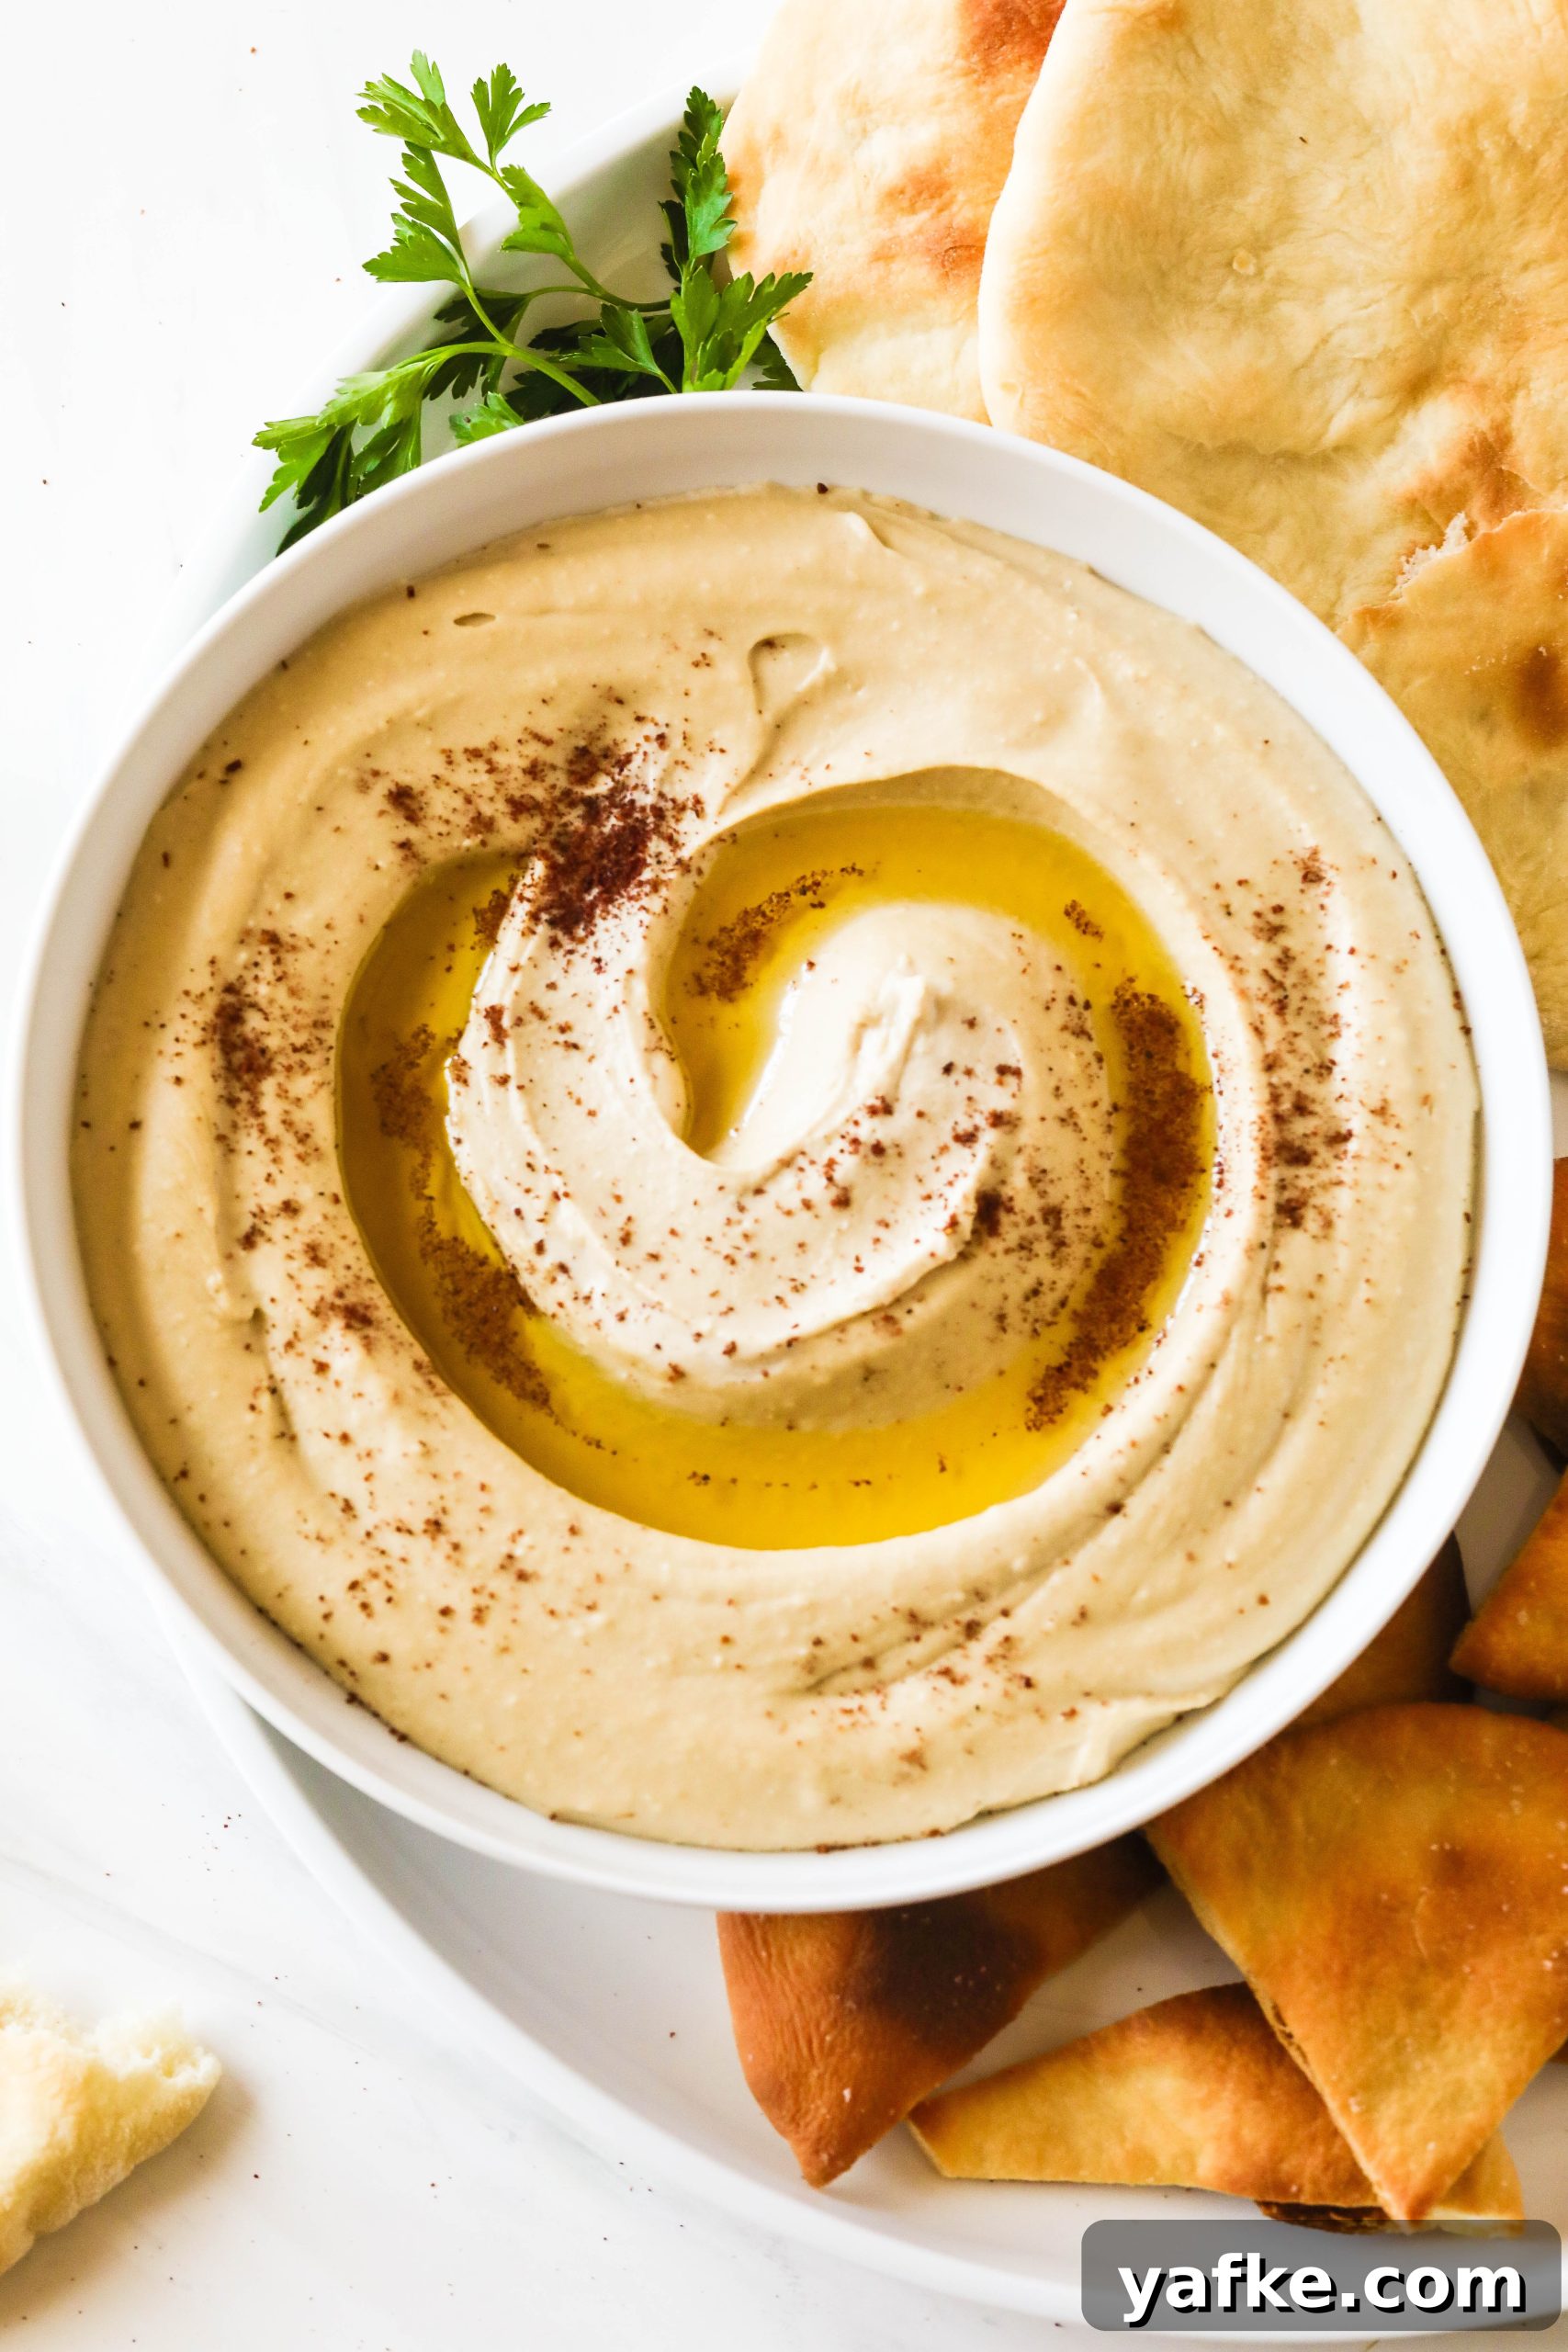
I’m obsessed with this hummus. Calling it “good” doesn’t do it justice — it’s one of the best things I’ve ever made in my kitchen. The texture is silk-smooth, the flavor is bright and balanced, and once you try it you’ll understand why I get a little dramatic about it.
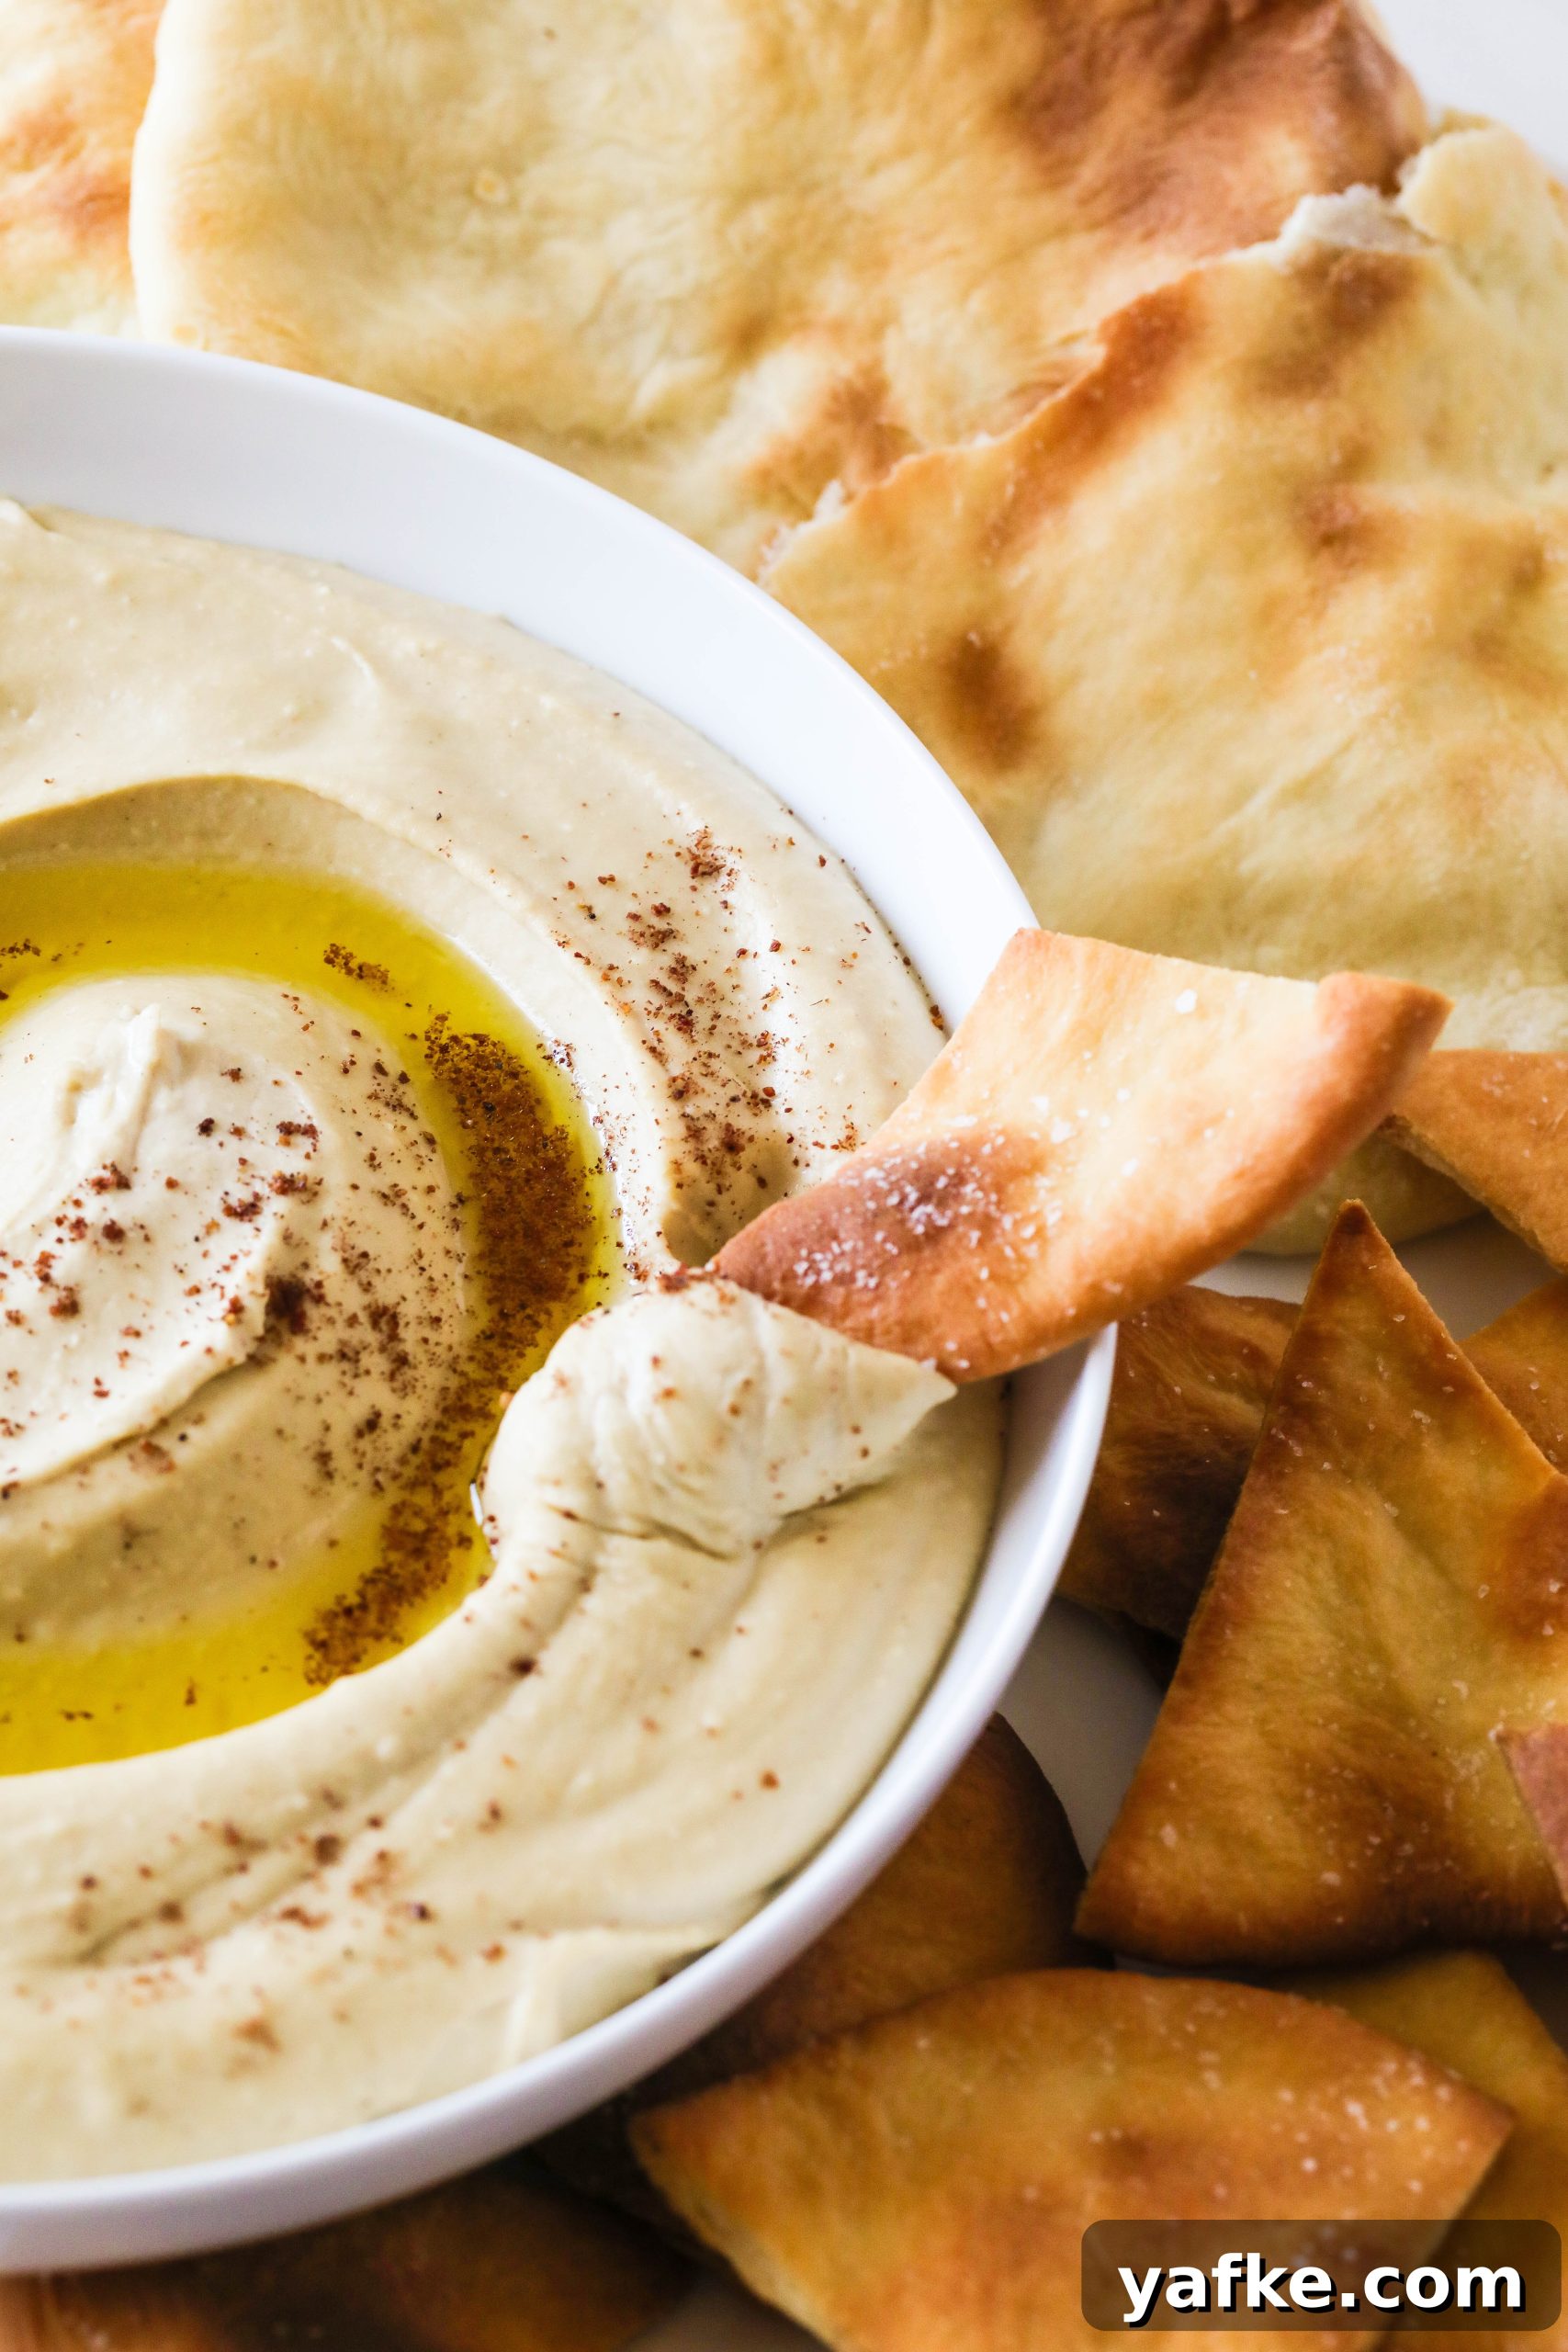
If the photos don’t convince you to stop and make this immediately, let me give you the essentials up front: this hummus requires planning because it starts with dried chickpeas and a long, gentle cook. Yes, canned chickpeas will work in a pinch, but the best results come from cooking dried beans slowly until they are unbelievably tender.
A critical detail: peeled chickpeas. Removing the skins produces an ultra-creamy hummus without the tiny grainy bits you sometimes notice. Many cooks and cookbook authors recommend skinned chickpeas for the smoothest texture — you may see this idea in sources like Smitten Kitchen, Cooks’ Illustrated, Maureen Abood and Yotam Ottolenghi. If you don’t want to peel chickpeas at home, pre-peeled chickpeas are available from specialty producers and are well worth keeping in the pantry for whenever you want exceptionally silky hummus.
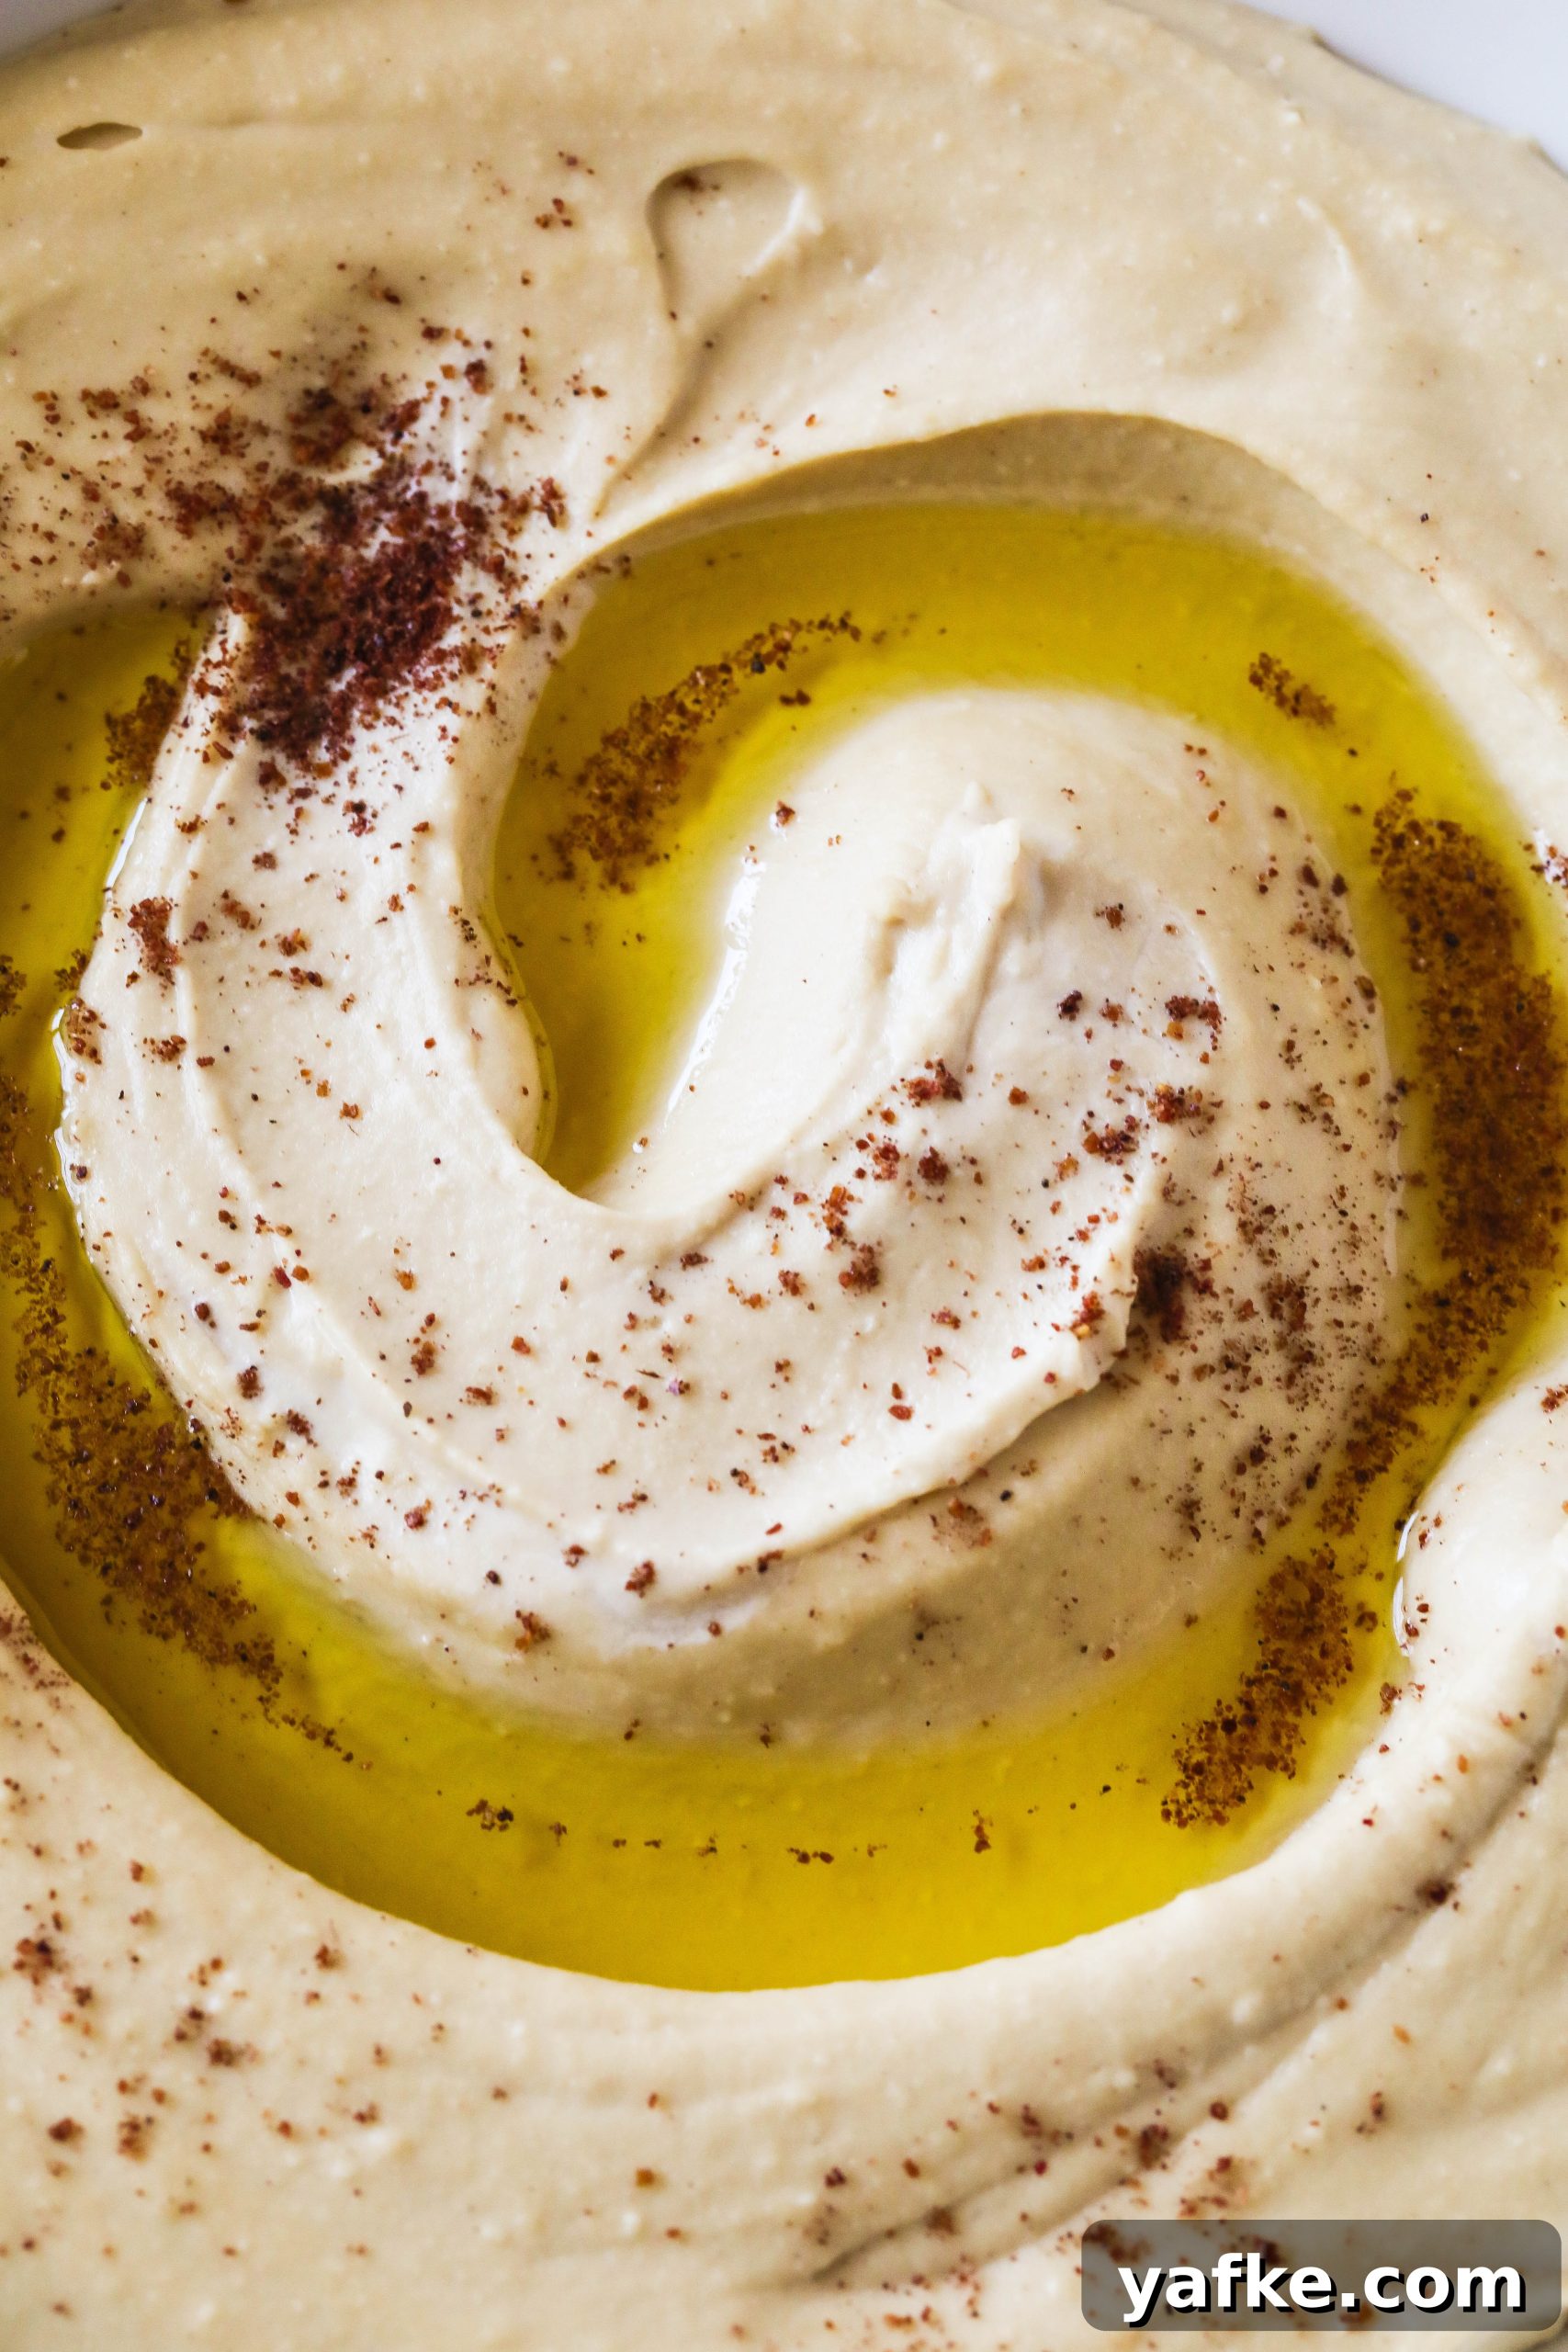
I first learned the peeled-chickpea trick from Maureen Abood’s cookbook Rose Water & Orange Blossoms, and it completely changed my hummus game. At first the idea of chickpea skins was surprising, but once they’re removed the difference in mouthfeel is unmistakable. Over time this approach gained traction across other cookbooks and food writers, and I also noticed how warming hummus slightly — serving it warm instead of straight from the fridge — can make the flavors more lively and enjoyable.
My recipe here is a synthesis of techniques and tips I’ve gathered from many sources, combining the best practices I love into one straightforward, reliable method. The aim is simple: very tender chickpeas, plenty of tahini, good olive oil, and patient pureeing until the hummus is velvety.
Key Points for the Smoothest Hummus
- Use peeled chickpeas whenever possible. If you must start with unpeeled dried chickpeas, cooking them longer with a pinch of baking soda will help break down the skins, but the finished texture may not be as perfectly smooth.
- Cook the chickpeas slowly until they are extremely tender and almost falling apart. The fresher your dried chickpeas, the longer this can take, so taste for softness after a few hours and continue simmering until they are creamy.
- Don’t skimp on tahini. This recipe uses a generous amount of tahini to build richness and silkiness. You can adjust to taste, but expect to add roughly one cup for a large batch — more tahini makes smoother, richer hummus.
- Use a flavorful extra virgin olive oil. A good Mediterranean-style or Middle Eastern olive oil makes a noticeable difference; use some in the hummus and then drizzle more on top when serving.
- Puree thoroughly. Process the chickpeas, tahini, lemon juice, garlic, salt and olive oil until the mixture is as smooth as you can make it — the longer you blend, the better the texture.
- Let it rest briefly. Allow the hummus to sit for about 30 minutes to thicken and let the flavors settle, but serve it warm if you can for the most inviting taste and texture.
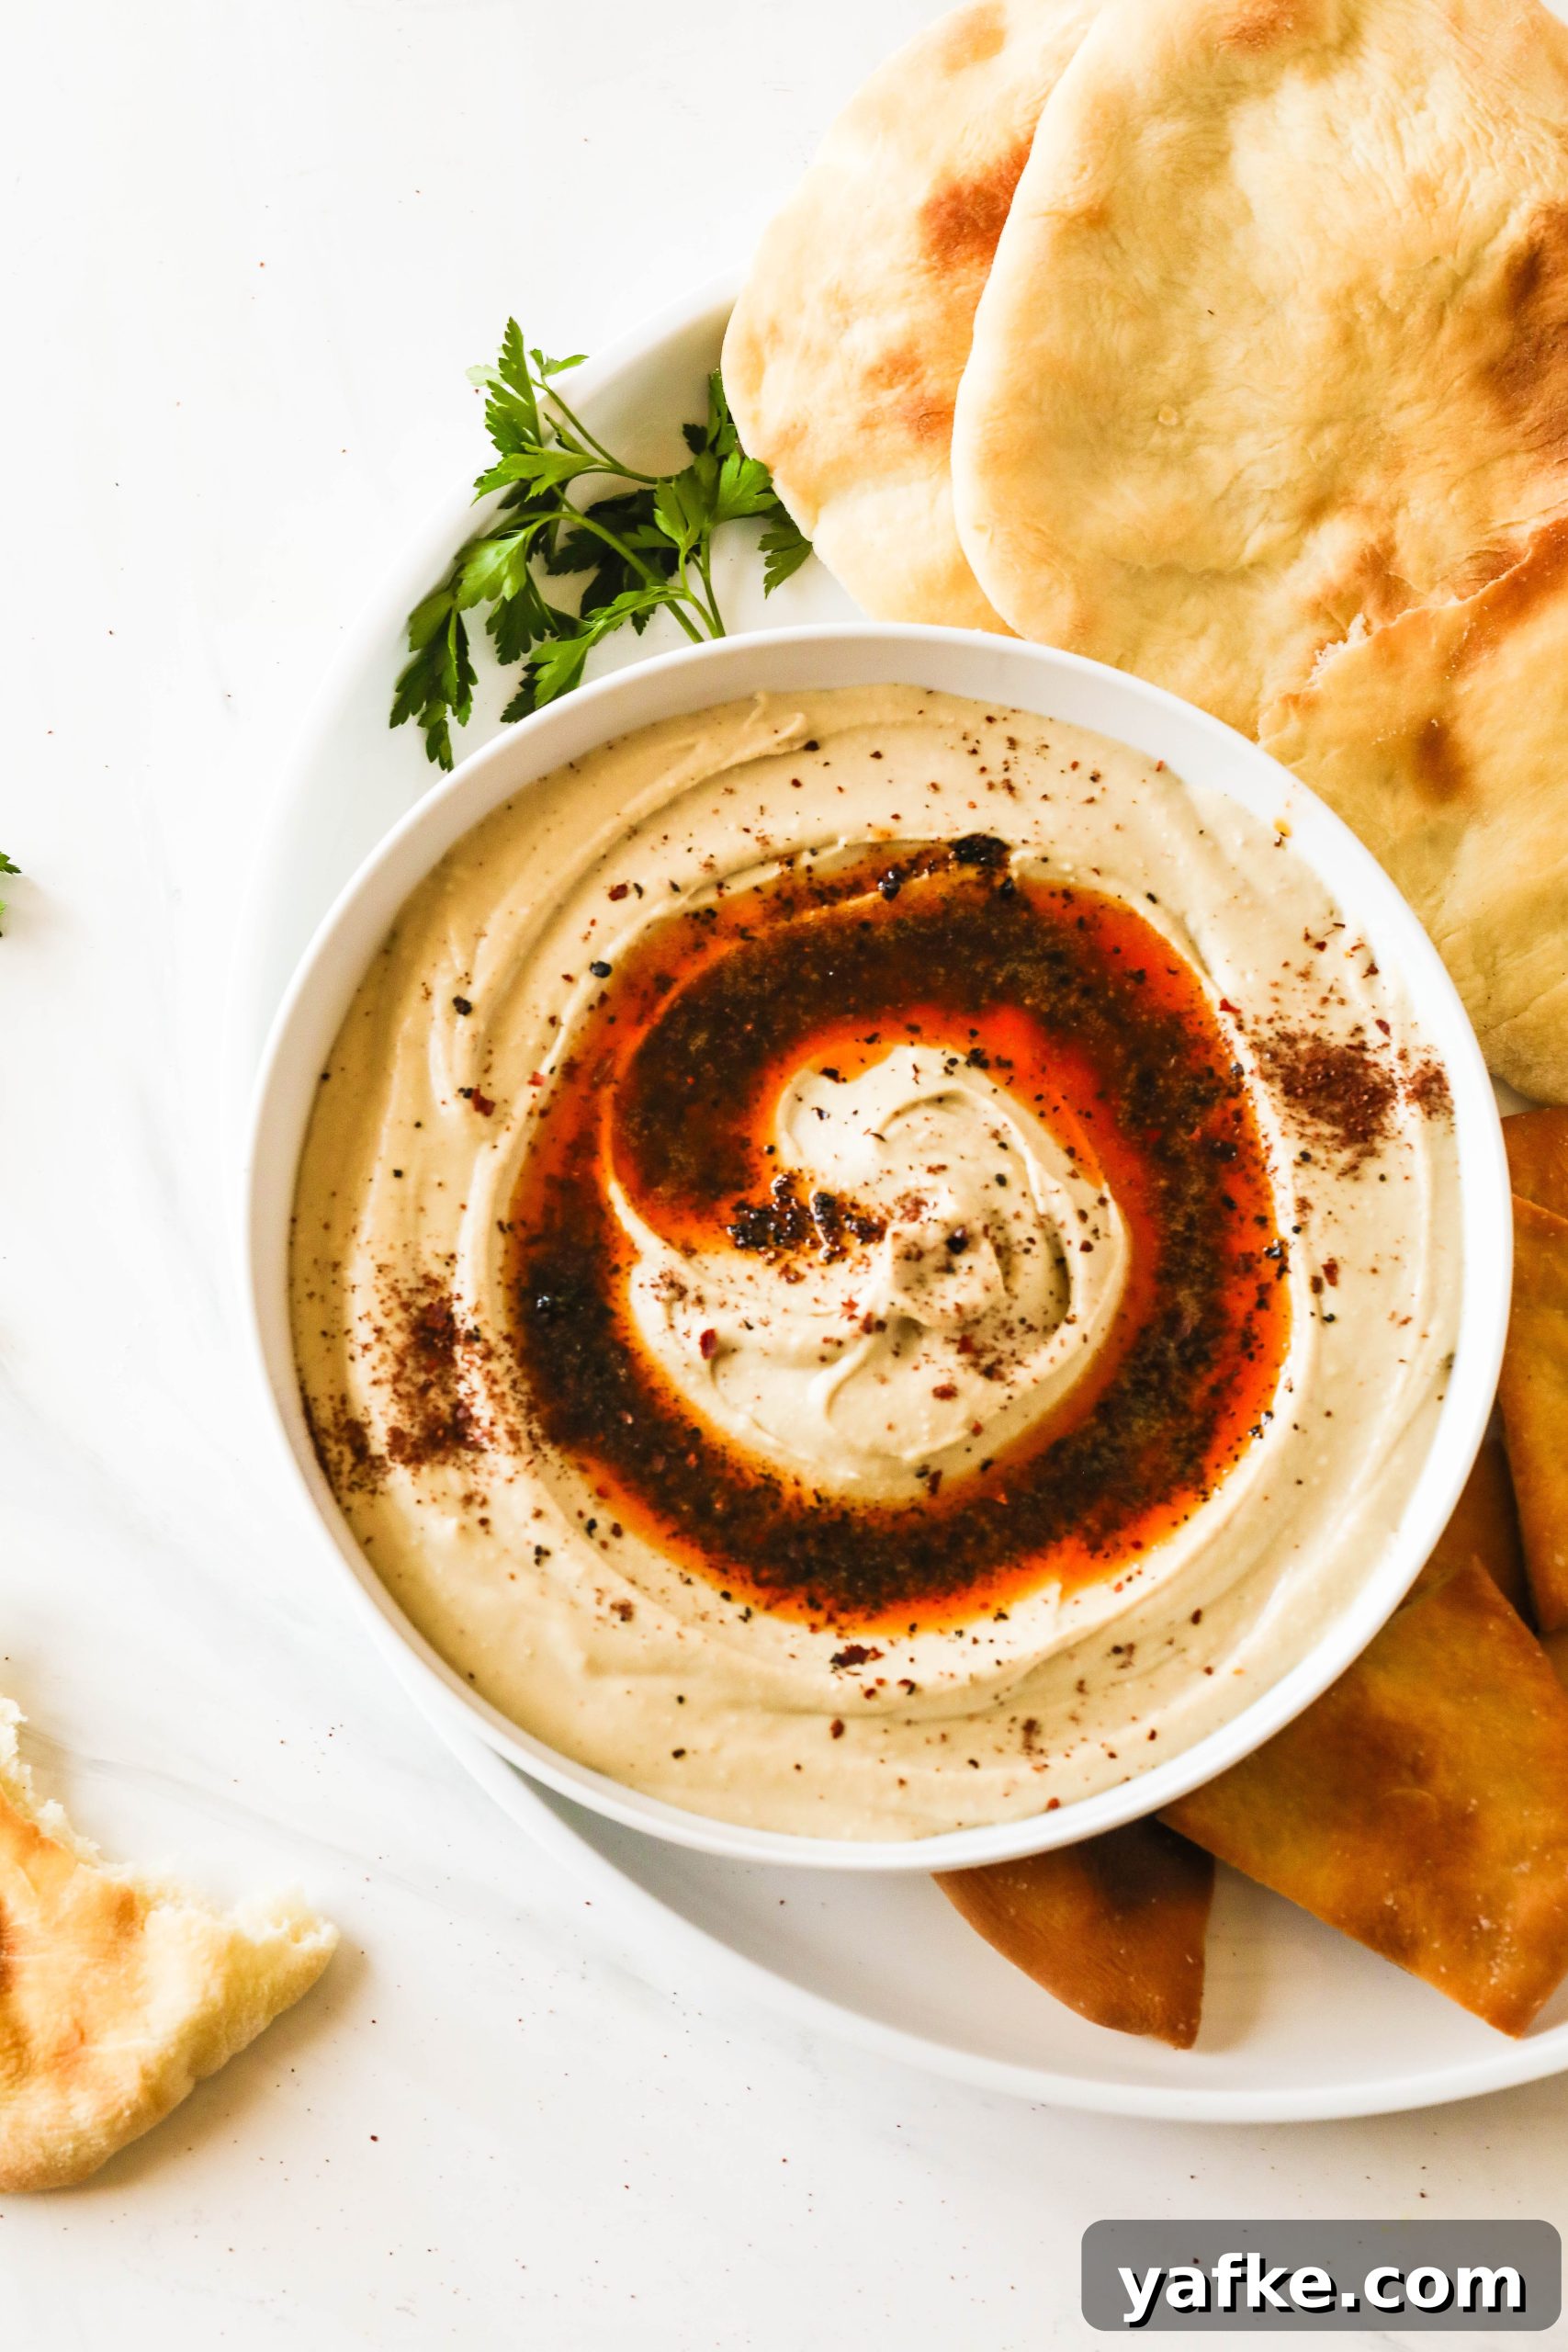
Pro tip: Try topping the hummus with a chile butter or a warm infused oil instead of plain olive oil. A chili-garlic butter or spiced oil drizzled across the surface adds heat, color and a delicious contrast to the creamy hummus.
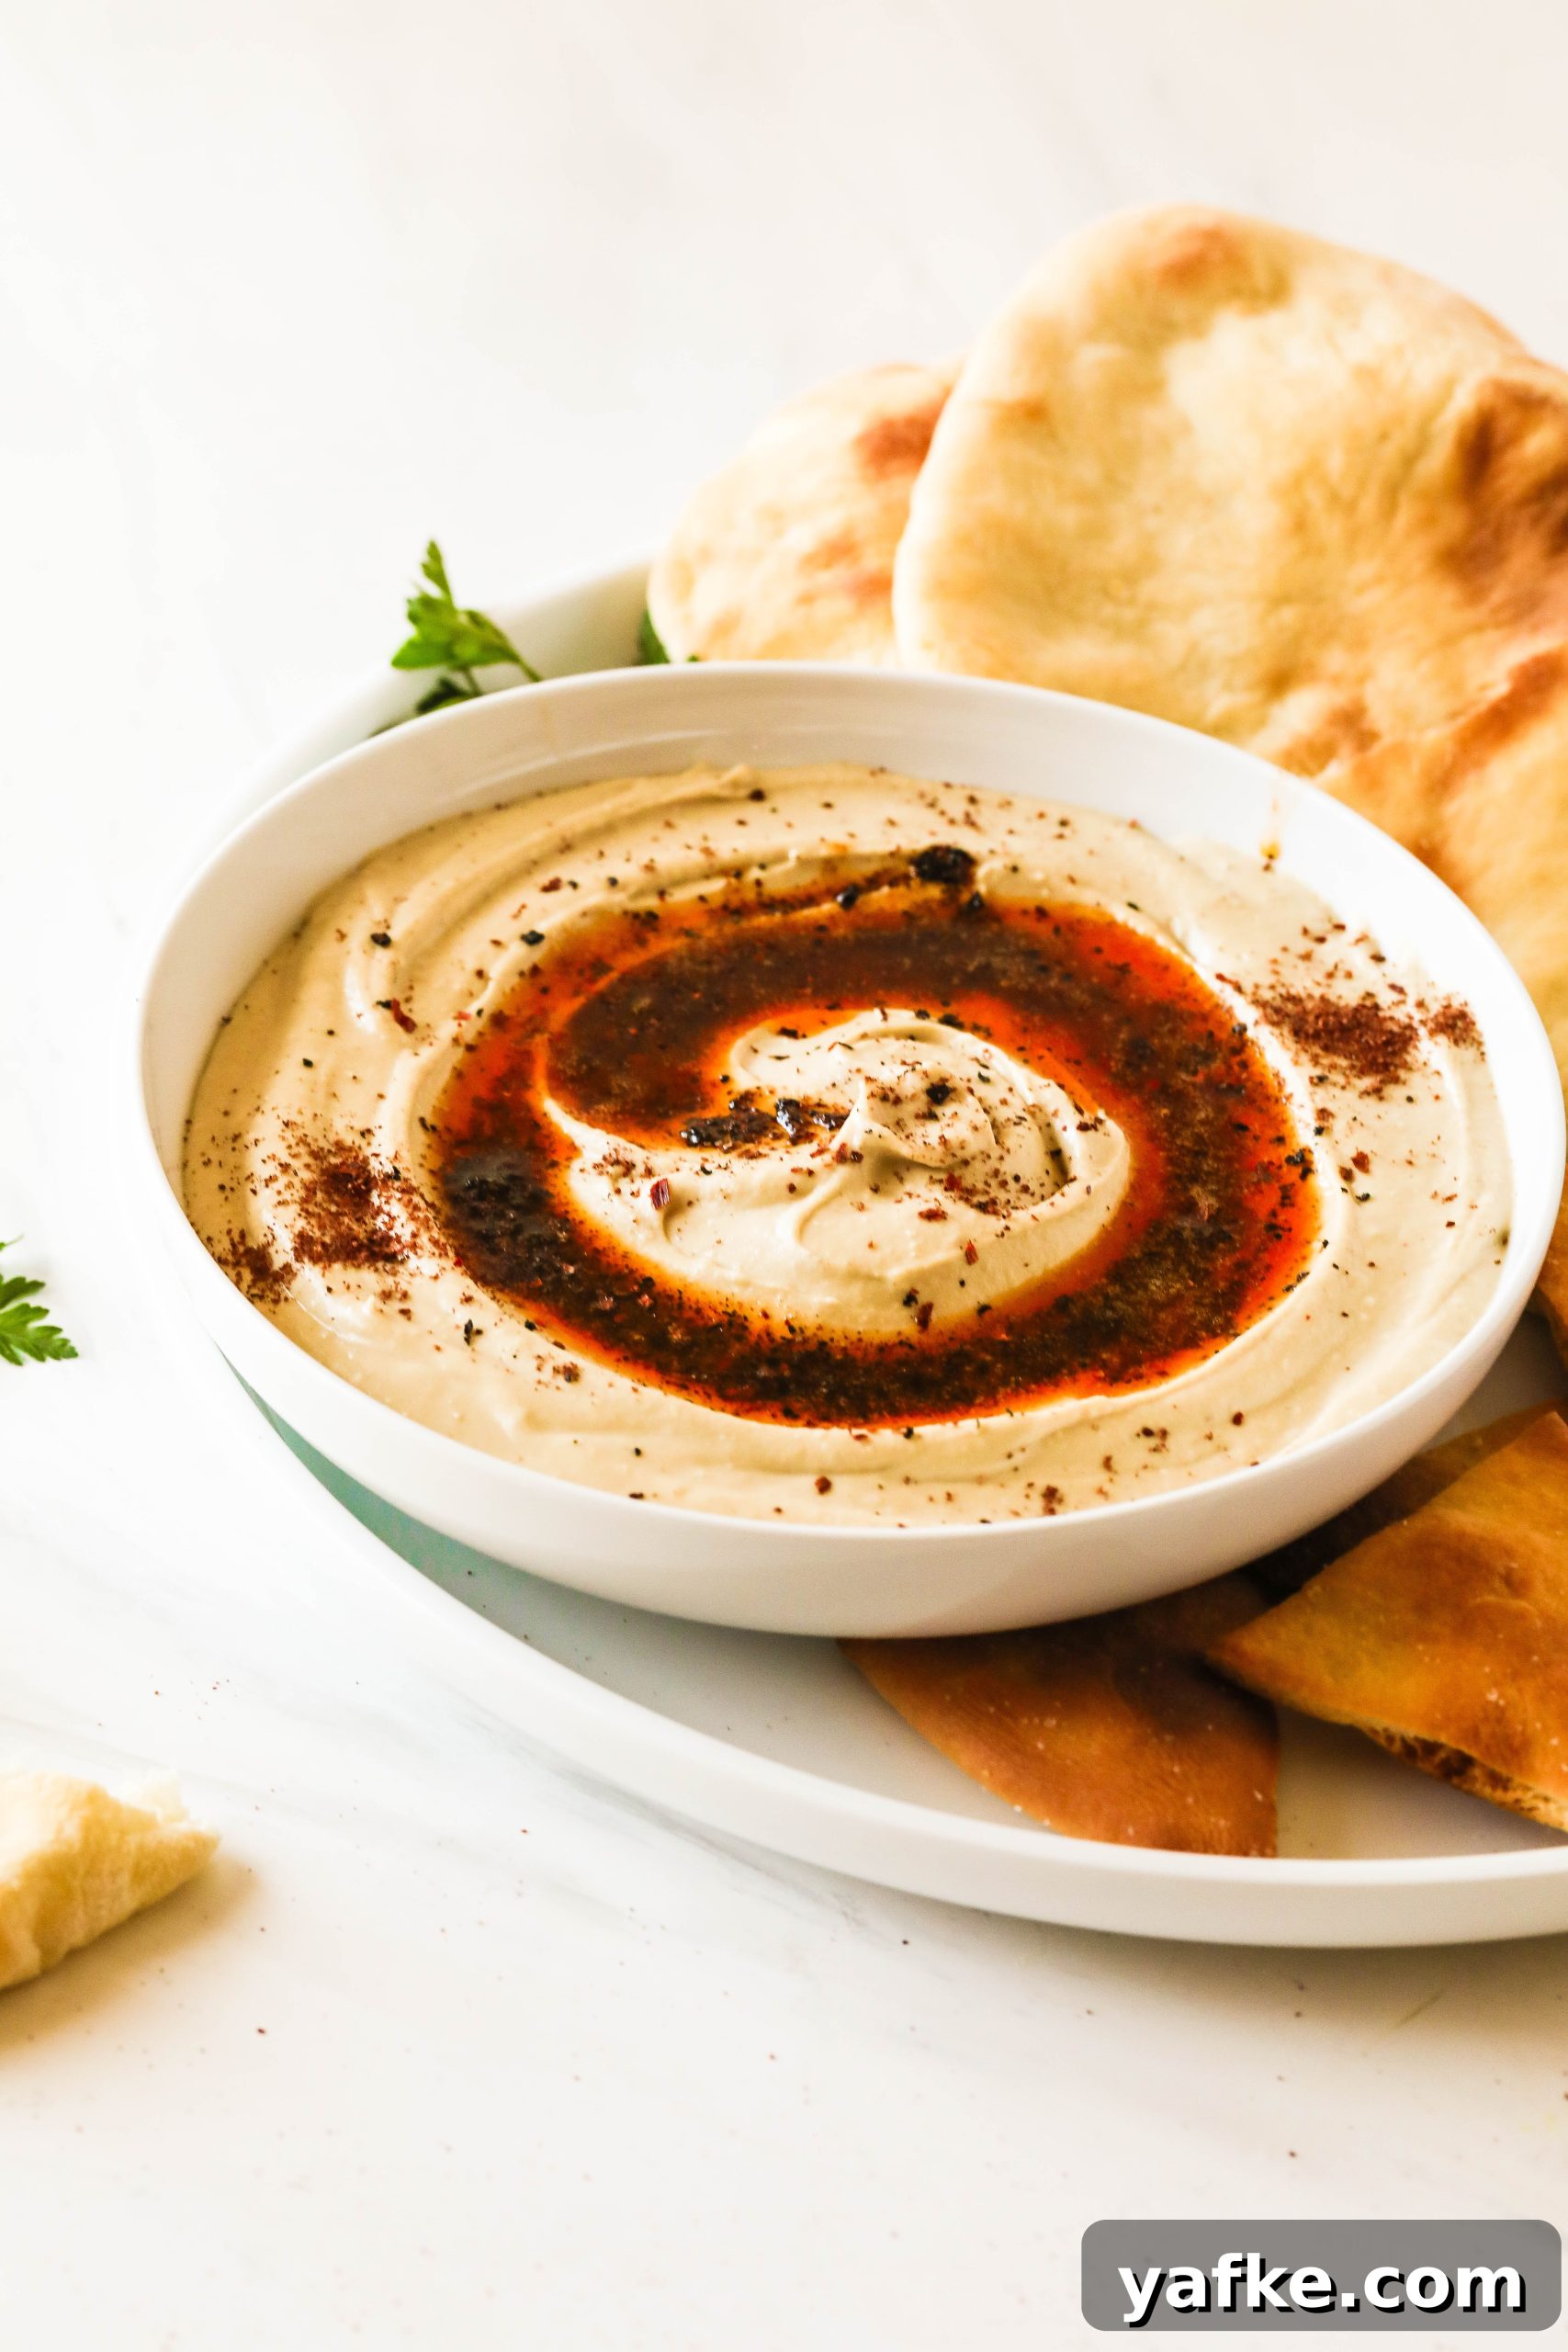
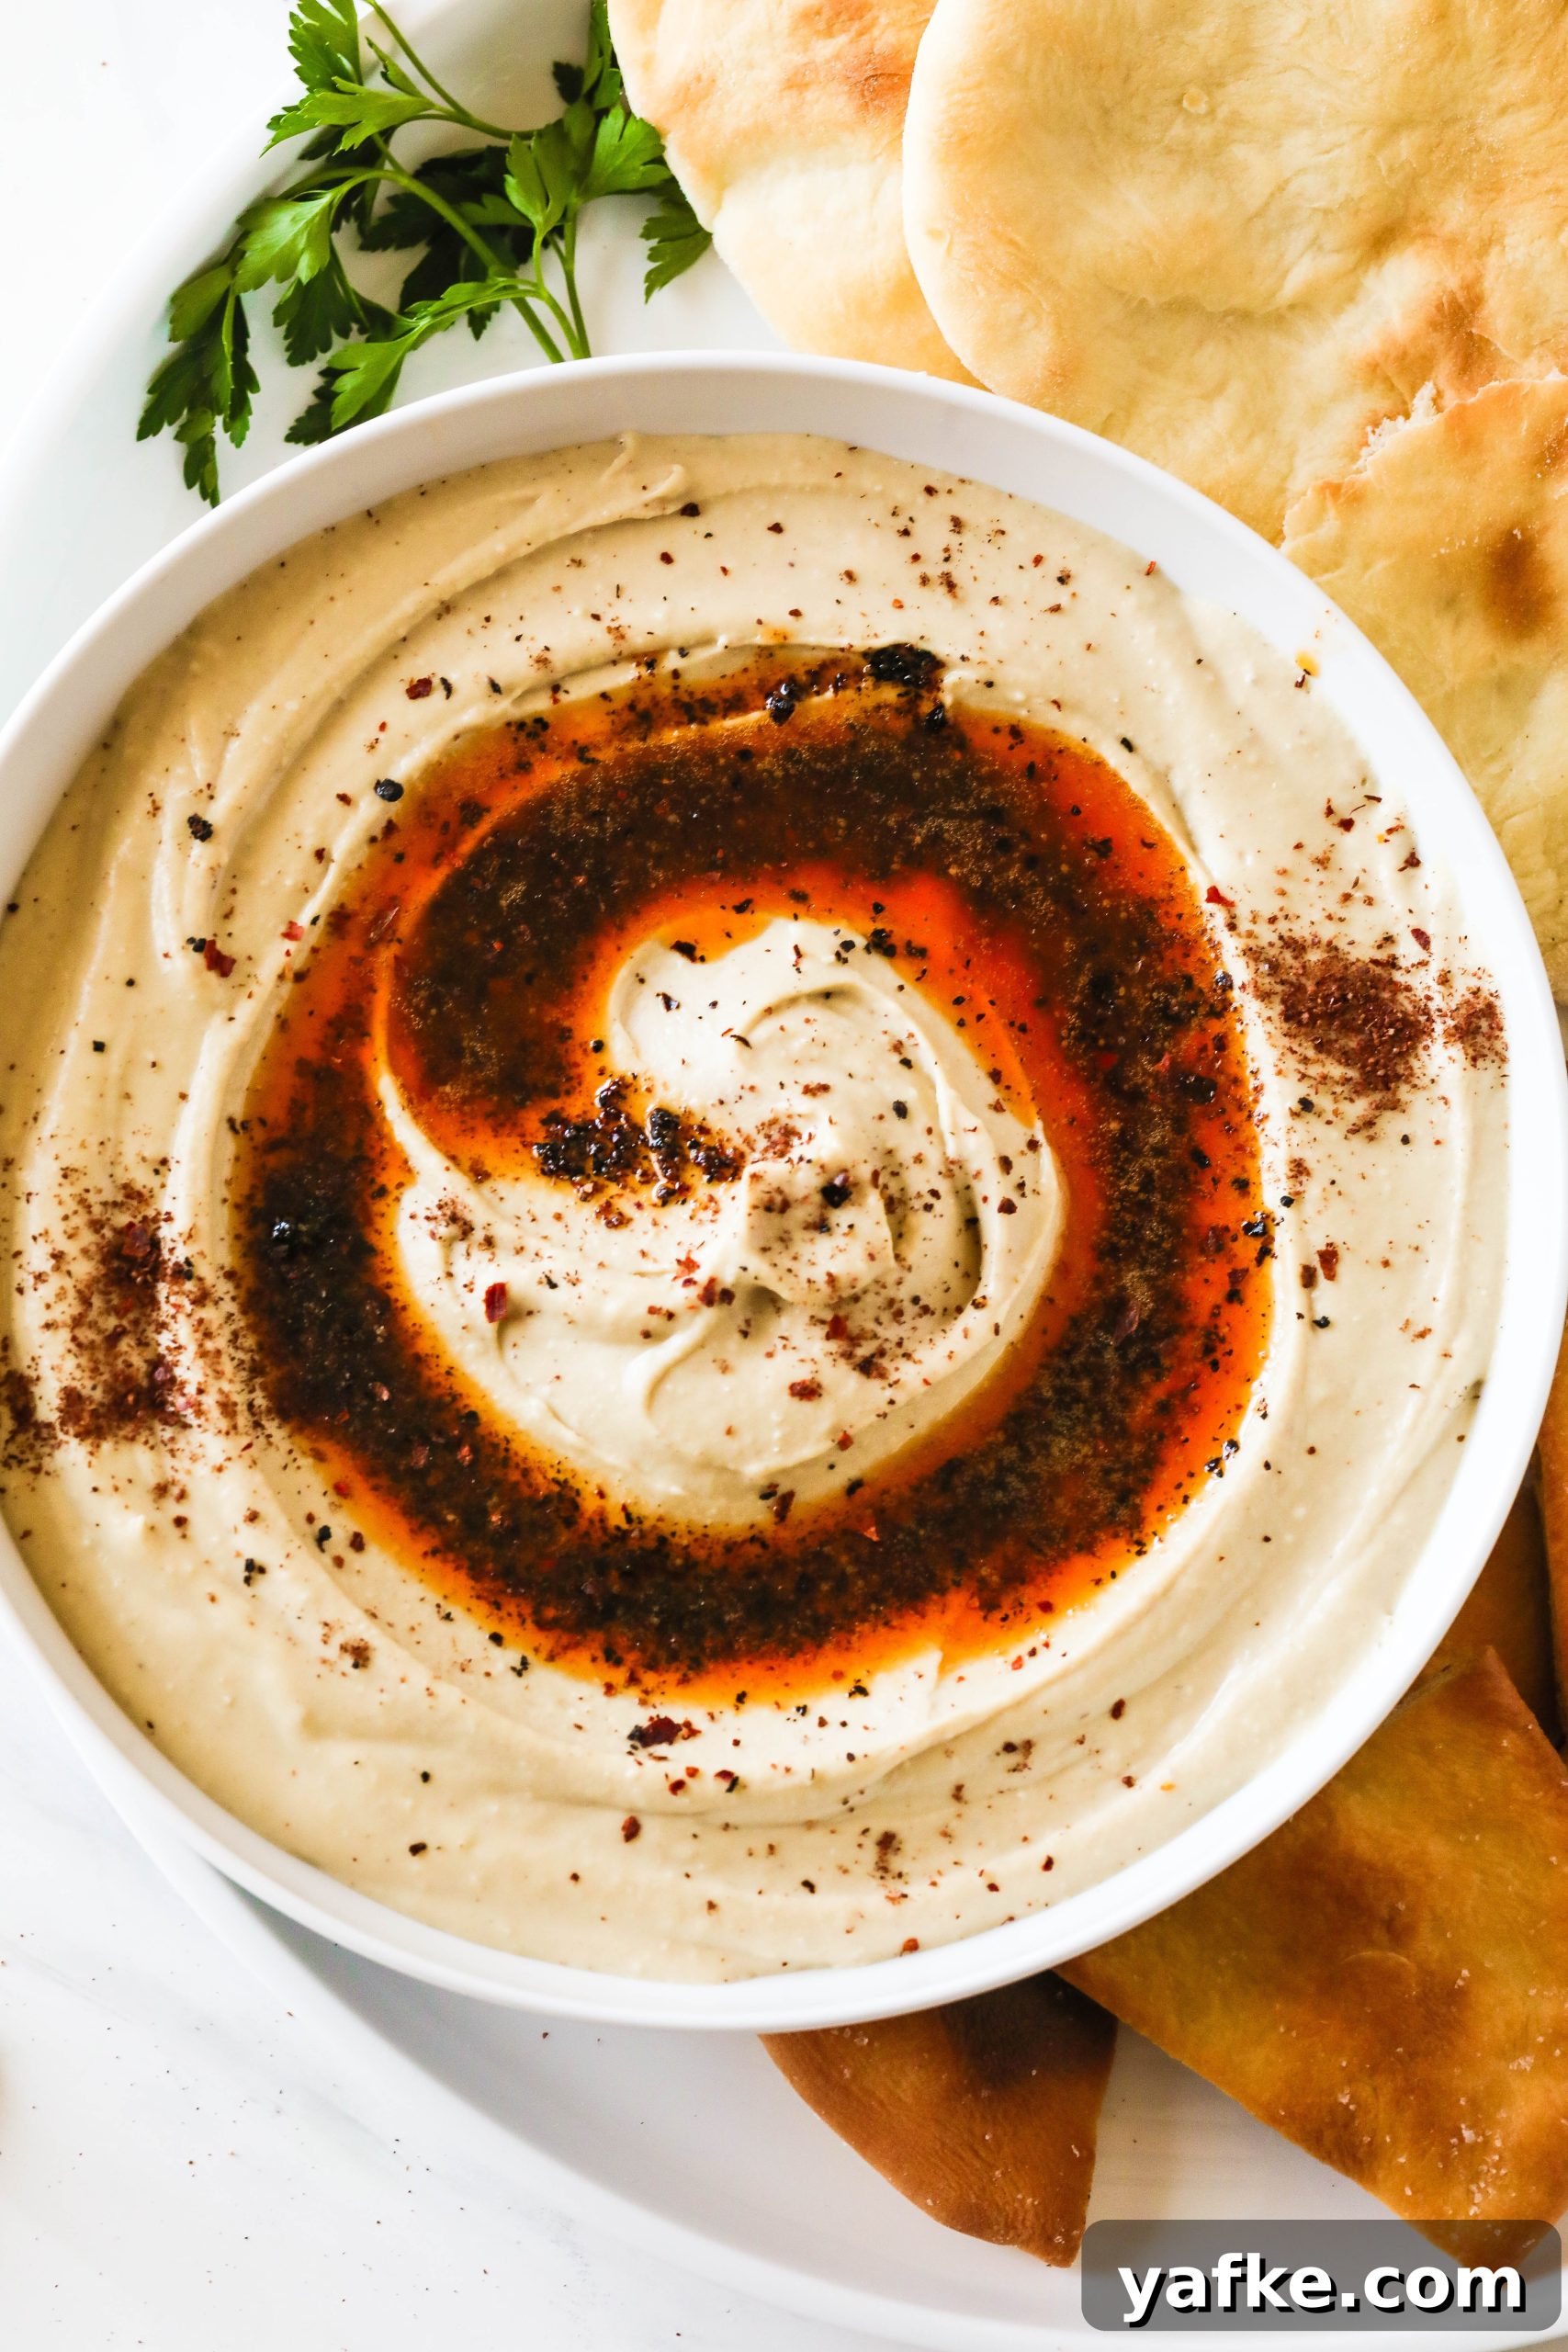
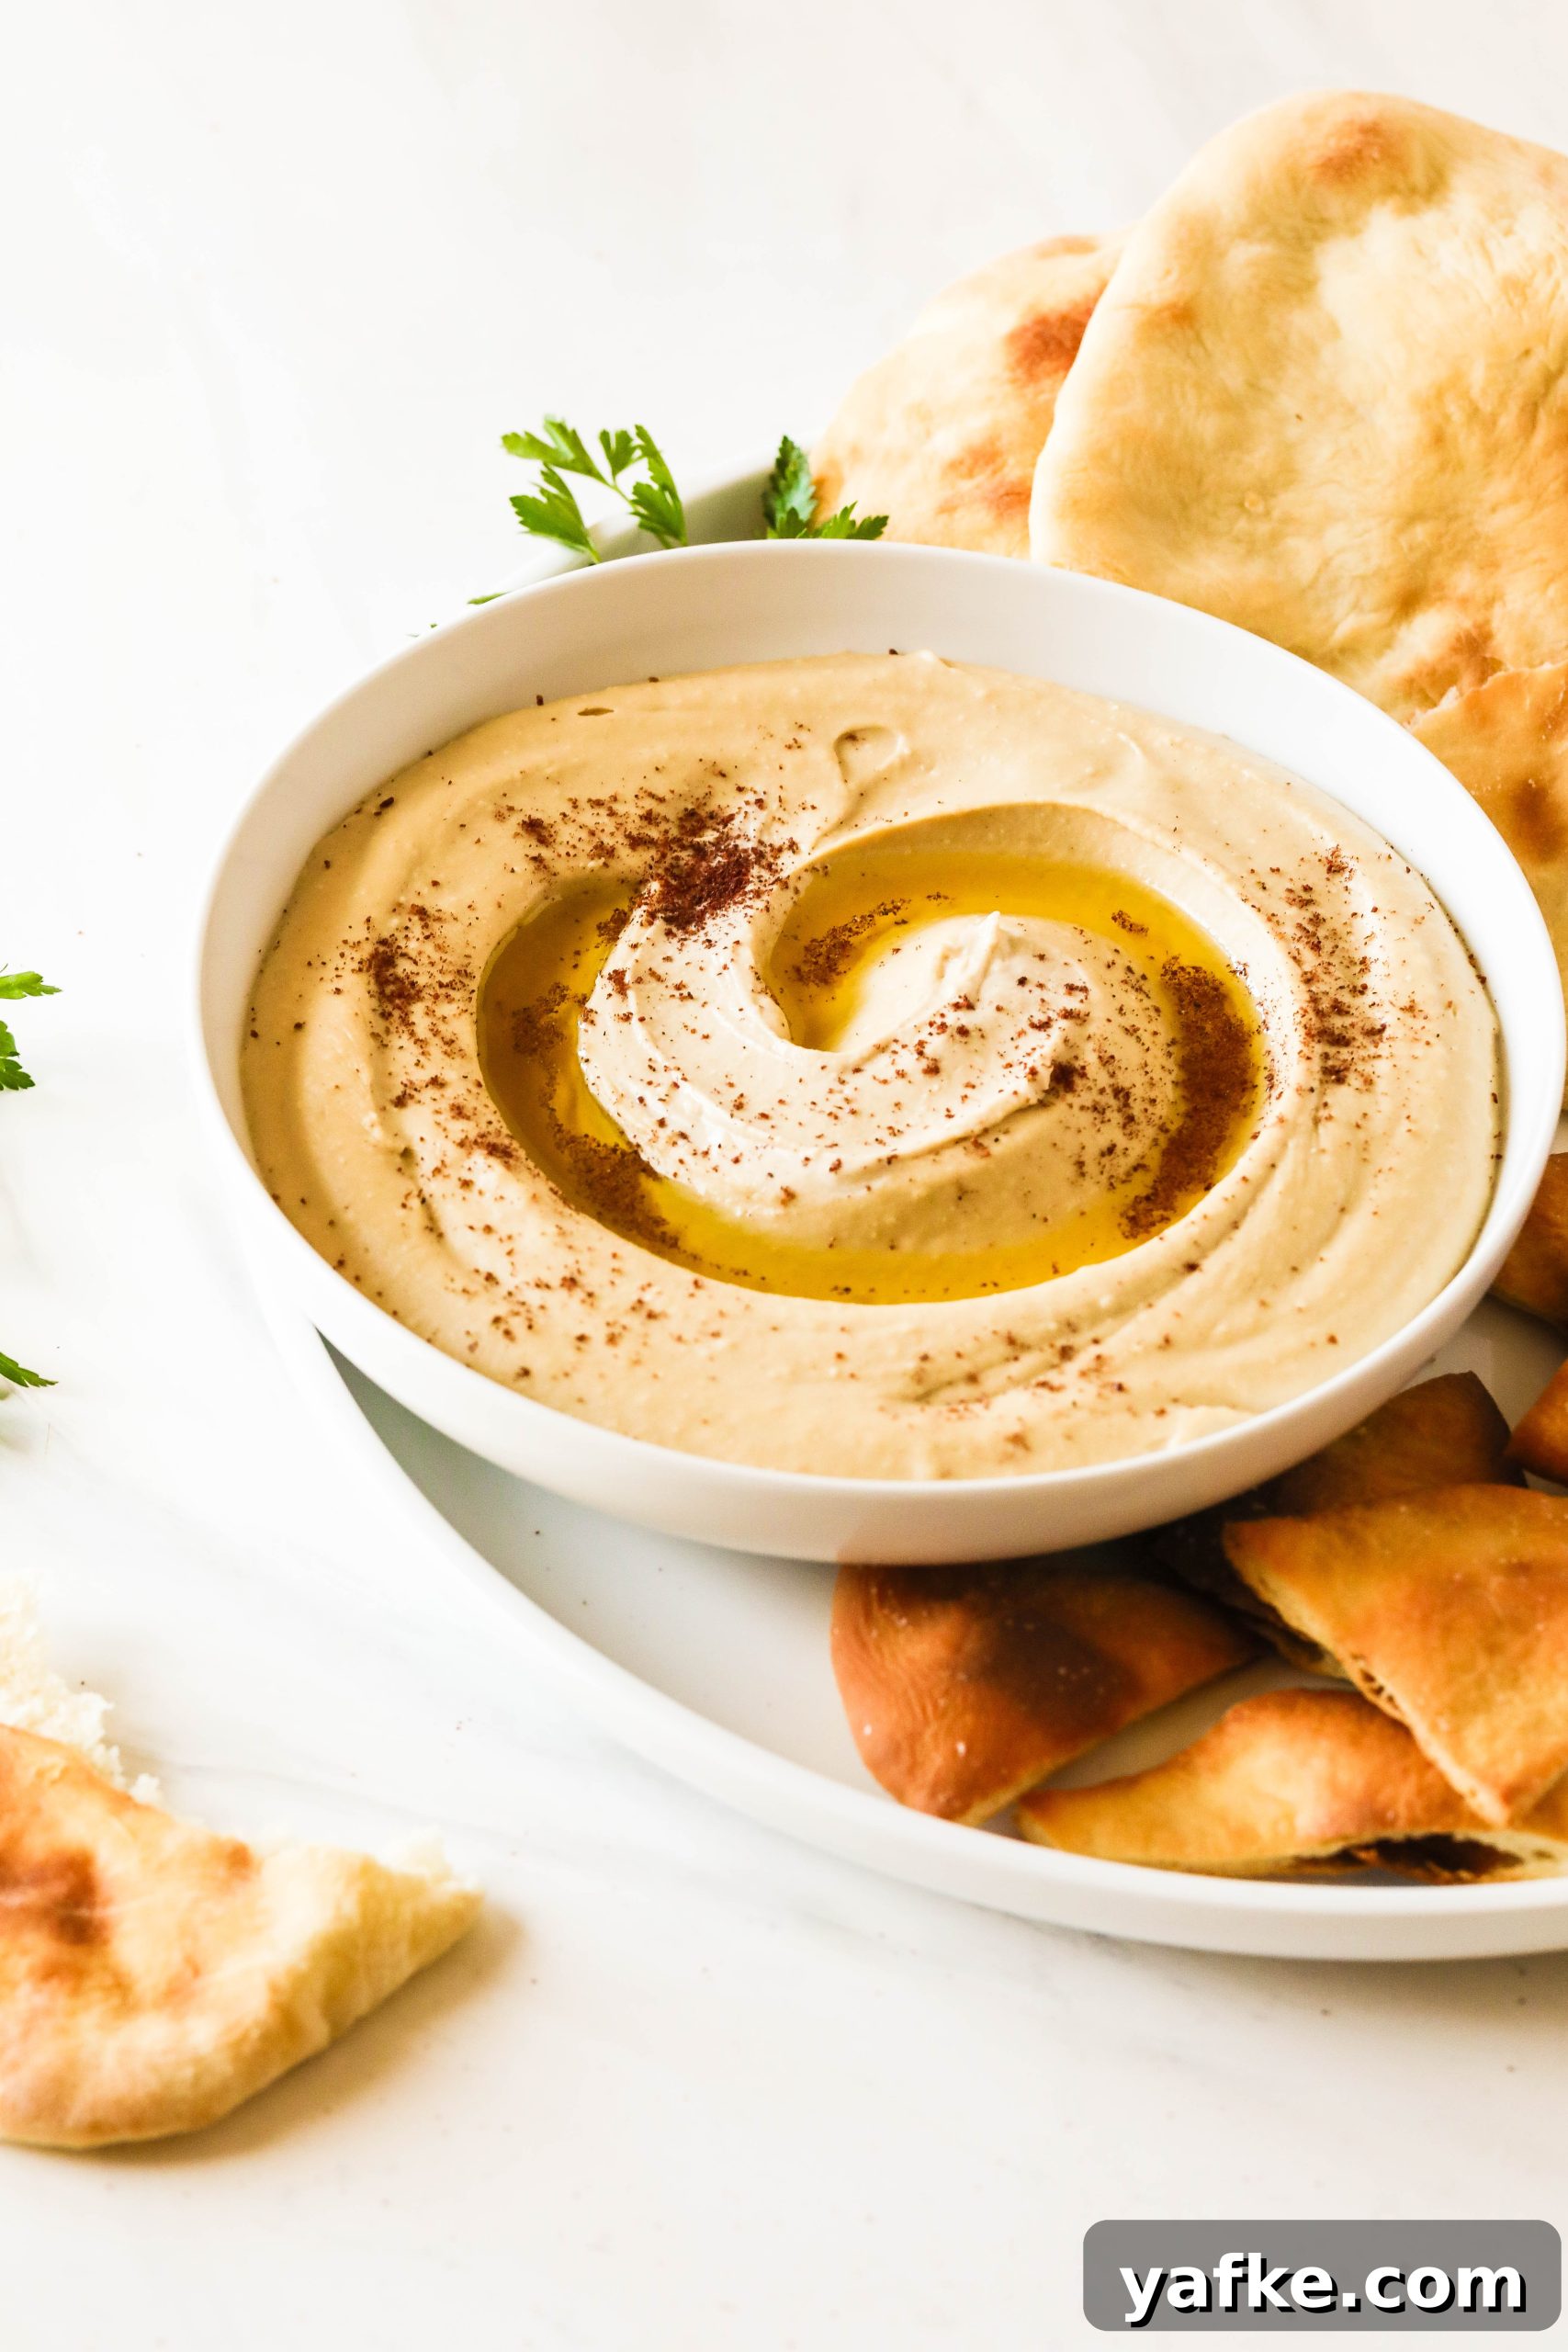
This recipe rewards patience. The hands-on time for blending is short, but the texture and flavor depend on properly cooked chickpeas and generous tahini. Serve the hummus with soft, fresh pita for dipping, or use it as a creamy spread for sandwiches, bowls or roasted vegetables. Practice the hummus swoop — create a shallow well in the center, drizzle with olive oil or chile butter, garnish with paprika or chopped parsley, and scoop with warm pita.
Now go make hummus. Once you taste this super-smooth version, you may never go back to the ordinary stuff.